Summary
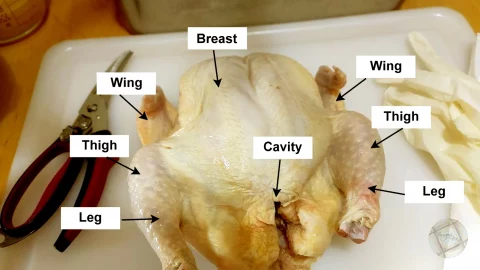
Spatchcocking — also called butterflying — is a technique that removes the backbone from a whole bird so it lies flat. A flat bird roasts faster, cooks more evenly, and produces crispier skin than a whole unflattened bird. The process requires poultry shears, a cutting board, and about five minutes of work. The same method works on any poultry: chicken, turkey, duck, goose, or quail.
What’s on Your Plate
How to Spatchcock Chicken, Turkey, or any Poultry
Learn how easy it is to spatchcock chicken or any poultry. A chicken is used here, but this method will work for turkey, goose, duck, quail, etc. If it has feathers, this method works. Why pay extra for something you can do for free?
What is Spatchcocking?
What is Spatchcocking
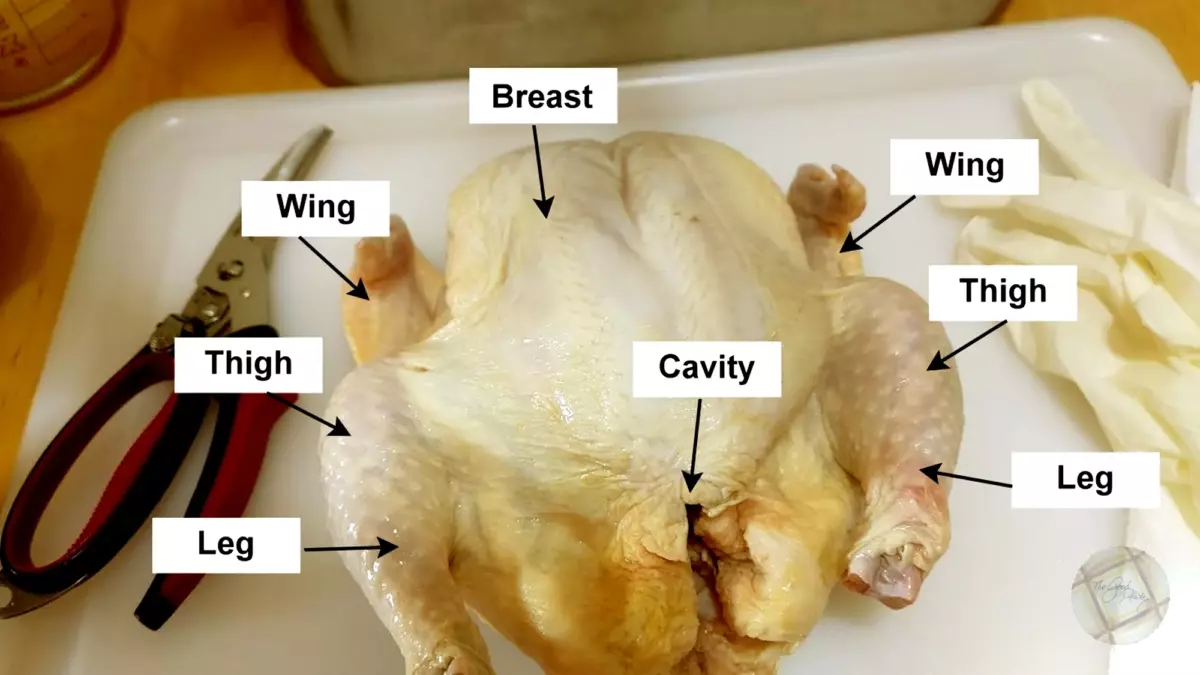
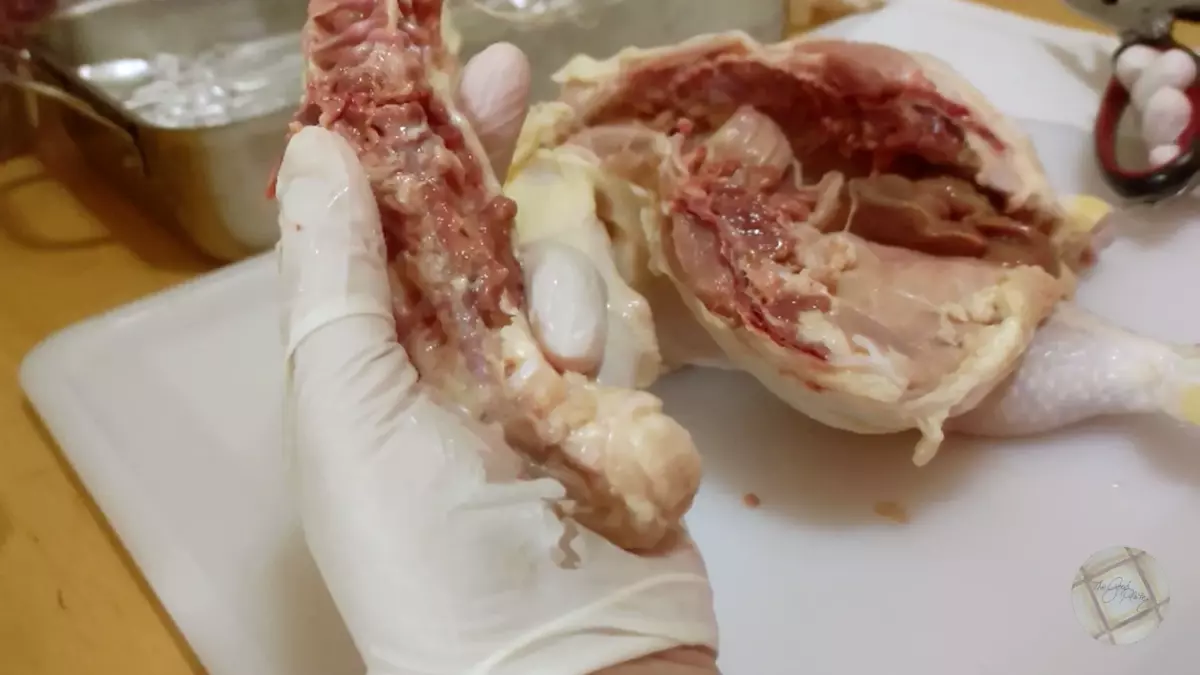
Spatchcocking, or butterflying, is another tool in your chest to get a good moist bird on the table. By flattening poultry, you are ensuring that it will cook uniformly at the same rate and retain moisture. This is one of the methods I recommend in my eBook, The Good Plate Talking Turkey. The process is very simple. Just flip the bird on its front, remove the spine with poultry shears, turn it over, put your hands on the breast like you are an EMT doing a chest compression, and press down hard to break the breast bone. Tuck the wings in, season, inject with marinade, roast and you’re done. It’s a lot easier than deboning.

WHY IT WORKS
A whole unflattened bird is a geometry problem. The breast sits high above the heat while the thighs sit lower and closer to the pan. They cook at different rates, which means by the time the thigh reaches a safe temperature the breast is already dry. Spatchcocking eliminates that geometry problem entirely by putting everything in the same plane at roughly the same distance from the heat source.
The two-stage oven method addresses a second problem: skin versus meat. Covered roasting at 325°F/162°C lets the interior come up to temperature slowly and gently without the skin burning. Pulling the foil and blasting at 475°F/246°C for the final 10 to 15 minutes drives rapid surface evaporation and Maillard browning — the same reaction that makes seared meat taste roasted rather than steamed. The result is crispy skin and fully cooked meat without sacrificing one for the other.
The injection delivers fat and flavor directly into the muscle, where surface seasonings cannot reach. The breastbone crack is not optional — a partially broken breastbone lets the bird hinge back up during roasting, undoing the flat geometry that makes the technique work. Press firmly until the crack is complete and the bird lies fully flat.
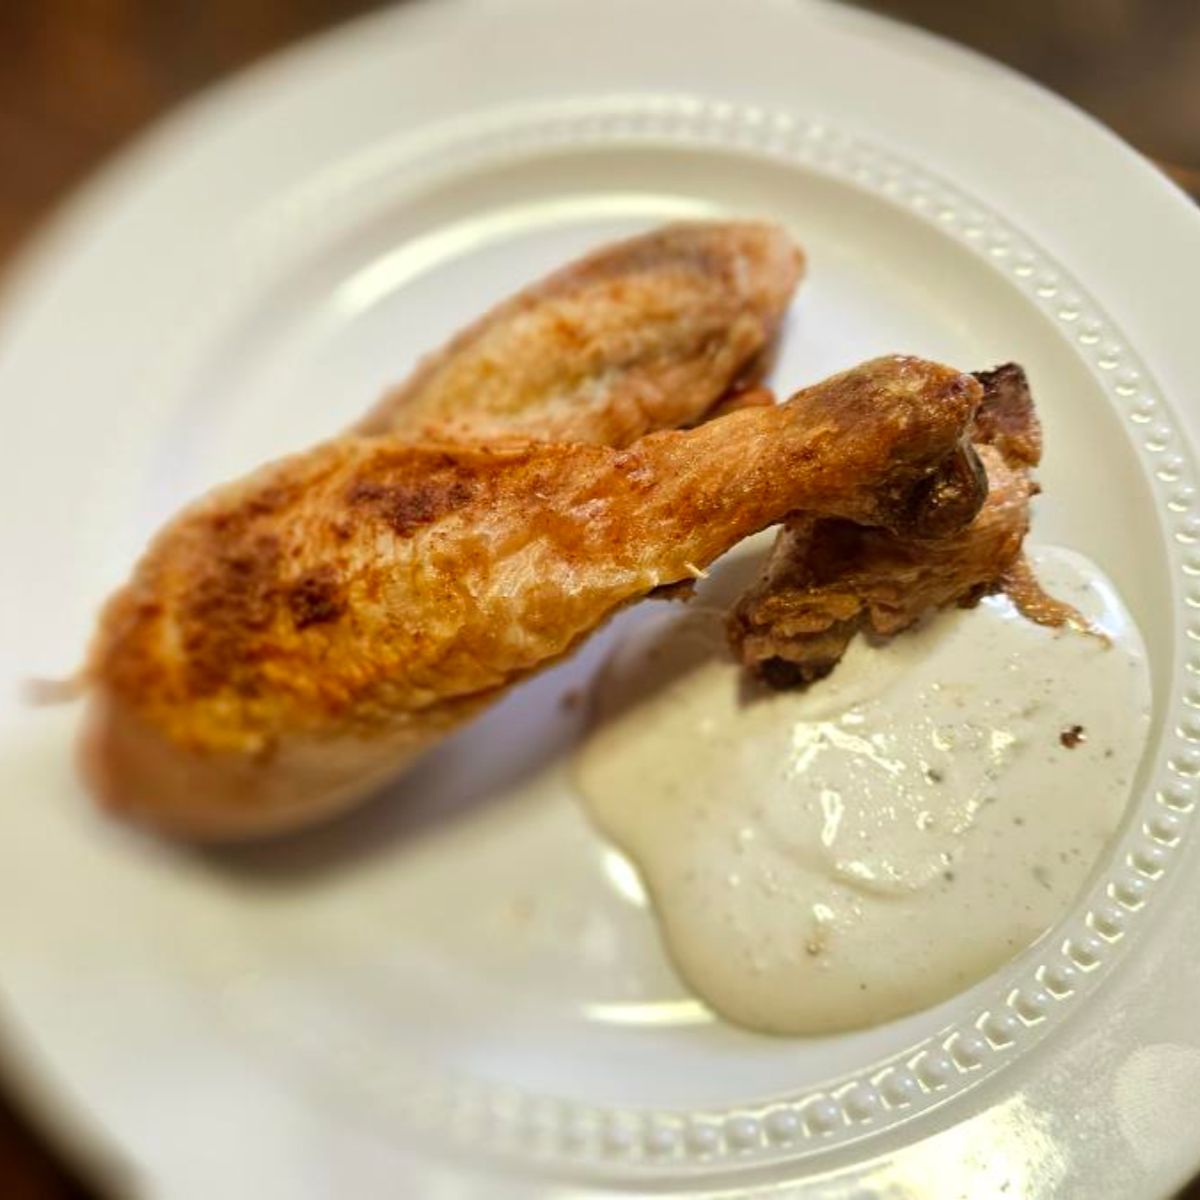
This technique is equally effective on turkey, which is why it appears in Inside-Out Buffalo Chicken and in The Good Plate Talking Turkey — a flat bird is simply a better-cooked bird regardless of size.
Compound Butter for my Spatchcock Chicken
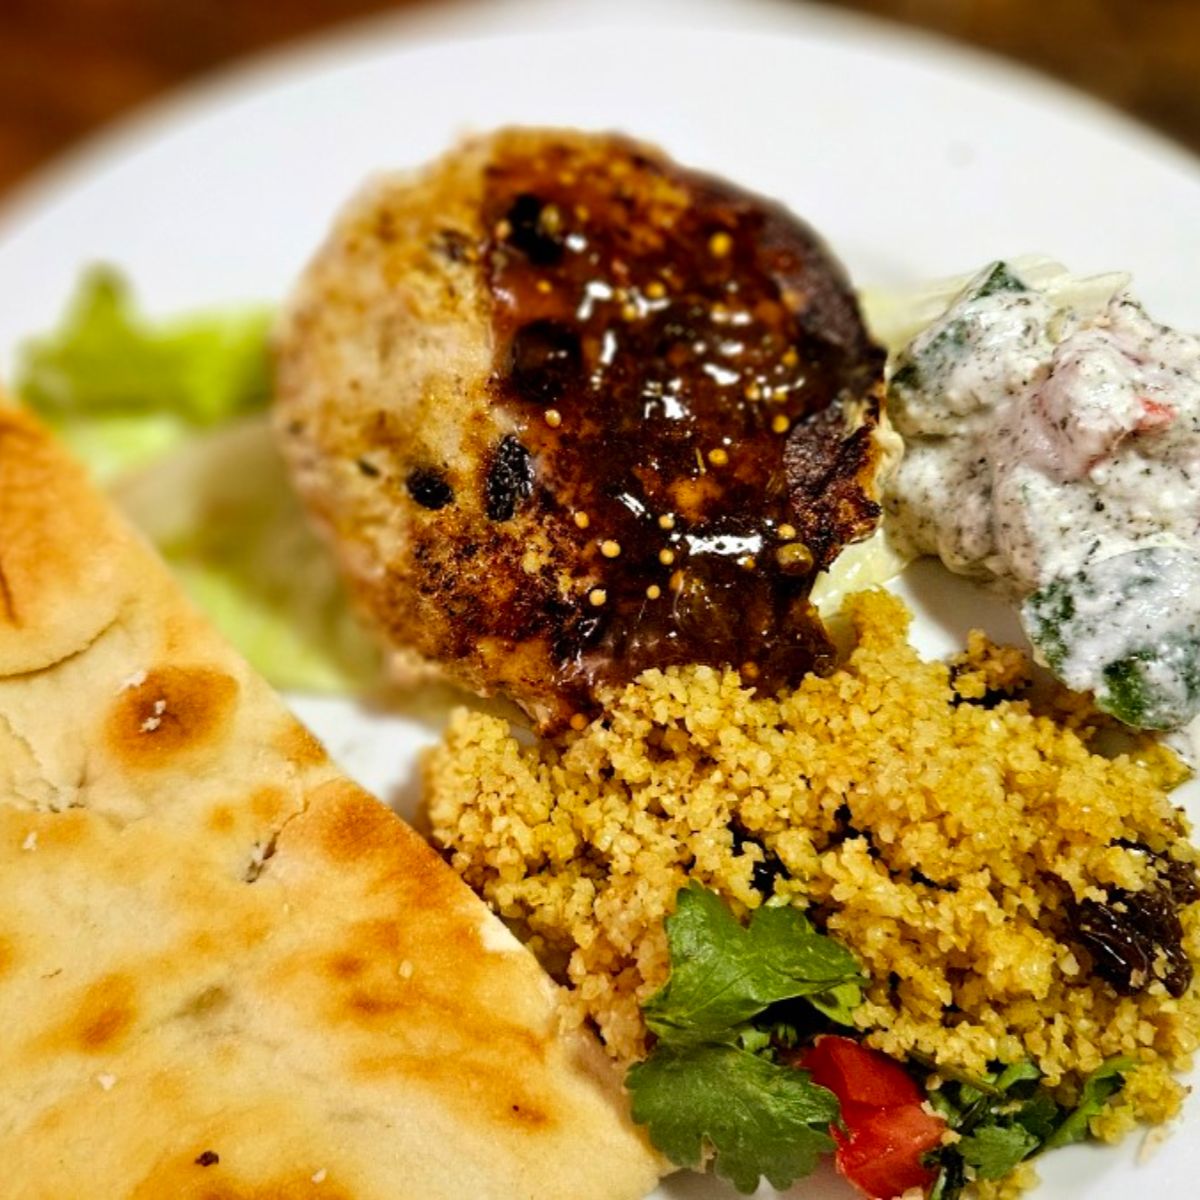
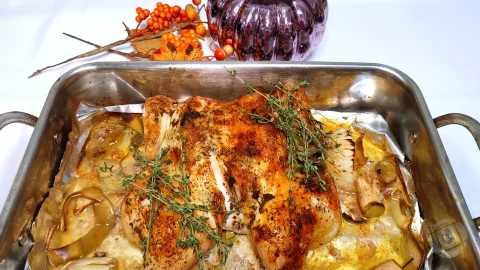
When I made this chicken, I made a compound butter with fresh herbs and unsalted softened butter. I also made a fruit stuffing that I cooked separately. The vegetable ends and apple peels from the stuffing were used as an aromatic bed to lay the chicken on. Half the compound butter was used for the stuffing and half under and on the chicken skin.
Inject Moisture
The other trick up my sleeve for a nice, moist bird, is using a marinade injection needle filled with broth, melted butter, and white wine. It gives a lot of flavor. If you don’t want to use butter, you could use olive oil. Don’t like wine? No worries, just omit it. For injection needles, I highly recommend the kind the screws on. They’re much easier to use and don’t come apart in the middle of injecting. I also do this for my Turkey Roasted in a Nesco and for Deboned Turkey.
Get Accurate Temperature Readings
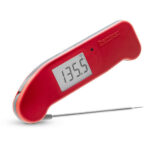
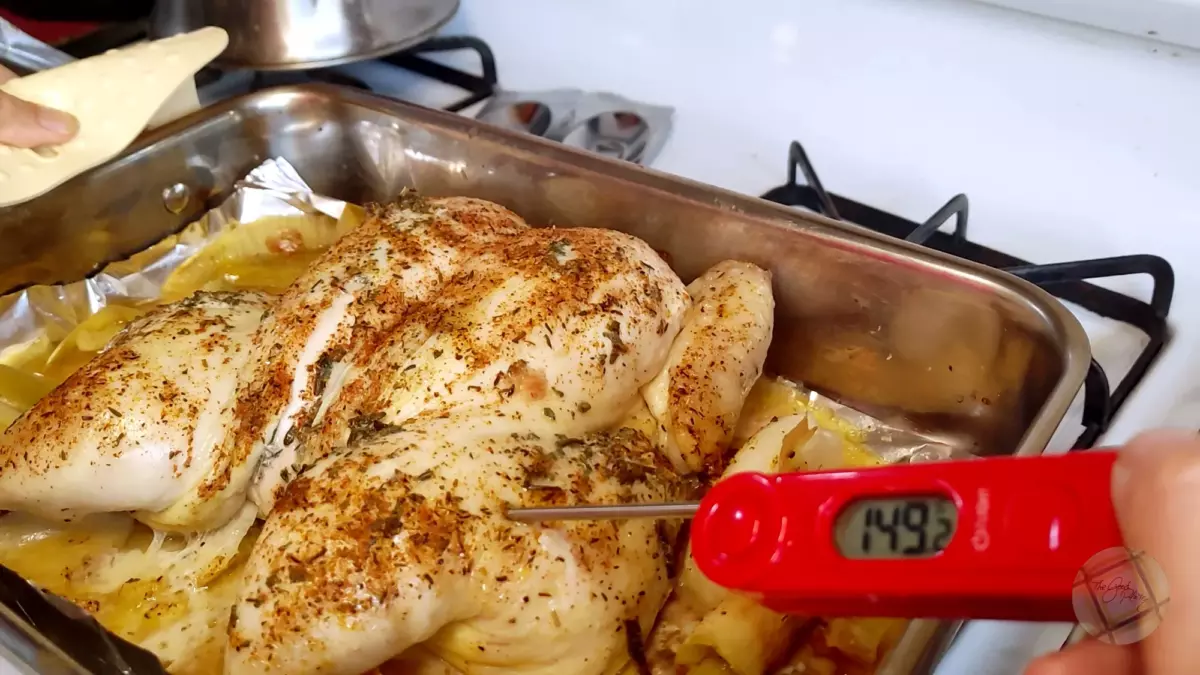
Use an instant-read thermometer. The little pop-up that might come with your bird, especially with turkeys, is inaccurate. Usually, I just remove it. Digital instant-read thermometers are better than analog ones. You don’t have to spend a fortune, the one I have was less than $30.00 and I use it all the time.
Gotchas
- Use poultry shears, not a knife. A knife on the spine is unstable and dangerous. Poultry shears give controlled, safe cuts along both sides of the bone.
- Crack the breastbone completely. A partial crack lets the bird hinge back up in the oven. Use both hands, position them directly over the breastbone, and press firmly until it lies completely flat.
- Do not tent during resting. Tenting traps steam and softens the skin you just worked to crisp. Rest the bird uncovered for at least 20 minutes.
- The spine is not waste. Set it aside with the neck and giblets for broth. It carries flavor.
- Inject slowly and at an angle. Fast plunging forces liquid back out around the needle. Go slowly and angle the needle to distribute the liquid through as much muscle as possible rather than concentrating it in one spot.
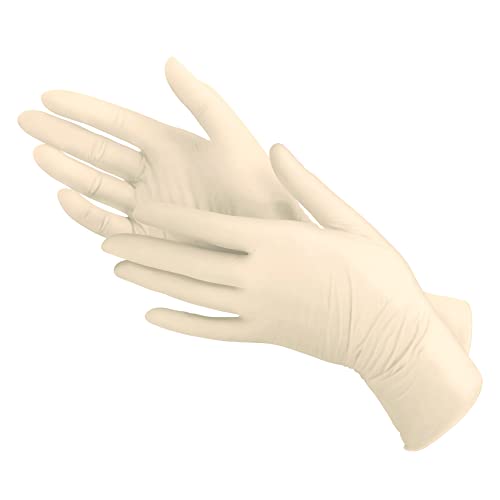
- Gloves are not optional. Raw poultry and bone work with bare hands is a cross-contamination risk. Use them.
FAQ
Can I spatchcock a frozen bird?
No. The bird must be fully thawed before spatchcocking. Cutting through a partially frozen spine is dangerous and the breastbone will not crack cleanly.
Do I have to use compound butter?
o. The compound butter is optional. Olive oil with dried herbs works as a substitute, or the bird can be seasoned with a dry rub directly on and under the skin. The injection liquid is what does the heavy lifting for moisture.
Does this work on turkey?
Yes — spatchcocking a turkey follows the identical process and produces the same benefits: faster cook time, even browning, and crispier skin. A spatchcocked turkey roasts in roughly half the time of a whole unflattened bird.
Step by Step Photos

Email Me the Recipe
Enter your email address and we will send it straight to your inbox.
Spatchcock Chicken or any Poultry
Tips from the Chef

Equipment


If you purchase any of the products through these affiliate links, I get a few pennies that help keep The Good Plate open. I use these products myself and want you to be able to easily find them.
Ask the Cooking Genie
Have a question about this recipe that isn’t answered in the post? The Cooking Genie is at your service. The Genie knows this recipe well, but even genies slip up now and then — please use your own good judgment in the kitchen. Per genie union rules, the Genie may grant three questions per visit. For anything beyond this recipe, please use the contact form.
Ingredients
- 4 lbs Chicken, whole
~~ — Compound Butter — ~~
- ½ cup unsalted butter, unsalted, softened
- 1 tablespoon Sage, fresh
- 1 tablespoon Rosemary, fresh
- 1 tablespoon Thyme, fresh
~~ — Aromatics — ~~
- ½ teaspoon Black pepper, freshly ground
- ½ teaspoon Salt
- Onion, skin and root
- Celery, Root and leaves
- Apple, peels and core
~~ — Injection Liquid– ~~
- 2 tablespoon unsalted butter, unsalted, melted
- 1 teaspoon *Chicken base
- 1 cup Water, boiling
- 2 tablespoon White wine
~~ — Seasoning — ~~
- 1 teaspoon Northwoods Seasoning
Instructions
- Mis En Place

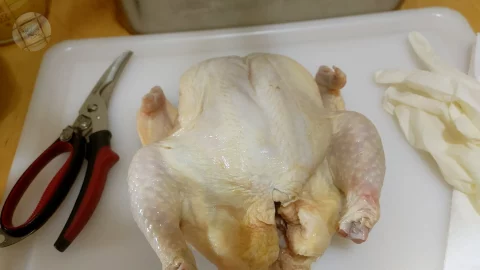
- 4 lbs ChickenPut the chicken on a cutting board and blot it with paper towels.
- Turn the chicken on its front and cut along one side of the spine with poultry shears.
- Cut along the other side of the spine to completely remove it. Set the spine aside.
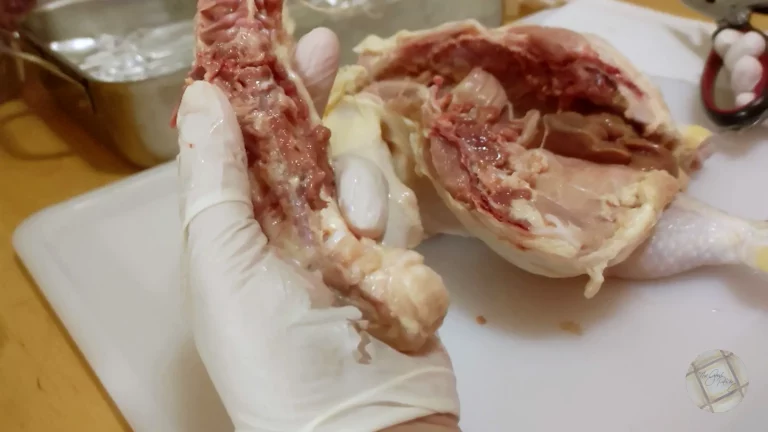
- Remove the giblets and neck if they are present. Set the giblets aside and put the neck and spine together to be used for broth.
For the Optional Compound Butter
- 1/2 cup unsalted butter, 1 tablespoon Sage, 1 tablespoon Rosemary, 1 tablespoon ThymeRoughly chop the herbs. Put the softened butter in the bowl of a food processor. Add the herbs and process until it is thoroughly mixed.
For the Aromatics
- 1/2 teaspoon Black pepper, 1/2 teaspoon Salt, Onion, Celery, ApplePut the aromatics on the bottom of a foil-lined roasting pan. Salt and pepper the inside of the chicken. Put the chicken on top of the aromatics breast side up.
For the Injection
- 2 tablespoon unsalted butter, 1 teaspoon Chicken base, 1 cup Water, 2 tablespoon White wineCombine the chicken base and boiling water. Add melted butter and wine.
- Using your gloved hands, put compound butter under the chicken's skin and rub it on the skin as well. Be thorough. Dip the injection needle in the injection liquid and fill the needle. Stab and inject the chicken breast, thigh, leg generously. Keep doing this until you have used up most if not all of the liquid. If the skin puffs up while you are doing this, it's normal. If some of the liquid comes out, that is normal, too.
- 1 teaspoon Northwoods SeasoningSprinkle the chicken generously with the seasoning. Cover the pan with foil and put it into a 325°F / 162°C oven.
- Roast the chicken until it reaches 150°F / 65°C, about an hour. Remove the foil and turn the heat up to 475°F / 246°C and roast for an additional 10 to 15 minutes or until the internal temperature is 165°F / 73°C.

- Let the chicken rest at least 20 minutes before carving. To prevent the skin from getting soft, don't tent it.

- Use the poultry shears to cut the chicken into pieces and put them on a serving platter.

- Enjoy!


Video
Nutrition
Transcript of How to Spatchcock Chicken
Transcript
Good afternoon and welcome back to the good plates kitchen.
Today I’m going to show you how to like that.
Okay, now, what do you need to do this?
Well, I have a pair of poultry shears and these are
great because I’m just could snap and that’s it.
You can use regular shears.
It’s a little strong.
You can use a knife.
It doesn’t make any difference.
Okay, first thing we’re going to do is we are going
to, we’re going to blot our little friend here.
I know you’re tempted to put this chicken in the sink and clean it that way.
Don’t do that.
The reason you don’t want to do that is because bacteria that’s on the chicken
will splash even though you can’t see it.
It’s going to splash all over your kitchen and all over your other food.
So you don’t want to do that.
So what you want to do is just blot your little friend.
Two pieces of paper.
Okay, nicely blotted and we’ll get the back also.
Okay, now.
I want to show you this is what my aunt used to call the Pope’s nose.
It’s the tailbone.
And here, of course, is the neck.
And you probably have a neck that’s in there and we do.
So I think.
Okay, okay, so here we go.
Now, the thing that gets me the reason why I want to show
you this is because I have been to the market and seen.
So you can hear it crunch crunch crunch.
Really simple.
You see?
Okay, there’s the jibblits.
Take that as a piece of the piece out.
Now, if you go to the market, if you go to the store, you can buy a chicken.
It means batch cocked.
And it’s going to cost you quite a lot of money.
And as you can see, you can do this for yourself for free.
What do you do with this?
You save it.
You save it for stock.
I’ll be right back.
Okay, so we’re going to save this for stock.
Save that for stock.
And I’m going to take out the desserts.
This is the liver.
And the dessert.
No heart?
Sad.
No heart.
Okay, that’s going to go to the animals.
Okay, so we have this.
And now… Okay.
And I’d like to…
Take the wings.
See how you can take the wing and fold it under.
Just, you know, just look nice.
Okay.
Cook’s better that way too.
Okay.
Now, you really want to make this as flat as possible.
So you want to press down on the breast with your hand like that.
Make it nice and flat.
The flatter something is.
The more even it is, the faster, the better and more evenly it cooks.
So when it cooks evenly, it doesn’t dry out.
Now, the next thing we’re going to do… rid of this.
I have already a pan that I’ve already put oil in.
And I’m going to take some aromatic vegetables.
This is celery, onions, stuff like that.
And I’m going to put that at the bottom of the pan.
Also got some apple in there too.
And like that, I’m a little friend is ready to go.
Now, the other thing I want to do is I’m going to…
I have made some compound butter.
I’m going to make obscene video.
This is compound butter.
And I’m going to take the compound butter.
And I’m going to put it.
And that other trick is to inject with a liquid.
Now, this liquid happens to be broth and melted butter and white wine.
And believe me, this makes really, really good.
So I’ll try to get one that has a screw like this.
It makes it much easier.
I’ll just screw it in like that.
There we go.
Put the plunger in like that.
Screw it in.
There’s links to this tool in the description.
Okay.
And then we’re going to take our liquid.
And we’re going to slurp and stir it a little bit.
And we’re going to slurp it up.
Okay.
And then start jabbing and make sure when you put
it in that you are really getting into the flesh.
And that’s going to be it for now.
And then I’m going to sprinkle it with some Northwoods.
Pencils and Northwoods.
This is really great on chicken.
So here we go.
Okay.
And now I’m going to cover this with foil.
And that will keep it drying out.
And I will remove the foil in the last half
hour of cooking so that it can brown nicely.
And now we’re going to put it in a 350 oven and through the Magic of YouTube
it’ll get cupped.
See you later.
Okay.
We’re going to take… Welcome back to the good plate.
We’re going to take our little friend’s temperature here.
And I have an instant read thermometer.
Please use an instant read thermometer to use that
little thing that pops up because it doesn’t do any good.
And we’re going to stick it into the thickest part at the thigh.
Let’s see.
Good.
There we go.
And it is 149.
That’s perfect.
It needs to hit up to 165 at 149.
That’s perfect.
We’re going to put it back in the oven with the
top off with the foil off so that it can brown.
Okay.
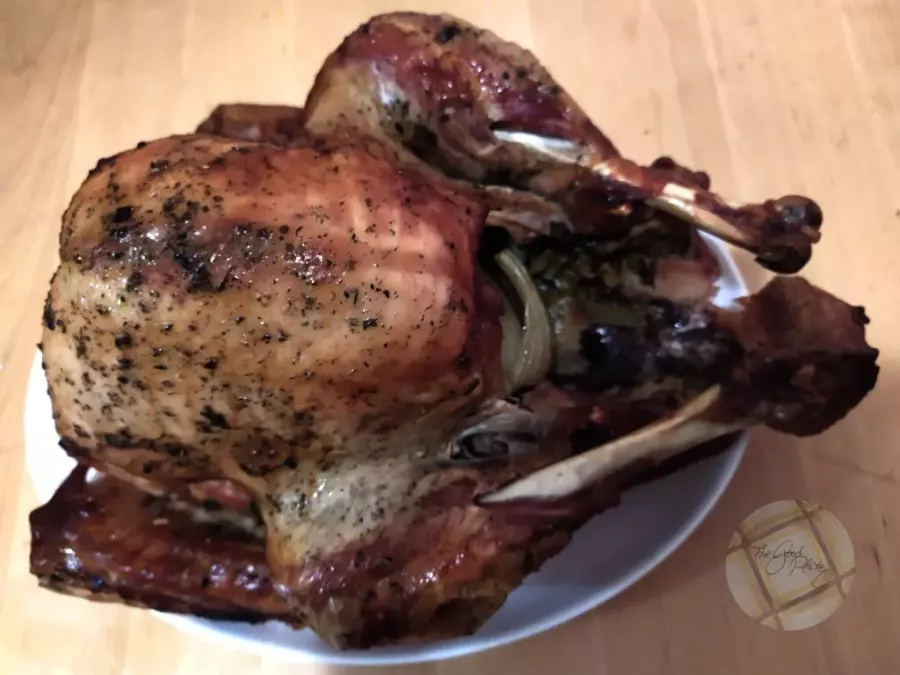
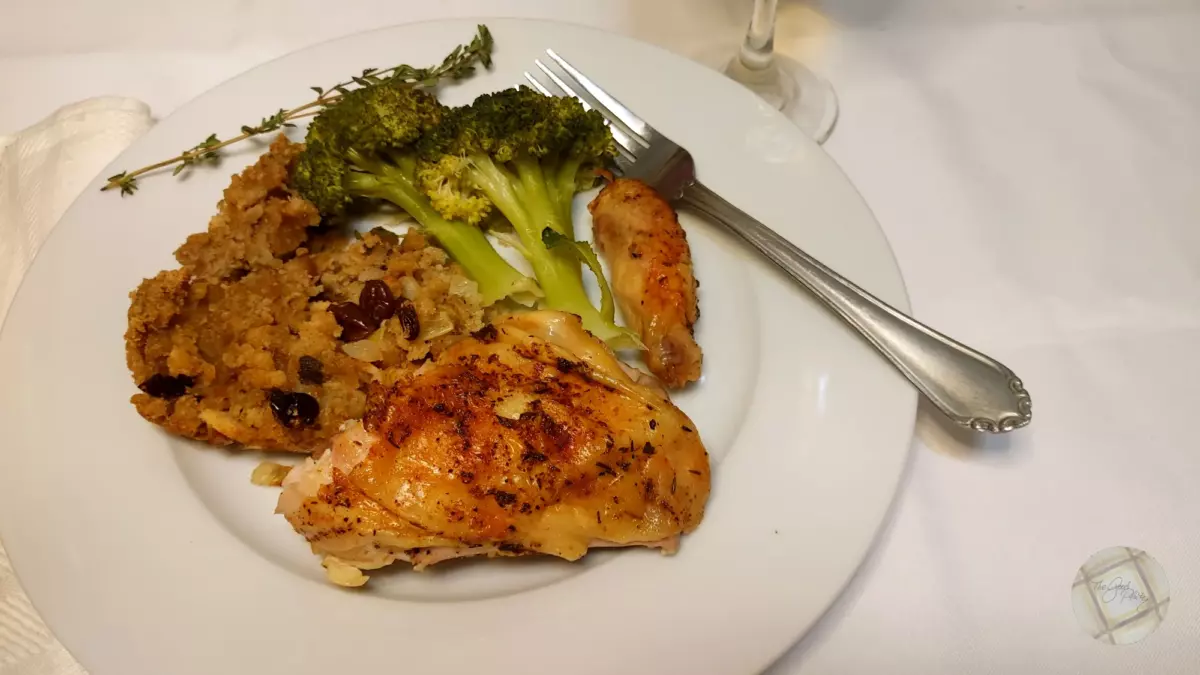
And here’s our lovely girl after she came out of the oven.
Here she is carved on a platter.
We enjoyed having her beginner with stuffing and broccoli.
We’ll see you next time on the good plate.
Thank you for watching.
Don’t forget to subscribe.
Love you all.
See you next time.