
Chicken Croquetas Croquettes are very tasty and make a great appetizer. They are also a wonderful way to use up leftover chicken. If you’re tired of chicken salad, this is the way to go.
The first time I had these lovelies was at Porto’s Cuban bakery in Glendale, California. I fell in love with the flavor but I was at a loss at how to make them. Our local William’s Sonoma had a cooking class and they were demonstrated in the class. I had taken my friend’s daughter with me. We had a few in class, and then I decided I wanted to make them at home.
When Noelle and I went to see this cooking demonstration at William-Sonoma, I did not make these right away. I made them tonight because I had leftover rotisserie chicken. Maybe I will ask Noelle over to share, on second thought, as I sit here eating one, no!
Now, what did I learn in making these? Well, first I learned that I don’t have to get my hands very dirty if I use a fork during the breading process. Then, when I tasted one, I realized I don’t have to wait until I go to Porto’s anymore – I can make these little, rolled pieces of Heaven myself!
You can make a little dipping sauce for these if you want. You can add a little chipotle powder to some mayonnaise, or a bit of sour cream. They are also good to dip in guacamole!
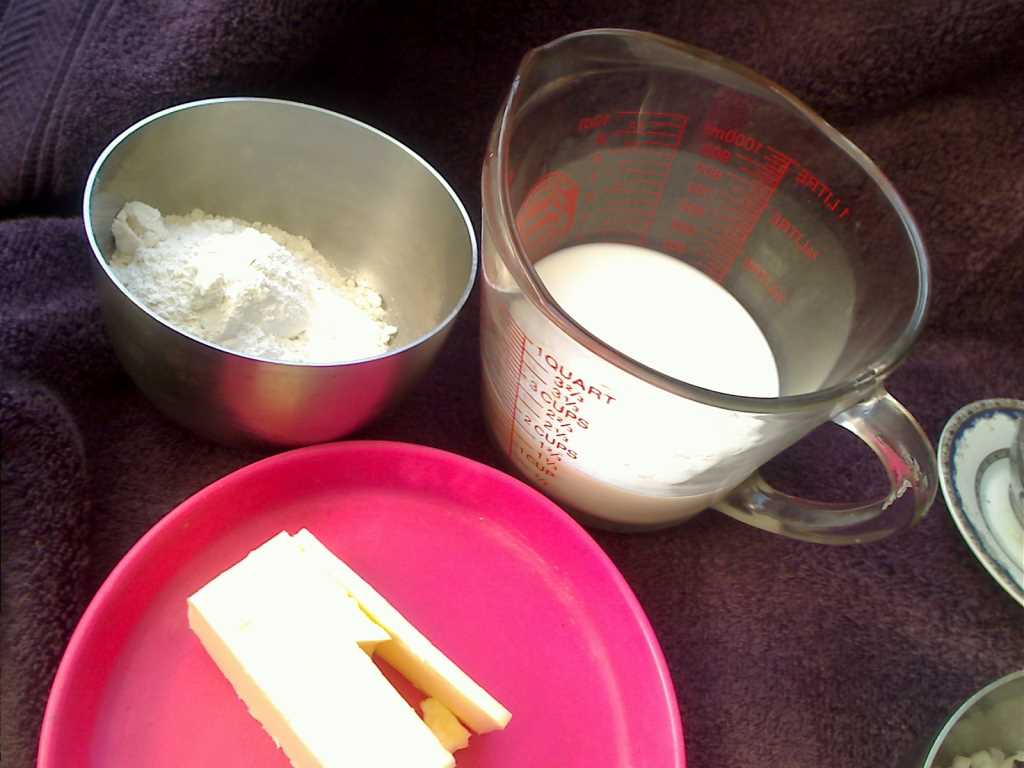
Mis En Place

Let’s Make Chicken Croquetas Croquettes
Email Me the Recipe
Enter your email address and we will send it straight to your inbox.
Chicken Croquetas
Equipment


If you purchase any of the products through these affiliate links, I get a few pennies that help keep The Good Plate open. I use these products myself and want you to be able to easily find them.
Ingredients
- 1 stick unsalted butter, 4 ounces
- ½ Spanish onion, finely chopped (about ½ cup)
- 1¼ cups *all-purpose flour, divided
- 1½ cup whole milk
- 6 ounces roasted chicken, cooled and shredded (about 2 cups)
- ¼ tsp sea or Kosher salt
- ⅛ tsp white pepper
- 1 pinch nutmeg
- 2 large eggs, beaten
- 1¼ cup breadcrumbs or panko
- Extra-virgin olive oil, for frying
Instructions
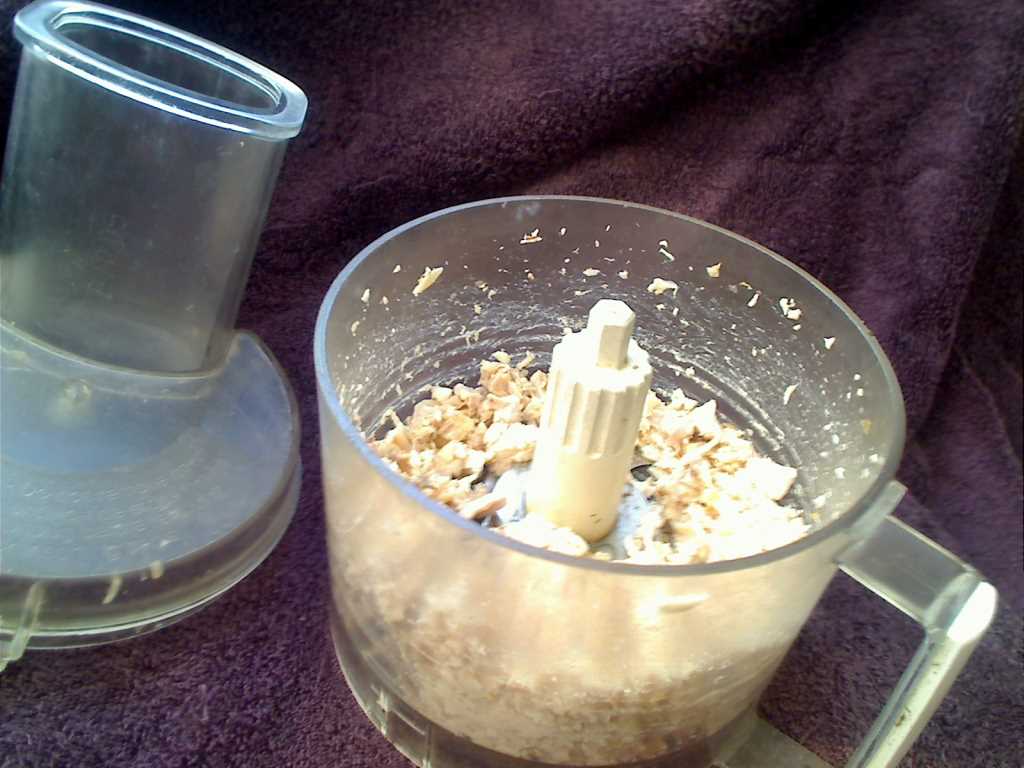
- Use the food processor on pulse to mince the chicken in small pieces.
- 1 stick unsalted butter, ½ Spanish onion, 1¼ cups all-purpose flour, 1½ cup whole milkIn a large skillet, melt the butter over medium heat. Add the onion and cook until translucent, about 5 minutes. Add ¾ cup of flour and stir to blend well. Cook the mixture, stirring frequently until the flour begins to turn golden and smell toasty about 5 to 7 minutes. Add the milk in a slow steady stream, whisking continuously.
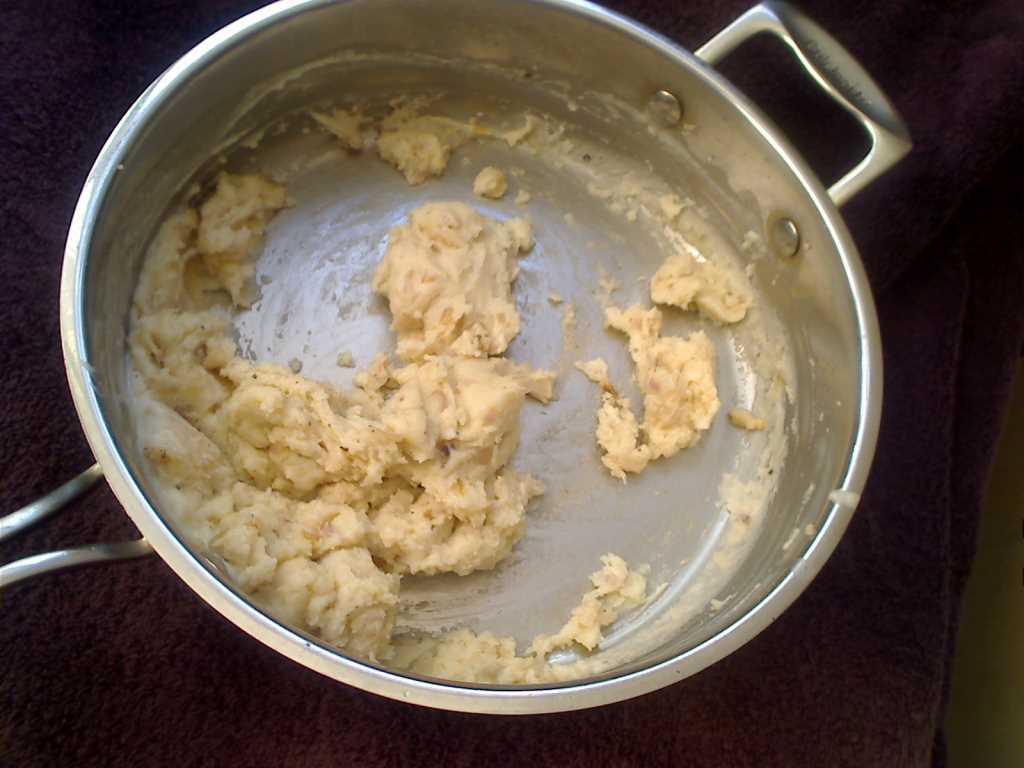
- Before adding chicken, your mixture should look like this

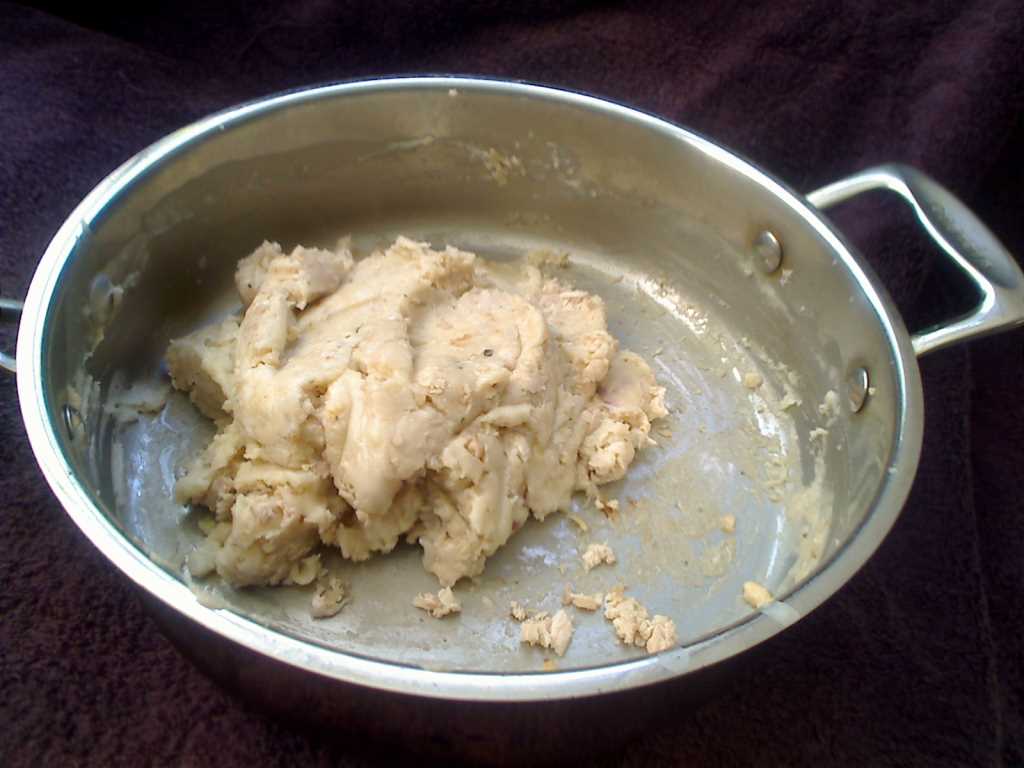
- 6 ounces roasted chicken, 1/4 tsp sea or Kosher salt, 1/8 tsp white pepper, 1 pinch nutmegAdd the chicken and season to taste with salt, pepper, and nutmeg. Stir to combine and cook until the mixture is warmed through and thickens up slightly more, about 2 minutes. Adjust seasoning if needed. Transfer the pan to a wire rack and let the filling cool to room temperature, about 30 minutes.
- After the chicken is added, let it sit and cool

- Mise En Place - Beaten Egg, Flour and Panko Bread Crumbs
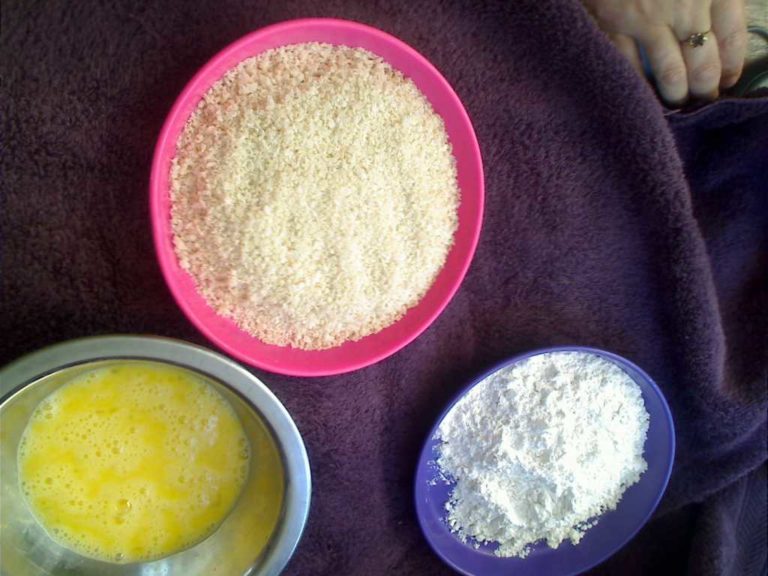
- 2 large eggs, 1¼ cup breadcrumbs or pankoI used wire cake cooling racks over my plastic cutting board that is reserved for meat and poultry. Even though the chicken is cooked, there is still a danger of cross-contamination. I used a small ice cream scoop. Take a rounded tablespoon of the cooled filling and roll it in your hands to make a small cylinder. Dredge the cylinder in the remaining ½ cup flour, then in the eggs and then in the breadcrumbs. Repeat with the remaining filling.
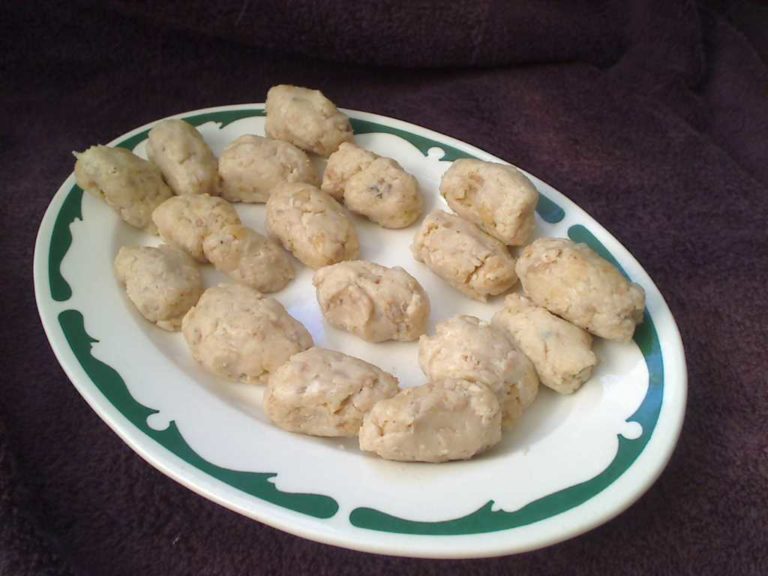
- Before Breading
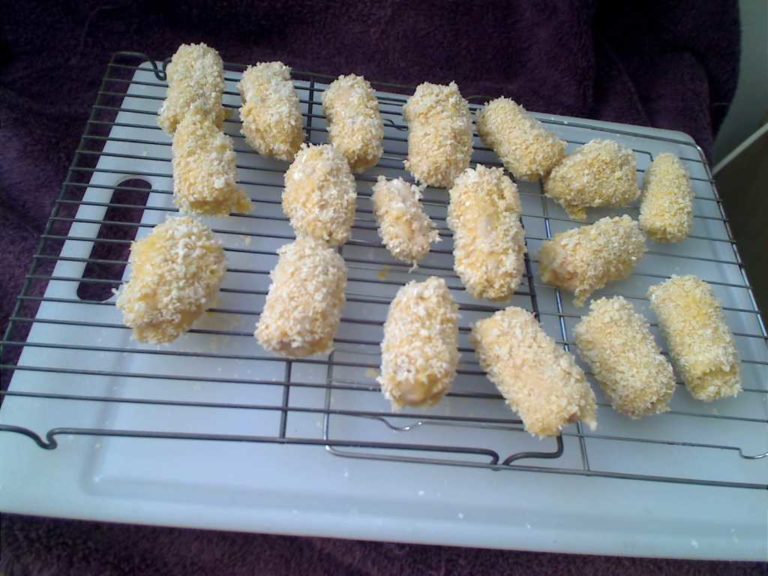
- After breading
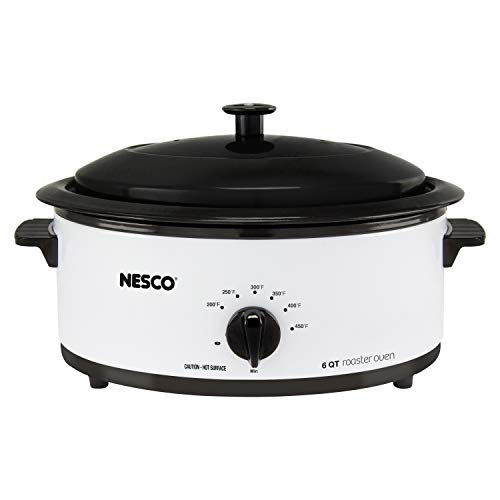
- Extra-virgin olive oilPut the breaded croquetas in the refrigerator for about 30 minutes to set. If you do not have a Nesco, then use the oven. Preheat the oven to 200° and place a wire rack on a rimmed baking sheet. In a 4-quart saucepan, add enough olive oil so that you’re able to completely submerge the croquetas. Heat the oil to 375°. Working in batches, fry the croquetas until golden brown, about 1 minute per batch. Drain on paper towels, then season lightly with salt. Transfer to the prepared baking sheet and place in the oven to keep warm until ready to serve.
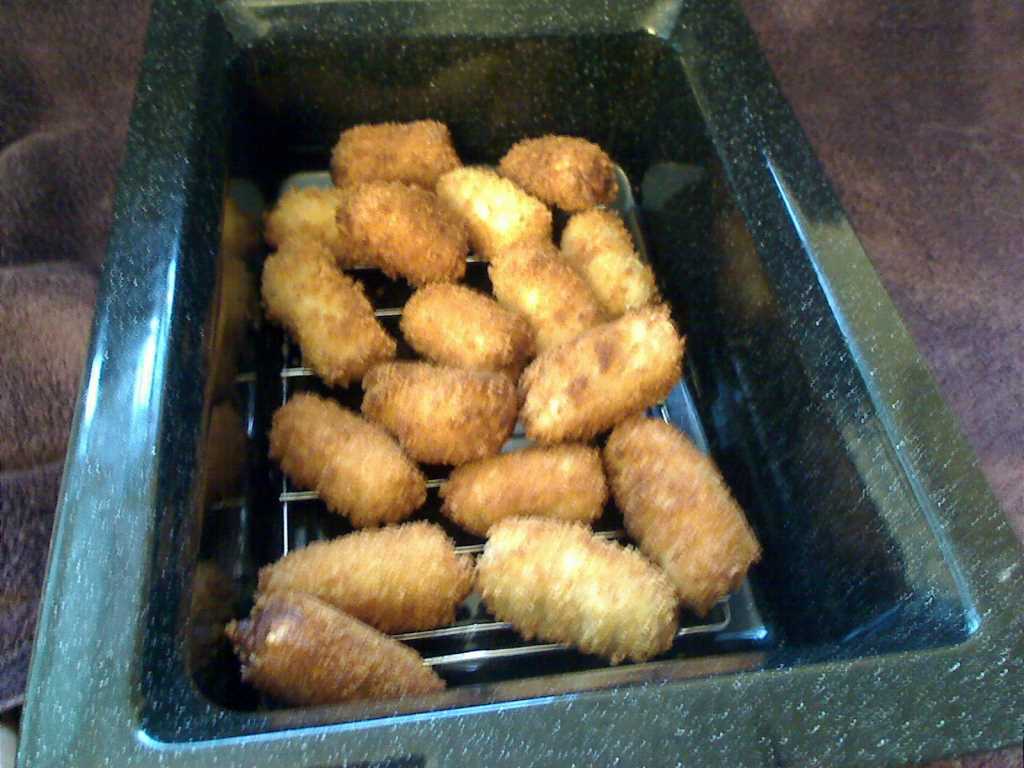
- In the Nesco, fried


Comments are closed.