Making bows for any occasion is easy when you have the right tool. I think most of us remember having to hold the ribbon while our mother tied it, often tying our finger as well! This ribbon bow craft is easy, in about 10 minutes, and no small child necessary – unless you just want to have your loved one near you.
I love making really nice looking bows, both for gifts, and to go in my hair. I like to coordinate ribbons with my outfits, but either can’t find the right color or don’t want to spend the money on something I can make better at home. You don’t have to spend a whole lot of dough on ribbons. Hit the craft stores a month or so before a holiday or right after a holiday to get good prices, or visit your nearest dollar store that often has ribbons for cheap. Sometimes, fabric stores have remnants that can make good bows, too.
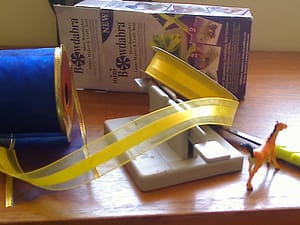
 I bought the wonderful tool, the Darice Mini Bowdabra Bow Maker at my local Michael’s a few years ago, and it has been a star of my crafting arsenal, along with my hot glue gun, ever since. I bought the ribbon at my local Dollar King in their craft department. This bow was featured on August 9, 2013, Bodabra’s Feature Friday blog. How great is that?
I have used the bow to make Back to School Teacher Gifts. Come see how our Back to School Teacher Gifts came out. I also baked some Mocha Butterscotch Chip Cookies to put in the gift bag. Oh, the joy of kids going back to school!
Let’s Make a Scrunchy Ribbon Bow
Equipment
Instructions
- Make sure you have all your supplies handy before you start.
- Ribbon Mis en Place
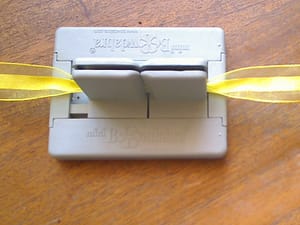
- Cut 12 inches of the yellow tie off ribbon and lay it horizontally in the Bowdabra.
- Tie-Off RIbbon
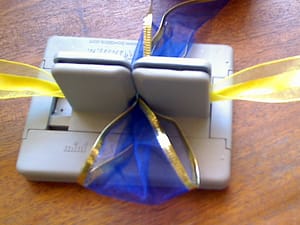
- Lay a small part of the blue ribbon across over the yellow ribbon
- Begin Loop
- Make a loop and put the part on the other side, sliding it down so it is in the Bowdabra.
- First Loop
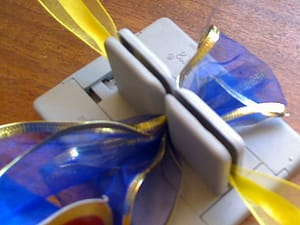
- Make another loop toward the other side. Continue doing this until the Bowdabra is almost full
- Almost full
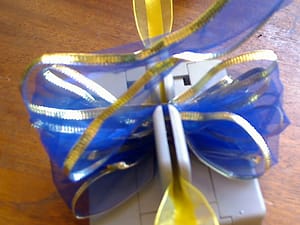
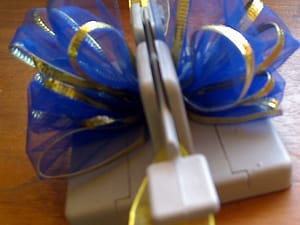
- Use the wand to push the bow down.
- Use wand to scrunch down
- Now, remove the wand and bring the yellow ribbon up and tie off the bow. Don’t do it too tightly, because you still need to get the box out of the Bowdabra.
- Tie off
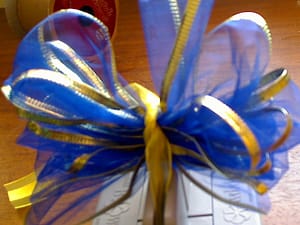
- Remove the ribbon from the Bowdabra by lifting it out and tie it securely.
- Ribbon Out of Bowdabra
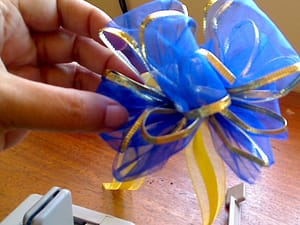
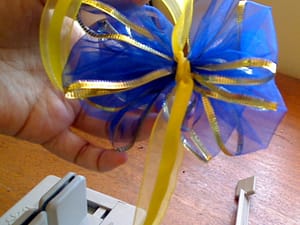
- Take the ribbon in your hands and fluff out the ribbon, and make it symmetrical.
- Fluffed Ribbon
- Now tie the yellow ribbon in the back of the ribbon tightly to secure it.
- Back of Ribbon
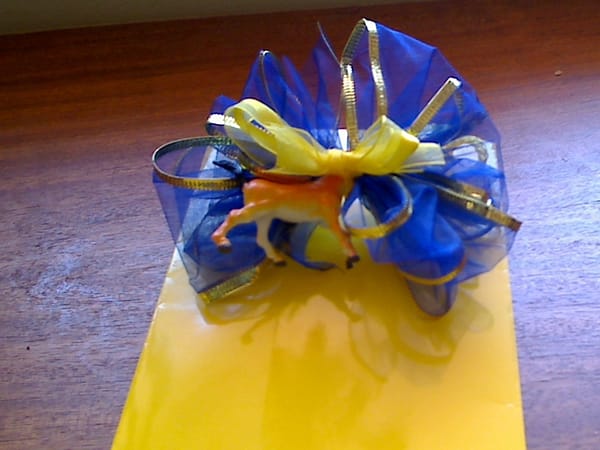
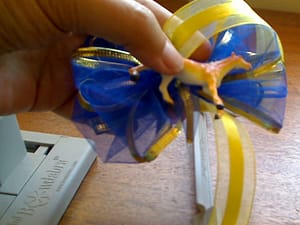
- At this point you can add a trinket. I put my horse in the front of the ribbon.
- Horse Trinket
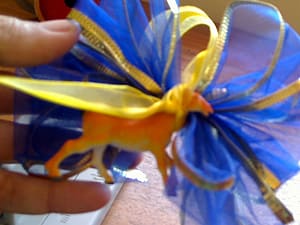
- I then tied the ribbon around its neck.
- Ribbon around the horse's neck
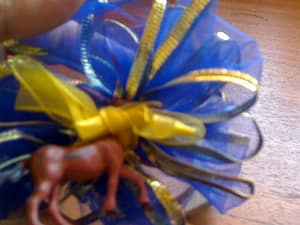
- Then I made a bow with the remaining yellow ribbon for the finished product.
- Finished Ribbon
- When I want to attach it to the gift bag, I will tie some silver florist wire to it and secure it that way.
- Ribbon with Bag
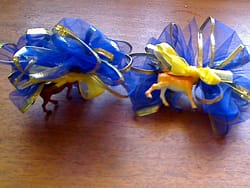
- Ribbons



As Captain Steven Hiller said in Independence Day,