
Scrunchy Bow
Make scrunchy bow easily without extra hands.
Servings 10
Calories
Cost 30
Equipment
Instructions
- Make sure you have all your supplies handy before you start.
- Ribbon Mis en Place
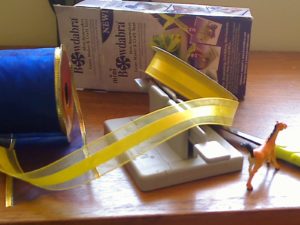
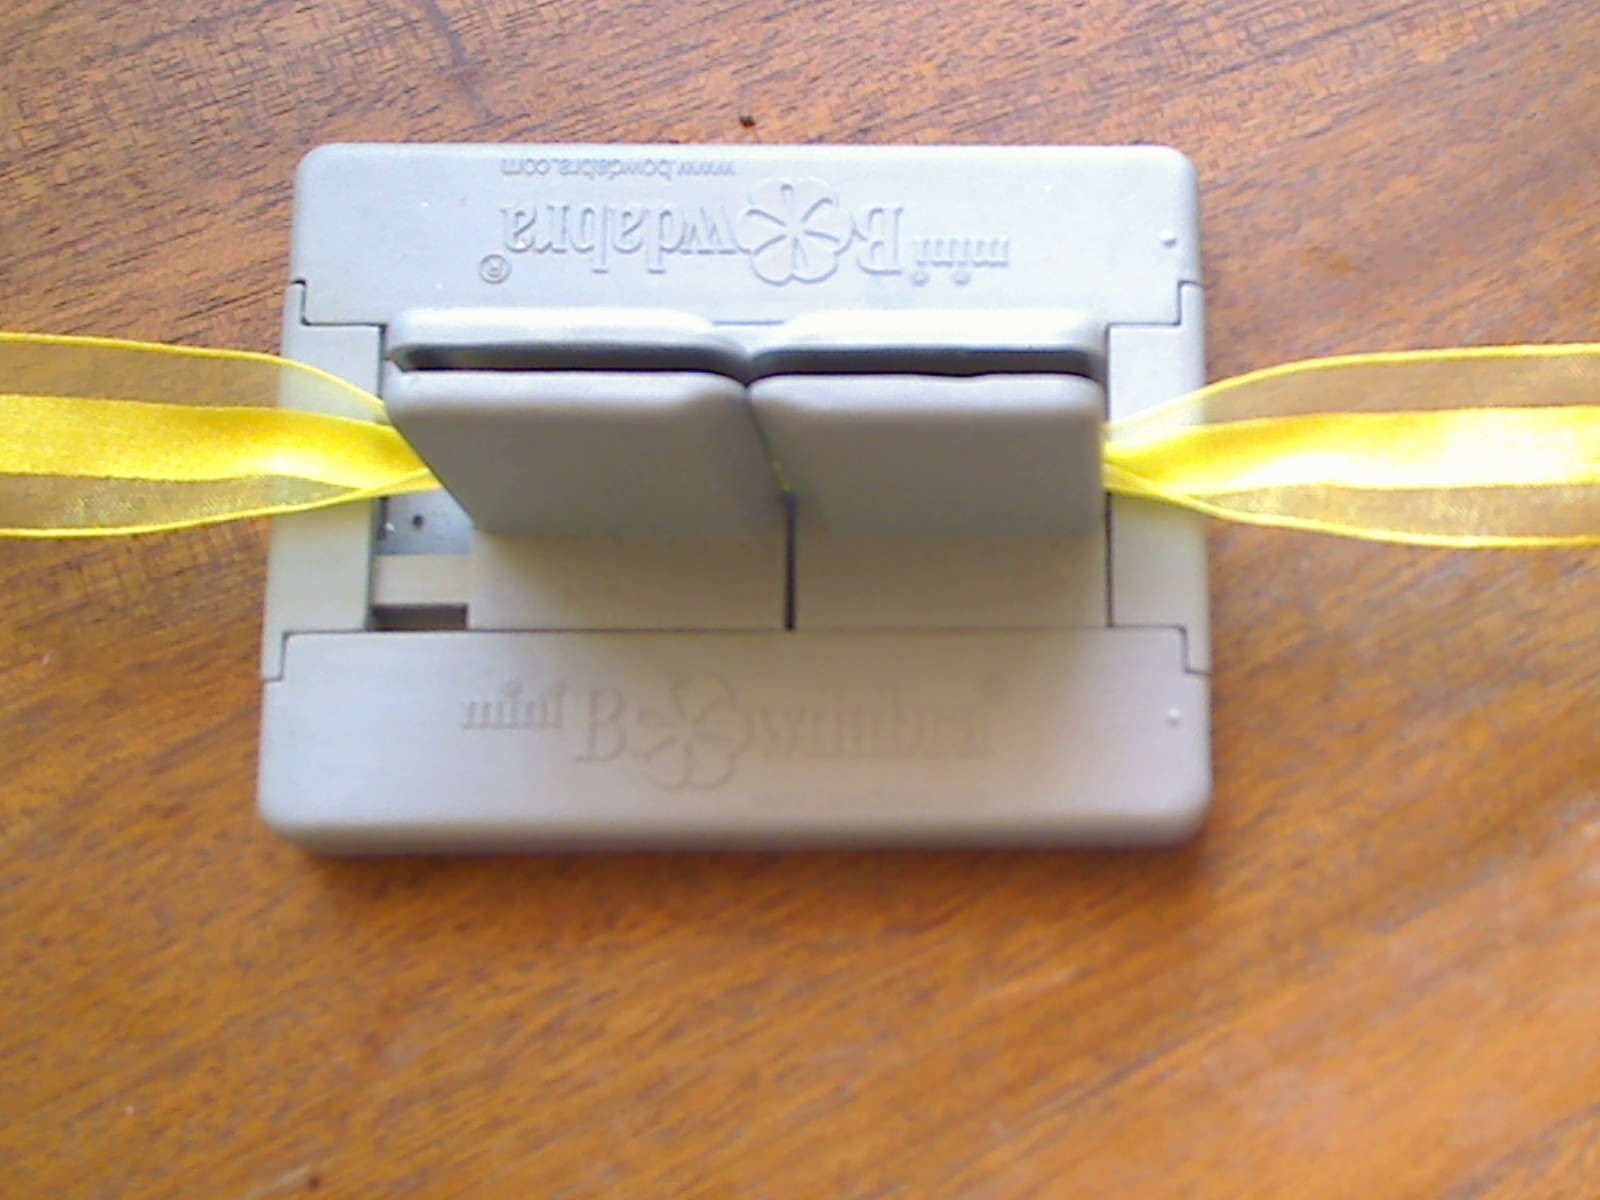
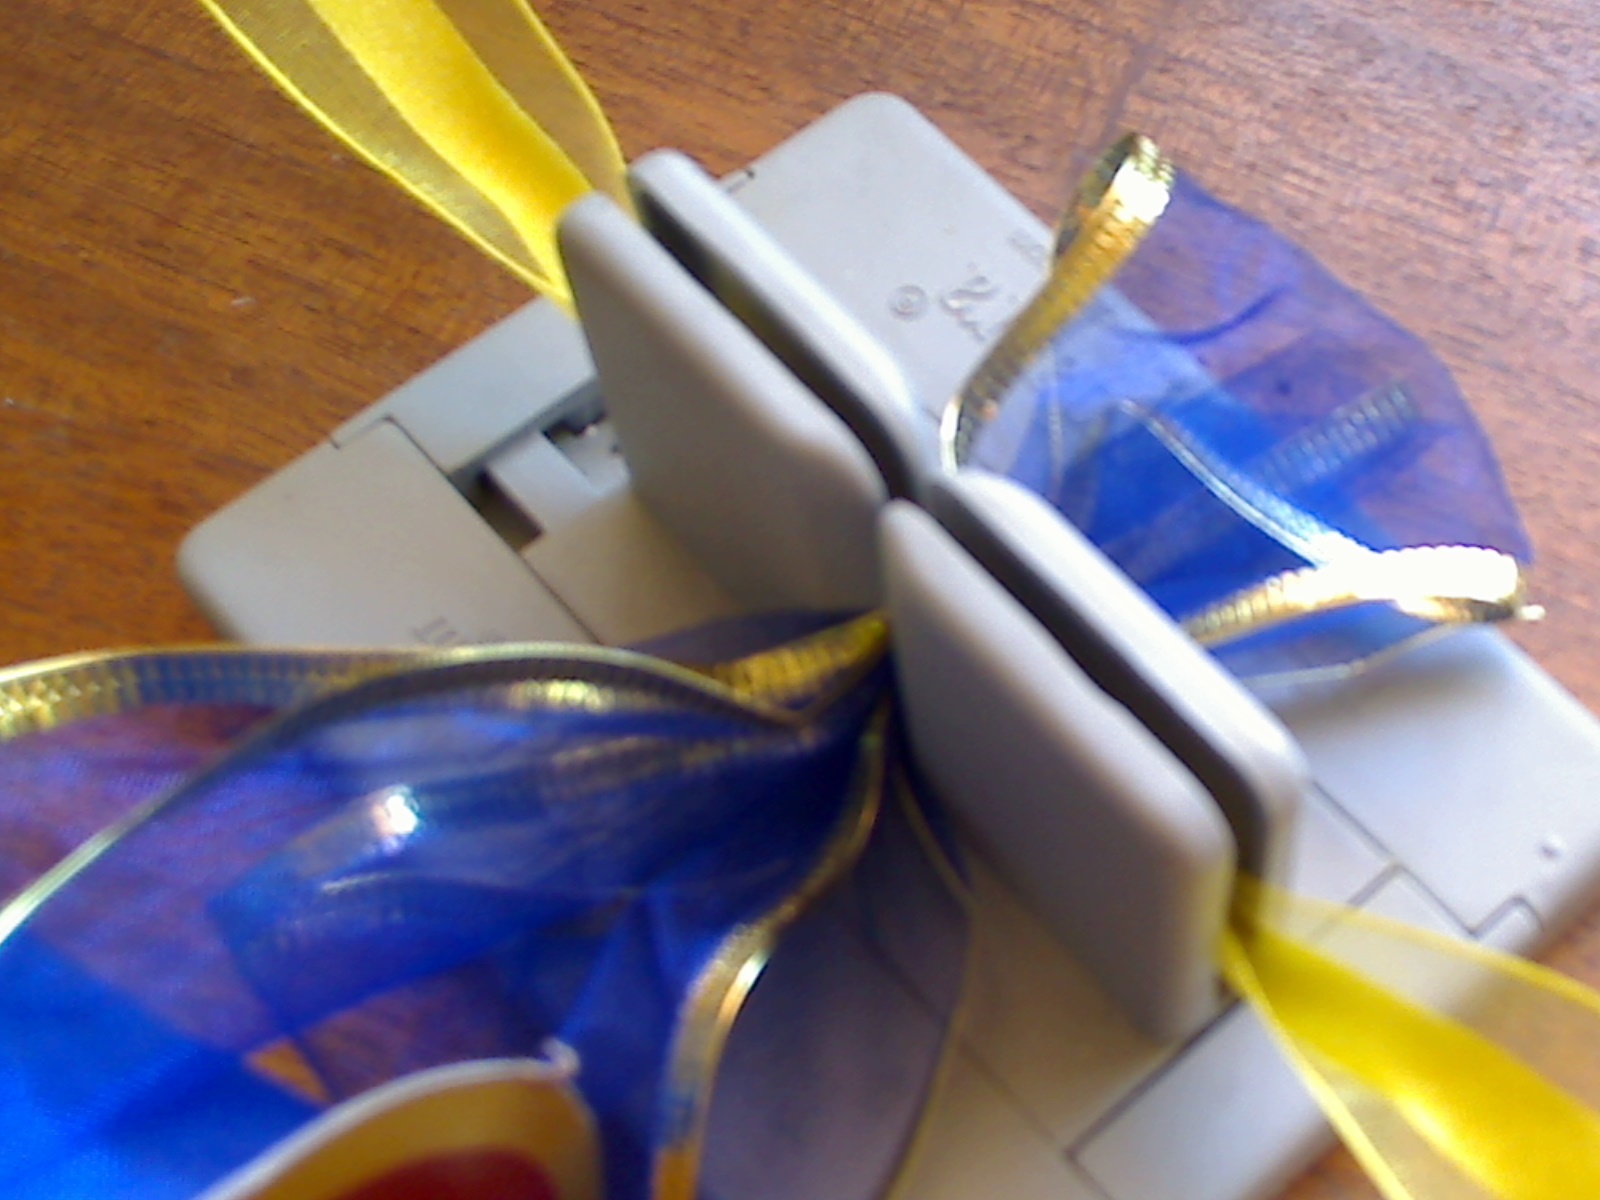
- Cut 12 inches of the yellow tie off ribbon and lay it horizontally in the Bowdabra.
- Tie-Off RIbbon
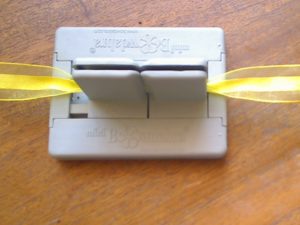
- Lay a small part of the blue ribbon across over the yellow ribbon
- Begin Loop
- Make a loop and put the part on the other side, sliding it down so it is in the Bowdabra.
- First Loop

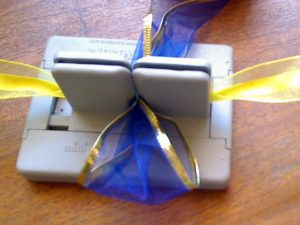
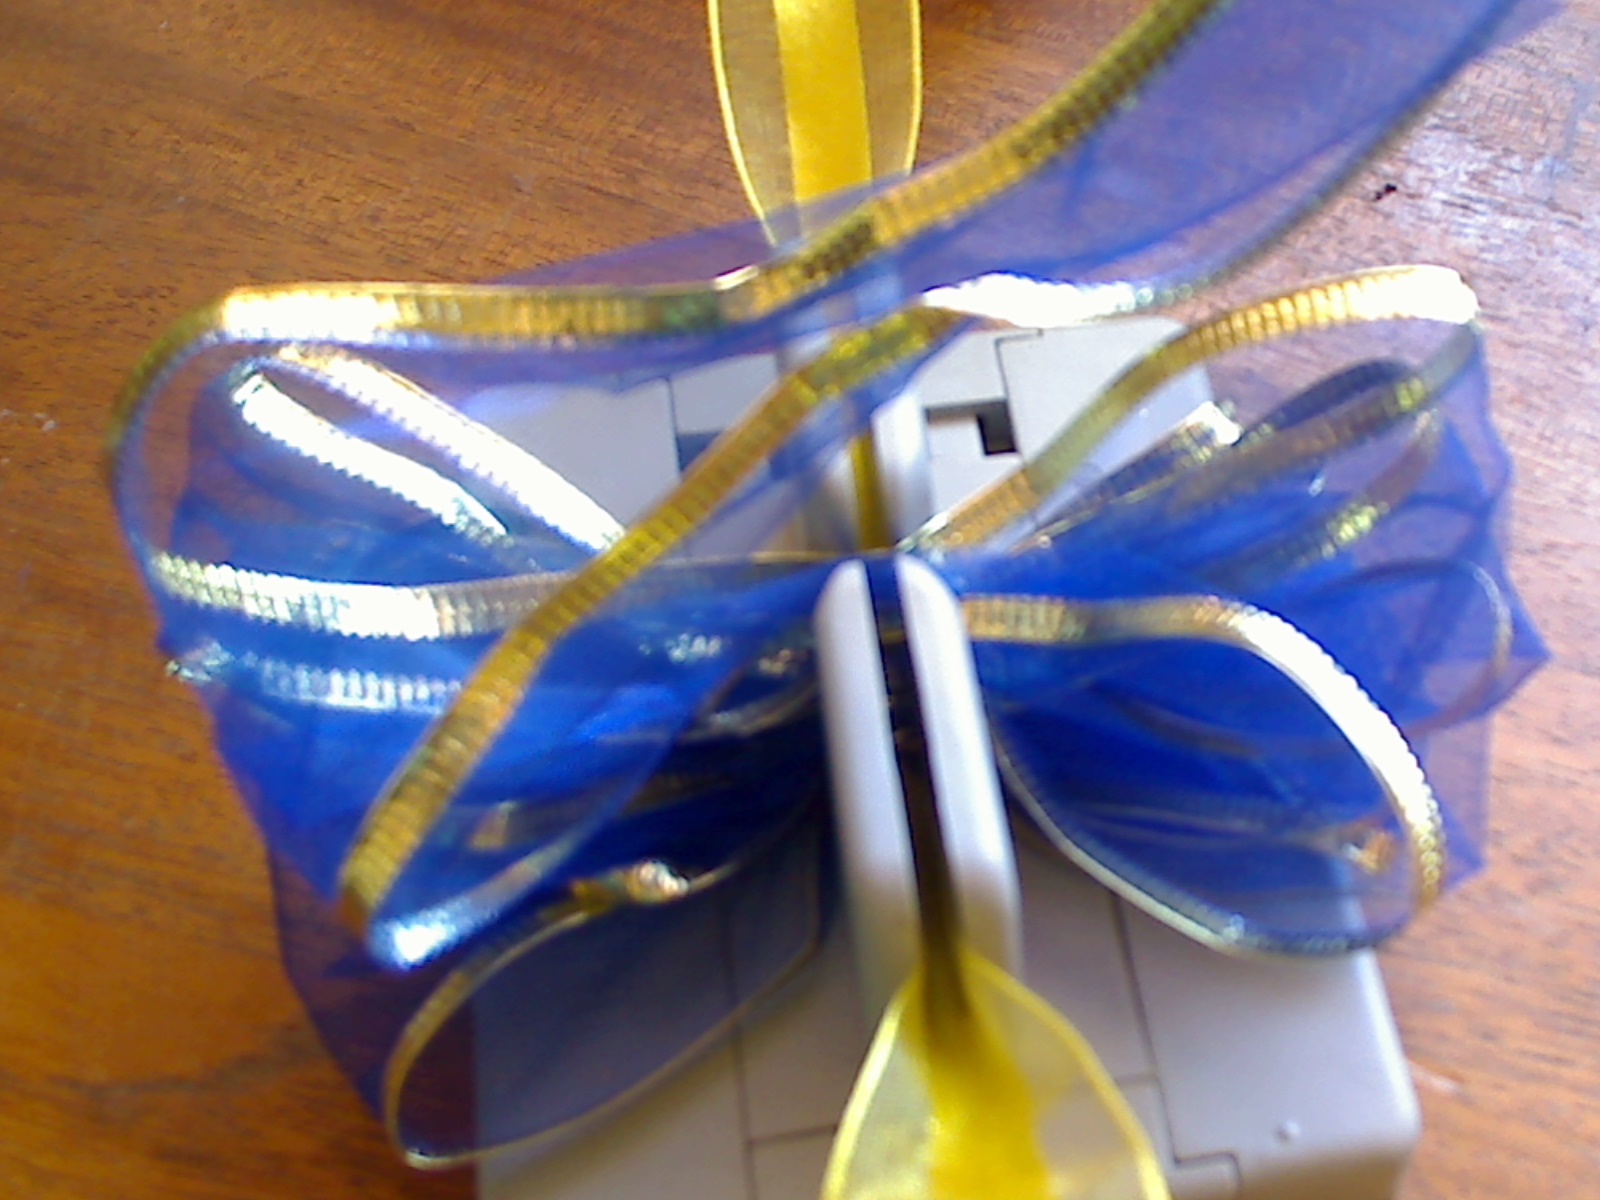
- Make another loop toward the other side. Continue doing this until the Bowdabra is almost full
- Almost full

- Use the wand to push the bow down.
- Use wand to scrunch down
- Now, remove the wand and bring the yellow ribbon up and tie off the bow. Don’t do it too tightly, because you still need to get the box out of the Bowdabra.
- Tie off

- Remove the ribbon from the Bowdabra by lifting it out and tie it securely.
- Ribbon Out of Bowdabra

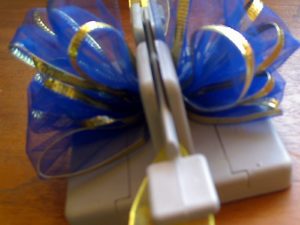
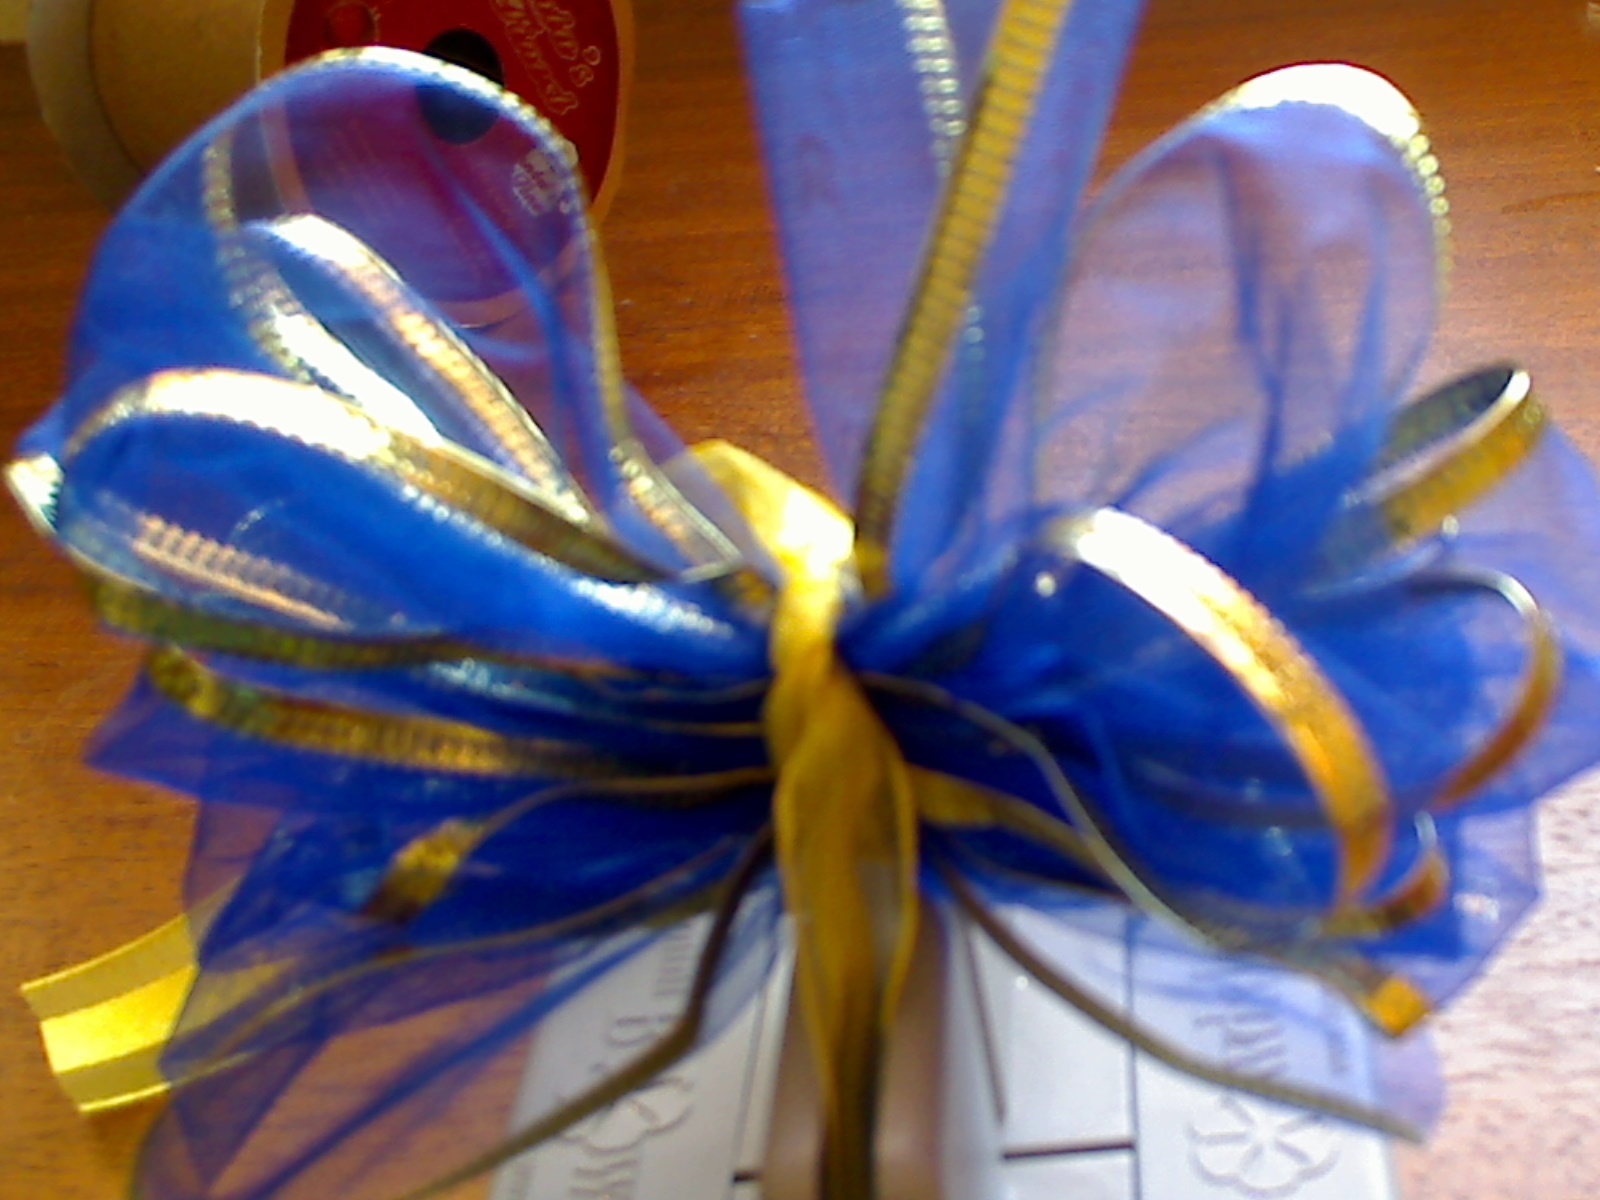
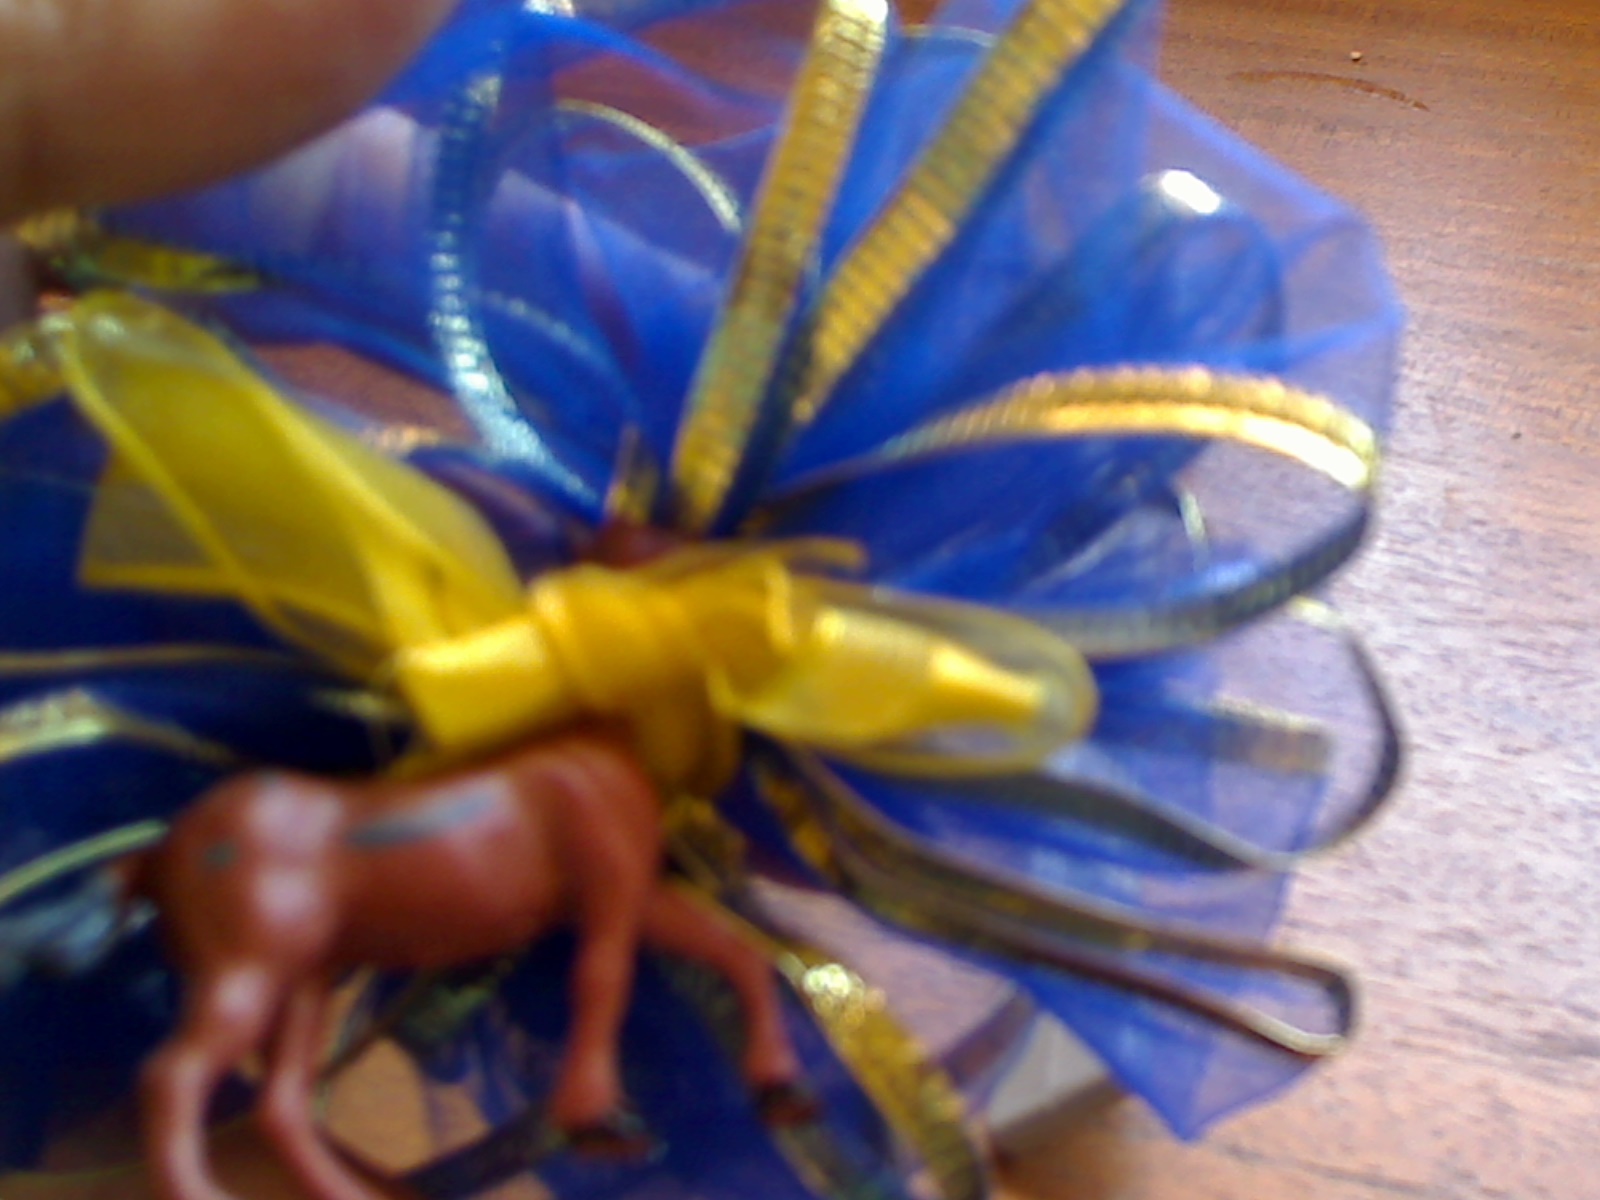
- Take the ribbon in your hands and fluff out the ribbon, and make it symmetrical.
- Fluffed Ribbon

- Now tie the yellow ribbon in the back of the ribbon tightly to secure it.
- Back of Ribbon

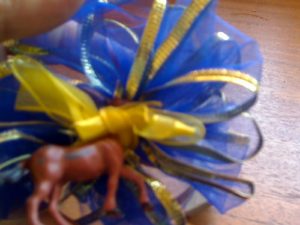
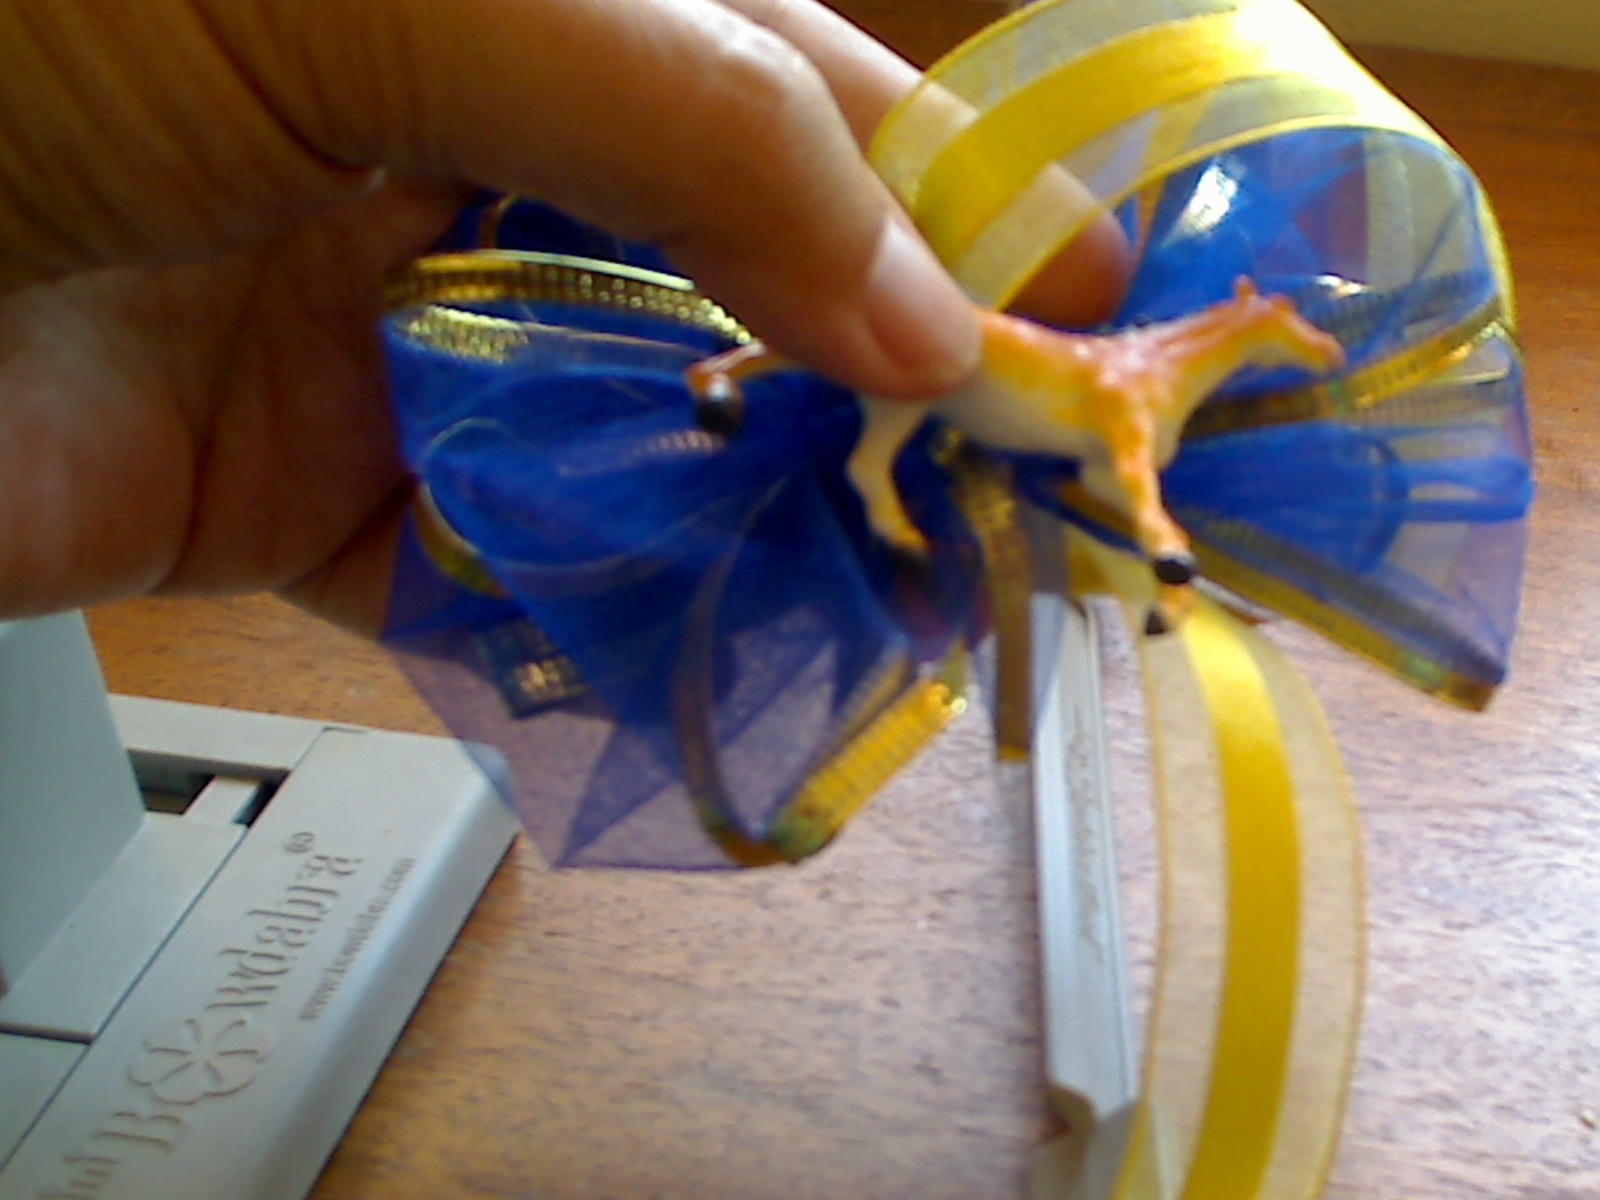
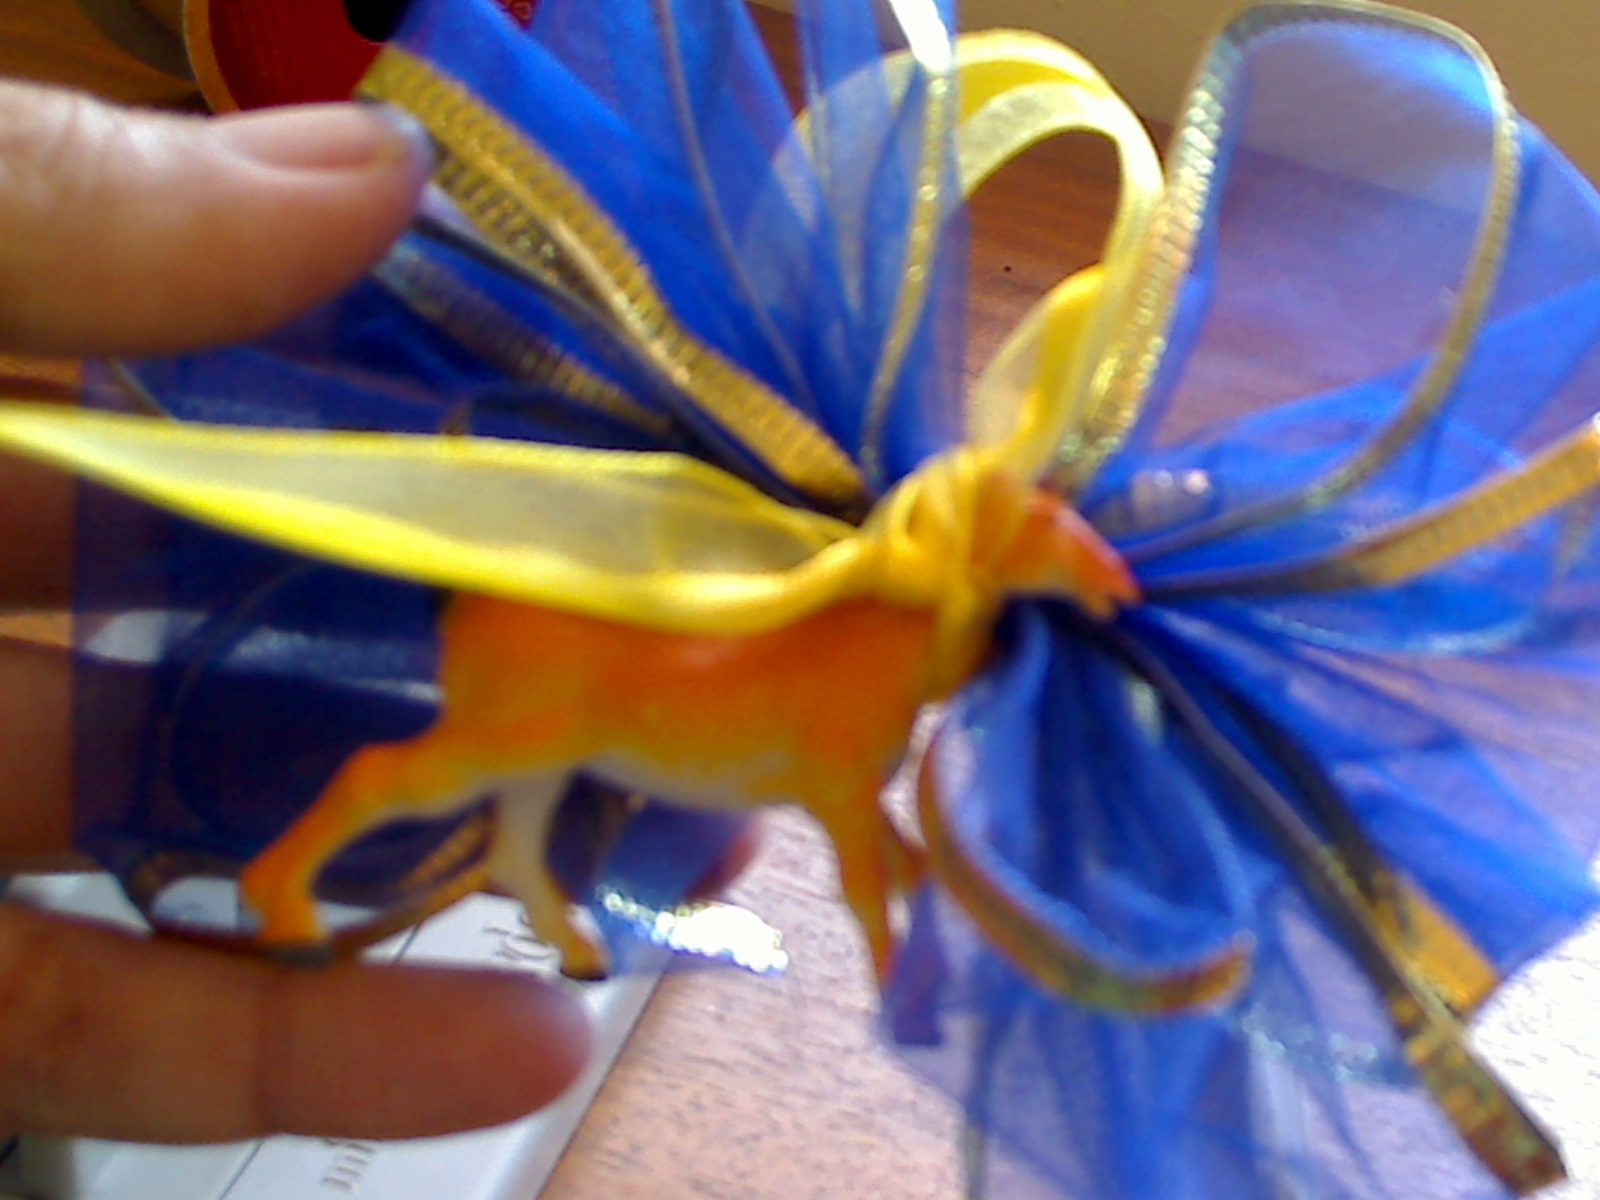
- At this point you can add a trinket. I put my horse in the front of the ribbon.
- Horse Trinket

- I then tied the ribbon around its neck.
- Ribbon around the horse's neck

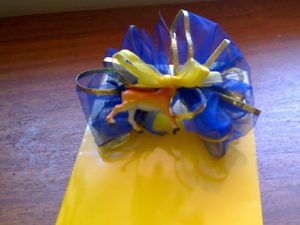
- Then I made a bow with the remaining yellow ribbon for the finished product.
- Finished Ribbon
- When I want to attach it to the gift bag, I will tie some silver florist wire to it and secure it that way.
- Ribbon with Bag
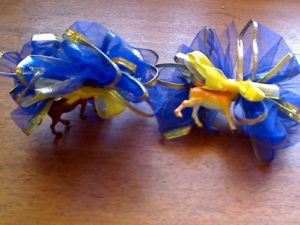
- Ribbons


Notes
Of course, you can use any colors of ribbon you want to use. To make a scrunchy type of ribbon, however, you should not use a heavyweight ribbon.