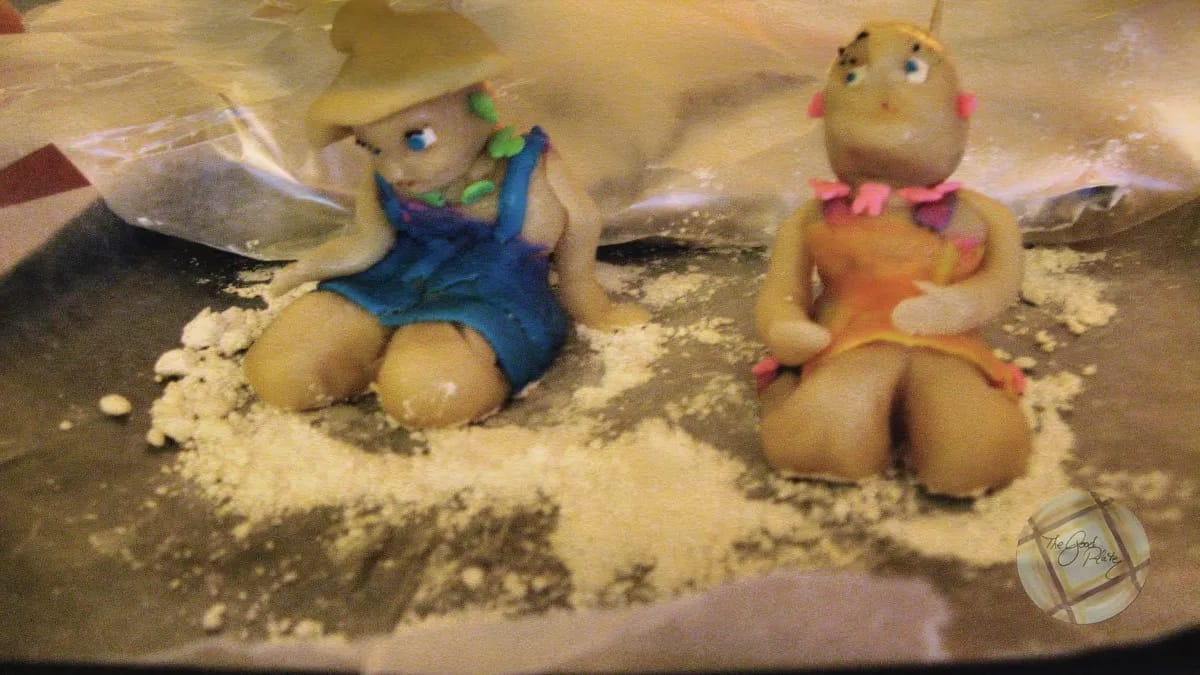
Marzipan People cake toppers are easy to make. Learn how to make Tinker Bell and other pixies with marzipan and taffy.
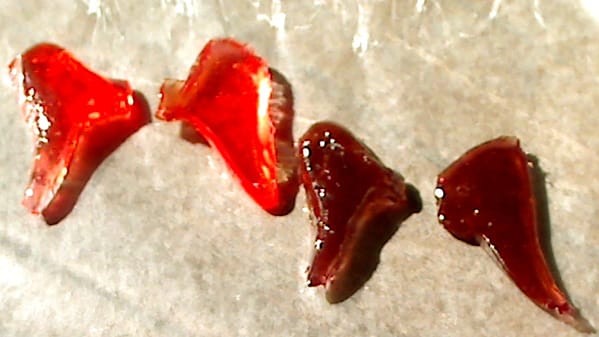
I started a project for my friend’s daughter’s party. Noelle wanted a beach-themed party with a cake with pixie cake toppers. The cake had marzipan people cake toppers with pixie wings made from hard candy, a fondant topping, and chocolate cake with vanilla filling. It was some cake!
What is Marzipan?
What is marzipan? Marzipan is mostly crushed almonds mixed with sugar. It differs from almond paste in that it is more firm and more suitable for creating figurines. When I was growing up in Germany, there was a wonderful bakery that for Christmas, made the Nativity scene with gingerbread, and all the figurines were made of marzipan. It took up the entire window, and everything was edible!
I want to thank Tom Fox for his inspiration, for lending me the marble to make the wings, and for taking the final photos of the girls! Thanks, Tom.
Marzipan Pixies
What You Will Need for This Project
- Marzipan
- Powdered Sugar
- Saltwater Taffy
- Small Candy pieces (Jimmies)
- Black Sugar
- Red Sugar
- Water
- Toothpicks
- Styrofoam cups
- Kitchen Match Sticks
- Paint Brush
If you have the equipment and the time, go ahead and make your own marzipan. If you don’t, then get the roll of marzipan in the cake-baking section of the supermarket. Be sure and have everything you need, because you have to work pretty quickly so the marzipan does not dry out. Unlike fondant, you cannot add anything to it to make it malleable again.
The taffy I purchased came in a long, thin piece about a foot by 3 inches long. It was wrapped in waxed paper, and since it was hot when I tried to open it, it stuck. So, if this is the kind you have, put it in the freezer. You can put the other kind in the freezer, too, so it will be easier to roll out.
The first thing you want to make is the head. Take a piece of marzipan about the size of a large grape, and roll it in your hands. Try to make it oval-shaped, as this is the shape of a head. If you have a face mold, you can mold the face in the mold, otherwise, you will have to do it by hand like I did.
Making the Face
- Push a little of the bottom of the oval ball to form the chin.
- Pinch above the chin to make a nose
- Use the wooden end of the kitchen match to make eye sockets
- Use the toothpick to make the smiling mouth
- Continue to shape the head in your hands and adjust it accordingly.
- When you are satisfied, put the head on a toothpick and insert the toothpick in the Styrofoam to dry while you make others
Making Eyes and Decorating the Face
- Take a small piece of white candy and cut it so it will fit in the eye socket. Using the toothpick, put a small amount of water in the eye socket. Carefully, put the candy inside the eye socket, and use the toothpick to press it into place. Use a tiny bit of rolled taffy for the iris, and carefully using a toothpick place it on top of the white candy. If you are very brave, you can use one grain of black sugar for the pupil and place it on top of the taffy iris.
- Using the paintbrush, paint a little water on the area outside the eye, where an eyebrow would be. Dip the tip of your toothpick in water, pick up some black sugar, and carefully wipe the eyebrow with the toothbrush, creating eyelashes.
- Do the same thing for the mouth, only use the red sugar.
- Stick pieces of candy into the sides of the head to make earrings in coordinating colors.
Make the Body
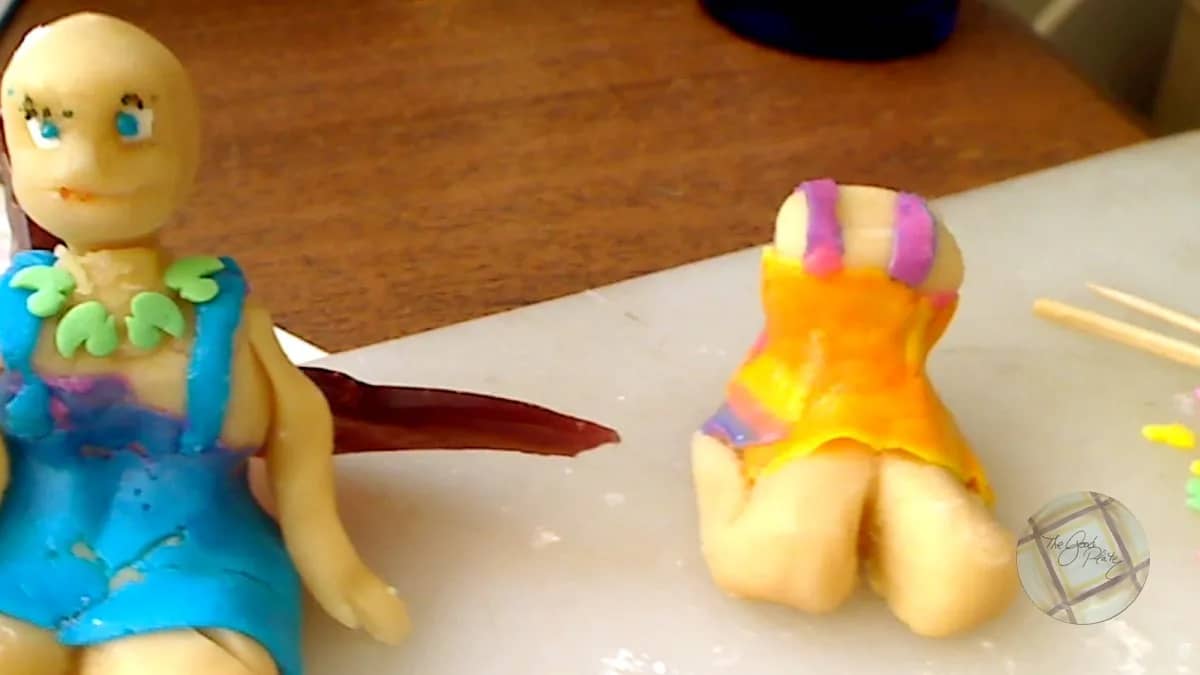
You will need a slightly larger piece of marzipan, and again, roll it into an oval. Then you will want to start shaping the sitting position. Squeeze in the middle to create an upper portion, and flatten the lower portion to make the seated figure. Use a toothpick to slit the top of the bottom into two legs, and make a long mark on each of the sides. You can pull out one side a little to make the foot. You can see this in the picture:
Dress for Success!
This part was the most fun for me, dressing my pixie in taffy “clothes”. I peeled the taffy from the wax paper and let it sit a few minutes until it was malleable, then I draped it over the body, cutting away the top. Make sure the back of the pixie also has “clothes”. Since the pixie now had clothes on and I could see it shaping up better, I squeezed the body to a) make sure my taffy was sticking, and b) make a better waste.
If you do not have a long roll of taffy like I did, then you will want to roll the taffy on a board dusted with powdered sugar very thinly, and then proceed as above.
Make the Arms
Use a small amount of marzipan the make the arms, and roll it into a cylinder. Flatten one side of the arm to attach to the body, and flatten the other end to make the hand. Shape accordingly, then attach the arms to the body.
Attaching the Head
You will need a quite small piece of marzipan to make the neck. Roll a pea-sized piece of marzipan into a squat cylinder. Make an indentation in both the top of the body and the bottom of the head, just slightly larger than the neckpiece. Insert the neckpiece into the body, then place the head on top of the neck, and press down slightly to make sure the head is in place. You can use the matchstick to firmly pinch it in.
Attach the Arms
Attach the arms to each side, and position them as desired. Use the toothpick to score and cut away a small portion of the flattened hand to form a thumb. Score the rest to make fingers.
Complete the Pixie
- Take two small pieces of coordinating taffy and make the straps for the dress. Do this after putting on the arms because straps go over the shoulder. Paint the “shoulders” with a little water, and carefully lay the straps down, pressing them into the “dress” on both the front and back sides.
- Take little candies of coordinating colors and press them into the neck area to make a necklace and hide where the head is attached.
- Paint a little water onto the foot and place a little coordinating taffy for the shoes. Press a piece of the candy in to make a nice buckle.
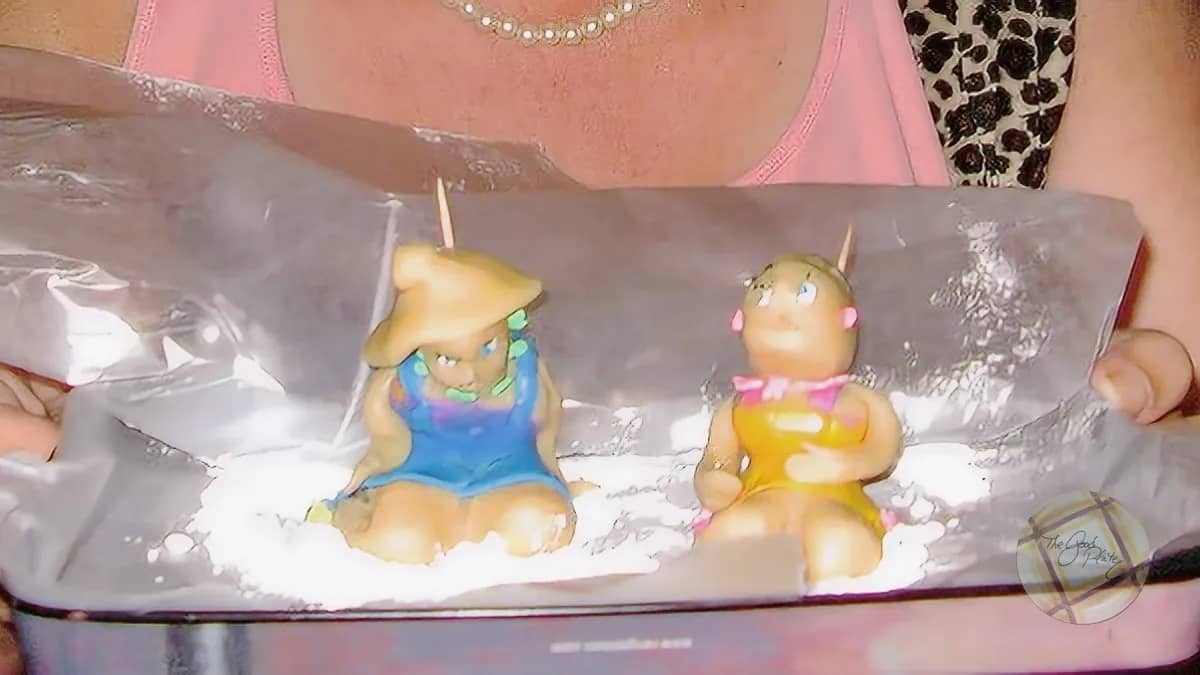
At this point, you can make hair out of more marzipan, or shape a little hat to put on top of the pixie. Cover your pixie loosely with wax paper and place in the refrigerator until ready to use.
Enjoy and have fun!
How to Make Marzipan People Cake Toppers
Marzipan People Cake Toppers
Supplies
- Marzipan
- Powdered Sugar
- Saltwater Taffy
- Small Candy pieces Jimmies
- Black Sugar
- Red Sugar
- Water
Instructions
- The first thing you want to make is the head. Take a piece of marzipan about the size of a large grape, and roll it in your hands. Try to make it oval-shaped, as this is the shape of a head. If you have a face mold, you can mold the face in the mold; otherwise, you will have to do it by hand like I did.
Making the Face
- Push a little of the bottom of the oval ball to form the chin.
- Pinch above the chin to make a nose
- Use the wooden end of the kitchen match to make eye sockets
- Use the toothpick to make the smiling mouth
- Continue to shape the head in your hands and adjust it accordingly.
- When you are satisfied, put the head on a toothpick and insert the toothpick in the Styrofoam to dry while you make others
Making Eyes and Decorating the Face
- Take a small piece of white candy and cut it so it will fit in the eye socket. Put a small amount of water in the eye socket using the toothpick. Carefully put the candy inside the eye socket and press it into place with the toothpick. Use a tiny bit of rolled taffy for the iris, and carefully, using a toothpick, place it on top of the white candy. If you are very brave, you can use one grain of black sugar for the pupil and place it on top of the taffy iris.
- Using the paintbrush, paint a little water on the area outside the eye, where an eyebrow would be. Dip the tip of your toothpick in water, and pick up some black sugar, and carefully wipe the eyebrow with the toothbrush, creating eyelashes.
- Do the same thing for the mouth, only use the red sugar.
- Stick pieces of candy into the sides of the head to make earrings in coordinating colors.
Make the Body
- You will need a slightly larger piece of marzipan, and again, roll it into an oval. Then you will want to start shaping the sitting position. Squeeze in the middle to create an upper portion, and flatten the lower portion to make the seated figure. Use a toothpick to slit the top of the bottom into two legs, and make a long mark on each of the sides. You can pull out one side a little to make the a foot. You can see this in the picture:
Dress for Success!
- This part was the most fun for me, dressing my pixie in taffy “clothes”. I peeled the taffy from the wax paper and let it sit a few minutes until it was malleable, then I draped it over the body, cutting away the top. Make sure the back of the pixie also has “clothes”. Since the pixie now had clothes on and I could see it shaping up better, I squeezed the body to a) make sure my taffy was sticking, b) make a better waste.
- If you do not have a long roll of taffy like I did, then you will want to roll the taffy on a board dusted with powdered sugar very thinly, and then proceed as above.
Make the Arms
- Use a small amount of marzipan the make the arms, roll it into a cylinder. Flatten one side of the arm to attach to the body, and flatten the other end to make the hand. Shape accordingly, then attach the arms to the body.
Attaching the Head
- You will need a quite small piece of marzipan to make the neck. Roll a pea sized piece of marzipan into a squat cylinder. Make an indentation in both the top of the body, and the bottom of the head, just slightly larger than the neck piece. Insert the neck piece into the body, then place the head on top of the neck, and press down slightly to make sure the head is in place. You can use the matchstick to firmly pinch it in.
Attach the Arms
- Attach the arms to each side, and position them as desired. Use the toothpick to score and cut away a small portion of the flattened hand to form a thumb. Score the rest to make fingers.
Complete the Pixie
- Take two small pieces of coordinating taffy and make the straps for the dress. Do this after putting on the arms because straps go over the shoulder. Paint the “shoulders” with a little water, and carefully lay the straps down, pressing them into the “dress” on both the front and back sides.
- Take little candies of coordinating colors and press them into the neck area to make a necklace and hide where the head is attached.
- Paint a little water on to the foot and place a little coordinating taffy for shoes. Press a piece of the candy in to make a nice buckle.



I love your Blog, it’s nice when you can tell somebody actuallly puts effort into a blog, and gives the blogs value.
the-good-plate.com is my TOP1 site!
You, my pal, are a genius!
I agree with your Marzipan People, superb post.
I really enjoyed this! Have a great day.
Really amazing site, thank you very much for your effort in writing the post.