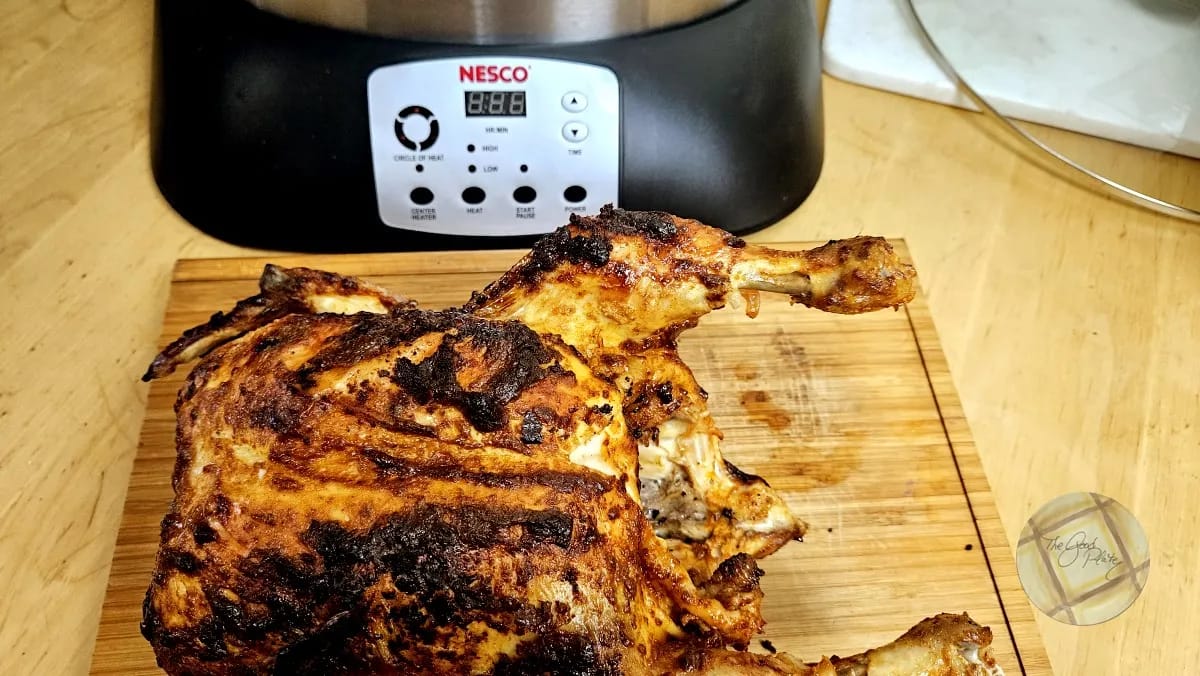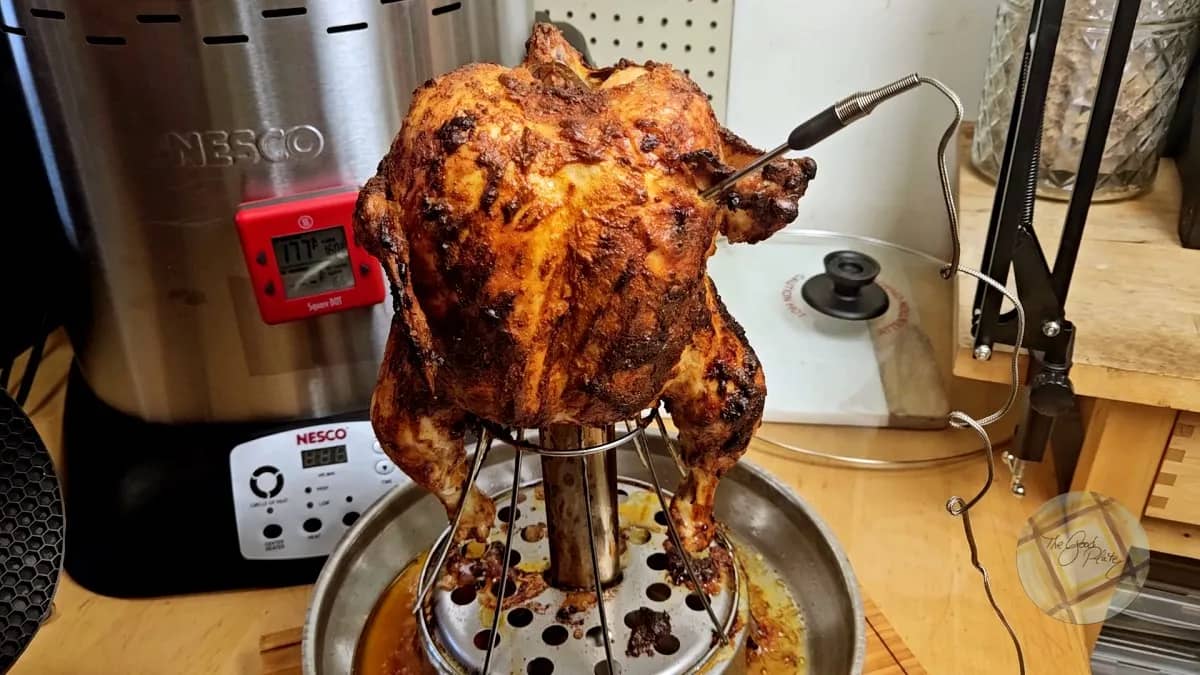
Chicken roasted in the Nesco Upright Roaster gives you perfectly cooked chicken, turkey, and roasts, all beautifully crisp without losing moisture and faster than a conventional oven.
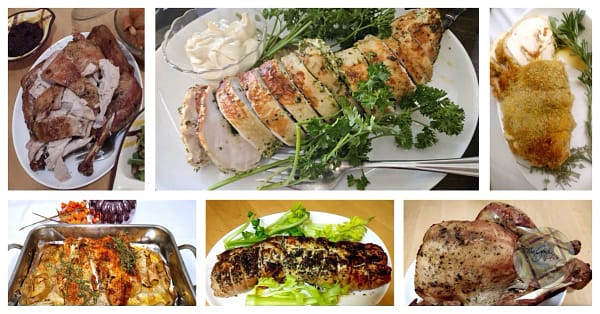
This is part of our series on Six Methods of Cooking a Perfect Turkey.
Why Use a Vertical Roaster?
The best thing about a rotisserie cooker is the food moves around so all the surfaces can get crisp. Even with a rack, because of the steam rising from whatever liquid has come off the food, the bottom of the food doesn’t get a chance to have that magical Malliard effect and doesn’t get crisp.
However, household rotisseries can only handle a certain amount of weight without burning out their motors. Enter the Nesco Upright Infrared High-Speed Roaster. Unlike a rotisserie, the food does not move. Instead, the Nesco’s heating elements rotate their heat so the food is perfectly cooked without losing any moisture.
The Nesco Upright Roaster
The biggest difference between the upright roaster and the Nesco conventional 18-quart roaster is this roaster has central heating which means the food cooks on the inside and the outside. Like Nesco’s other roasters, it also has the patented “Circle of Heat” that cooks food evenly from the outside.
Questions about the Roaster
After having used the 18-quart for so many years, I was ready to test this new machine and find some answers to some of my questions. Check the Nesco Upright Roaster Manual for more information about the roaster.
How large of a turkey will the Nesco Upright Roaster hold?
As long as the turkey’s sides are far enough from the heating element, a bird up to 18 pounds will fit over the top rack.
Is an Infrared Roaster Safer than a Turkey Fryer?
An infrared turkey roaster is a lot safer than a turkey fryer. Turkey fryers have a tendency to tip over. They can also splatter and cause devastatingly bad burns. The Consumer Product Safety Commission warns about injuries and property damage, while the National Fire Protection Association says that using cooking oil-style turkey fryers is not safe.
The Nesco Infrared Roaster has a large base that cannot tip over and it does not use oil. It even has a safe rack remover that makes getting the turkey out of the roaster easy. The glass lid also has a clear no-touch while in use warning.
Can you roast a stuffed turkey with this upright roaster?
No, you cannot roast a stuffed turkey with this roaster because the upper rack fits into the bird’s cavity.
Stuffing adds additional time to roasting and can be a health hazard if it is not removed completely. That doesn’t mean you cannot have our Oyster Cornbread Stuffing, just cook in a casserole in the oven or use a slow cooker instead.
How long does it take to roast a turkey?
Because this is an infrared cooker, much faster than a conventional oven, cook your turkey for 6 minutes per pound. For an 18-pound turkey, that’s about 108 minutes, a little over an hour and a half.
| Type | Upright Infrared Roaster | Conventional Oven |
|---|---|---|
| Unstuffed Turkey 10-14 pounds | 6 minutes per pound up to 1 hour 20 minutes | 15 minutes per pound up to 3 hours 30 minutes |
| Unstuffed Turkey 14-18 pounds | 6 minutes per pound up to 1 hour 48 minutes | 15 minutes per pound up to 4 hours 30 minutes |
| Stuffed Turkey 14-18 pounds | N/A | stuffing adds additional time up to 5 hours |
| Whole Chicken 4-6 pounds | 8 minutes per pound up to 48 minutes | 20 minutes per pound up to 2 hours |
How do I know when the turkey is done?
The roaster has a timer so you can easily see how much time is left. It also allows you to adjust the time remaining. Always use a thermometer for your turkey. Turkey is done when it reaches 165℉ / 73 ℃.
How do I check the temperature?
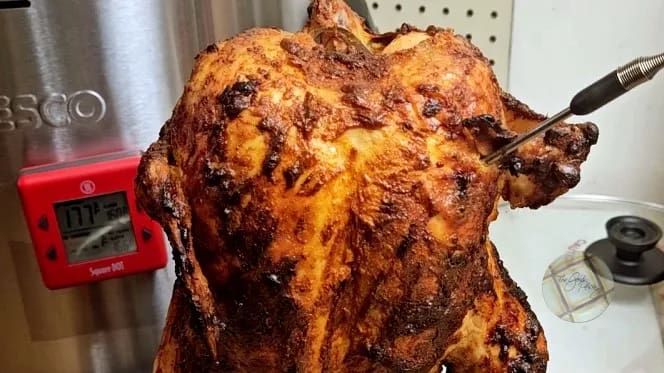
I recommend using the Square Dot probe which can go inside the oven while the thermometer magnetically sticks to the outside of the roaster.
Why is the roaster smoking? Does the roaster have to be burned in or “smoked out”?
Similar to other Nesco roasters, this roaster also needs to be burned in or smoked out before its first use. Wash the accessories, including the glass cover, then set the roaster in a well-ventilated area and turn it on “High” for 15 minutes. Then, it’s ready to use.
How do I get the turkey out of the roaster?
Getting the turkey out of the roaster couldn’t be easier. Simply put the included rack remover in the hole at the top of the heating element cover and pull the whole thing out.
Let the turkey rest for 30-45 minutes on the stand. If you want the crisp skin on the back of the bird, cut the pieces while the bird is still on the stand, otherwise, just pull it off after it has rested.
How do I clean the roaster?
All the accessories, including the bottom rack, top rack, heating element cover, and drip tray can be easily cleaned with soap and hot water. I recommend handwashing. The glass cover can also be cleaned with hot water and soap and could go in the dishwasher.
After the main body has cooled to room temperature, it can be cleaned with a brush or non-abrasive mesh pad dipped in warm soapy water. Never spray water or cleaners directly onto the interior surface of the main body.
The outside of the main body can be cleaned with a damp cloth and dried with a soft cloth.
Feel free to use your favorite turkey recipe, or you can try this Spicy Chicken recipe.
Nesco Upright Roaster Spicy Chicken Recipe
Email Me the Recipe
Nesco Upright Roaster Spicy Chicken
If you purchase any of the products through these affiliate links, I get a few pennies that help keep The Good Plate open. I use these products myself and want you to be able to easily find them.
Ingredients
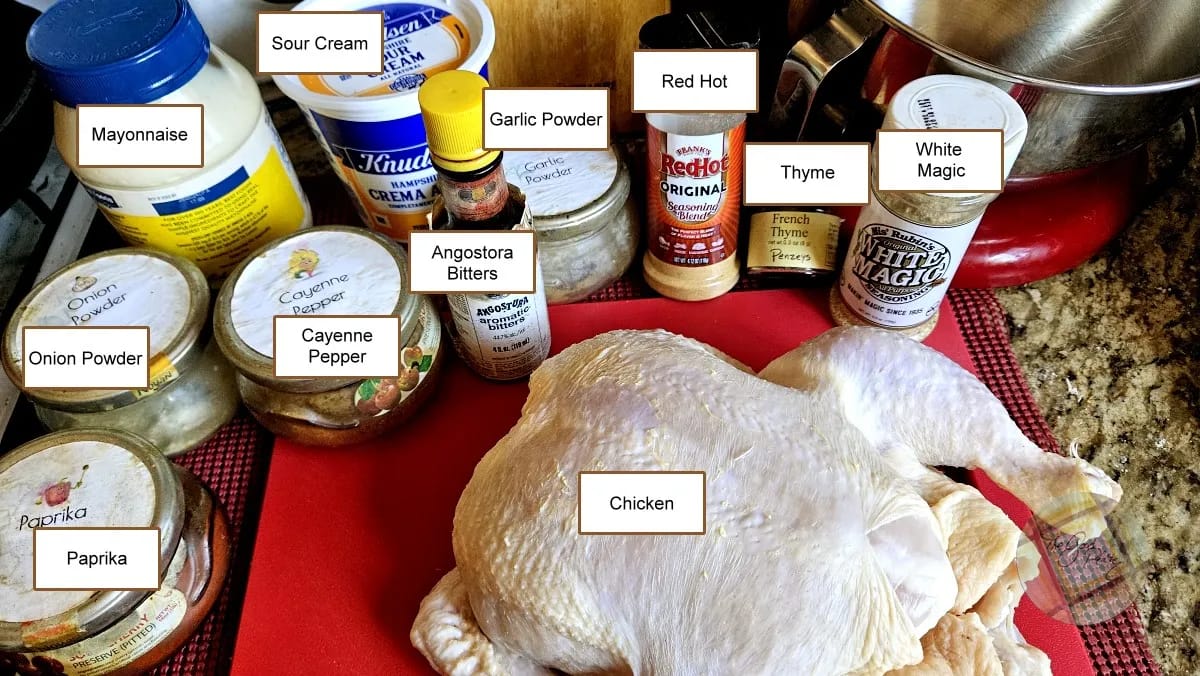
- 5 pound Chicken whole, giblets removed
~~ — Sauce — ~~
- 2 tablespoon Mayonnaise

- 2 tablespoon Sour cream
- 1 tablespoon Frank’s Red Hot Sauce Powder
- ½ teaspoon Mis Rubin’s White Magic
- 1 teaspoon Garlic powder
- 1 teaspoon Onion powder
- 2 teaspoon Paprika
- ½ teaspoon Cayenne
- ¼ teaspoon Thyme
- ⅛ teaspoon Angostura Bitters
~~ — Injection — ~~
- ½ cup Milk
- 1 teaspoon Outrage
Instructions
- Mise en Place
- 5 pound Chicken wholeRemove the neck and giblets from the chicken. Give the giblets to your pets and use the neck to make stock.
- Make the rubbing sauce.
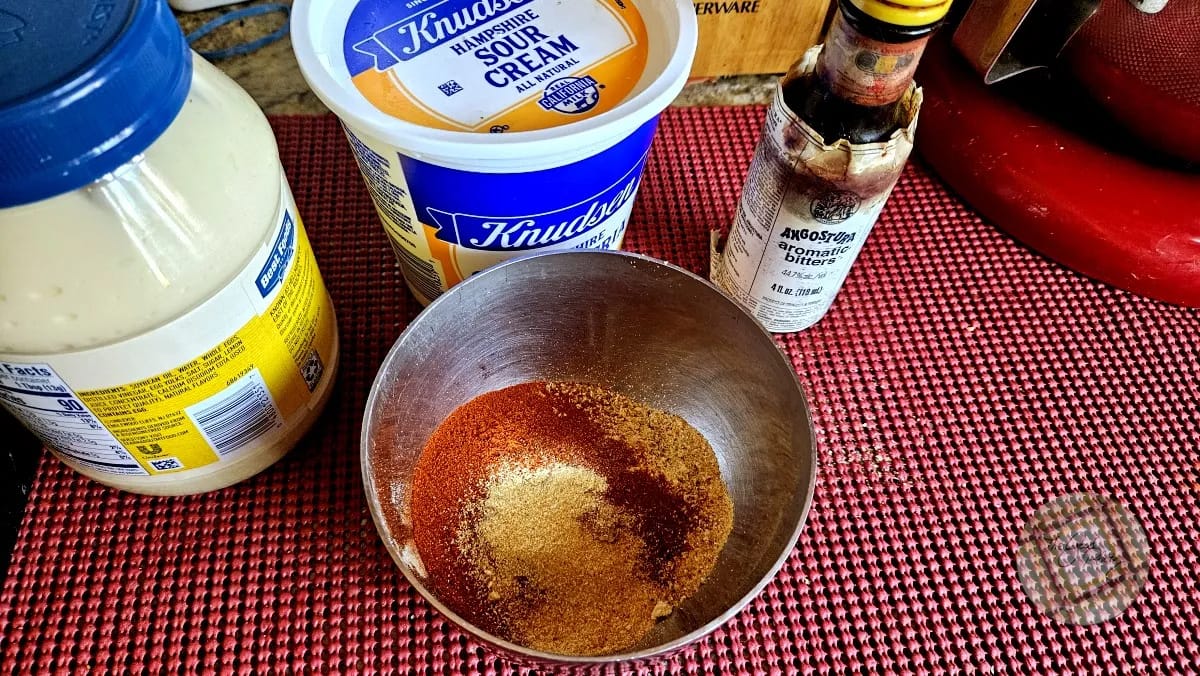
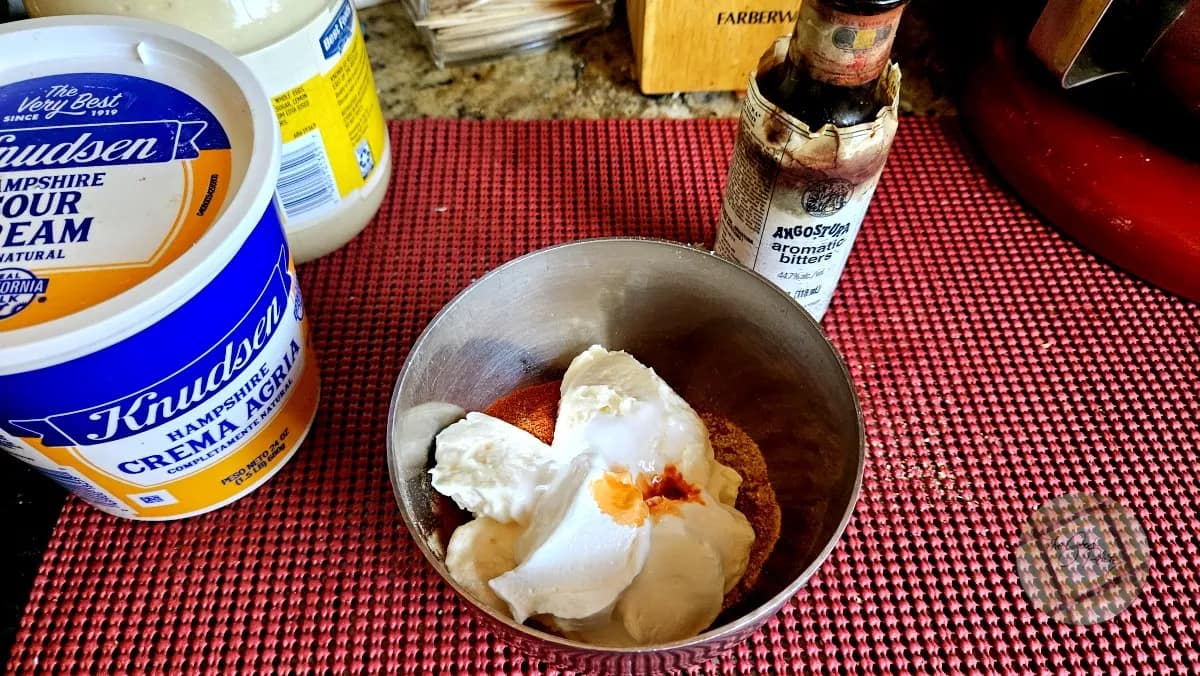
- 2 tablespoon Mayonnaise, 2 tablespoon Sour cream, 1 tablespoon Frank’s Red Hot Sauce Powder, 1/2 teaspoon Mis Rubin’s White Magic, 1 teaspoon Garlic powder, 1 teaspoon Onion powder, 2 teaspoon Paprika, 1/2 teaspoon Cayenne, 1/4 teaspoon Thyme, 1/8 teaspoon Angostura BittersMix the mayonnaise and sour cream, then add the Frank’s Powder. Taste it; if it’s too spicy for you, omit the cayenne. Add the remaining ingredients, taste again for seasoning, and adjust it to your liking.
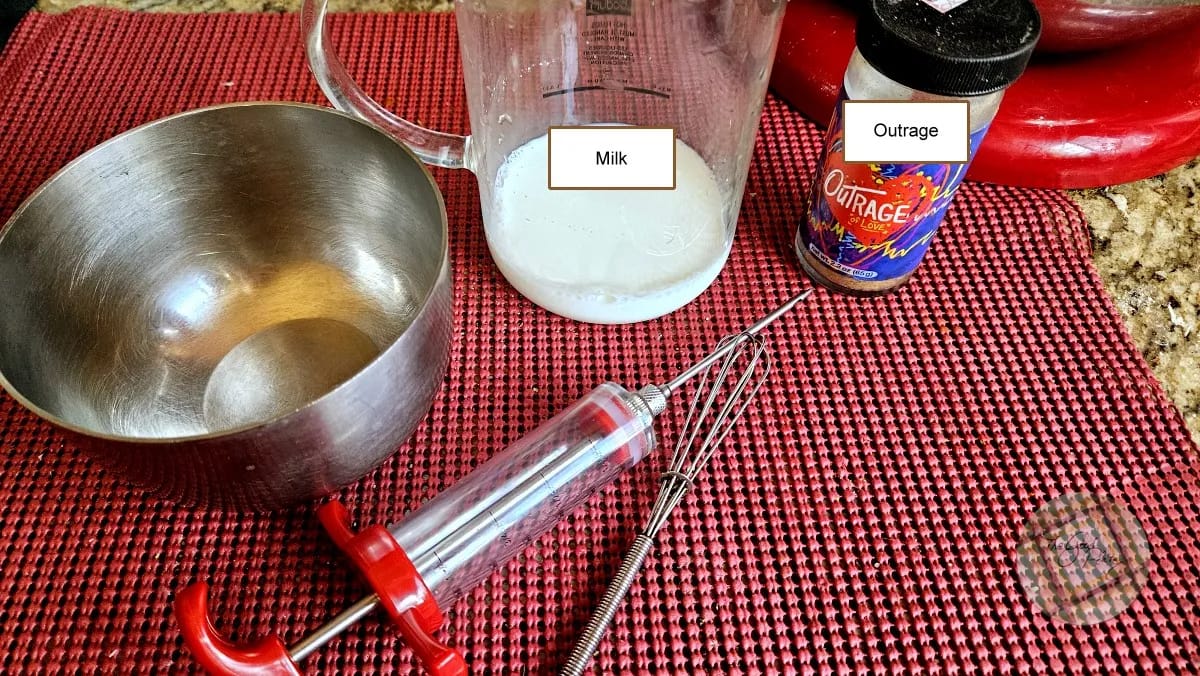
- 1/2 cup Milk, 1 teaspoon OutrageMix the milk and Outrage in a small bowl and set it aside.
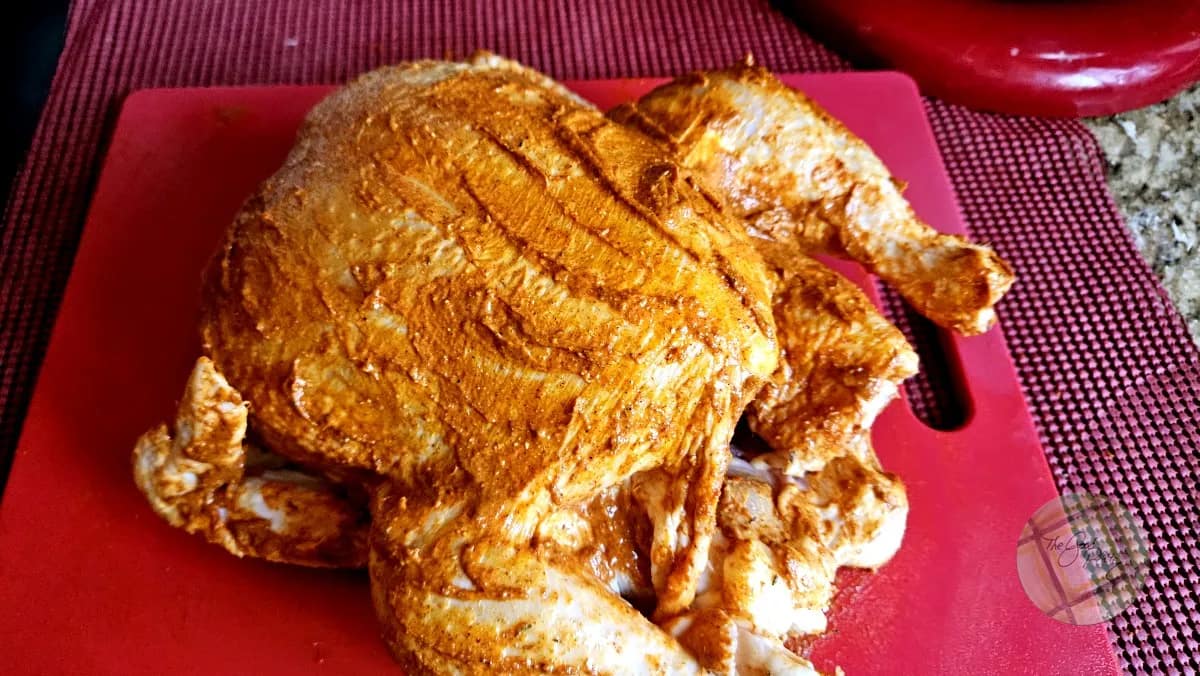
- To protect your hands, please wear gloves, then generously rub the chicken’s breast, wings, thighs, legs, back, and some in the cavity.
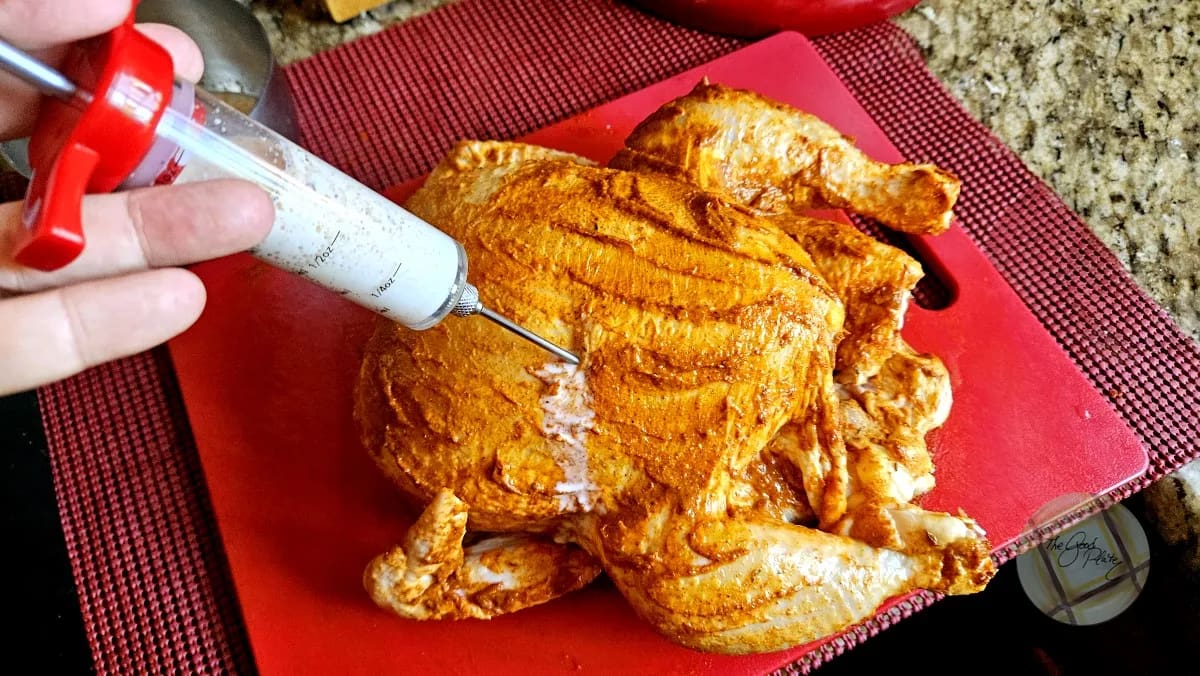
- Using a marinade injector, pull some of the milk mixture into the injector chamber and inject the breast, thighs, wings, and legs with the mixture.
- Assemble the roaster. Put the drip tray in first. Then, cover the heating element. Put the bottom rack over the heating element, then slide the top rack over the heating element cover.
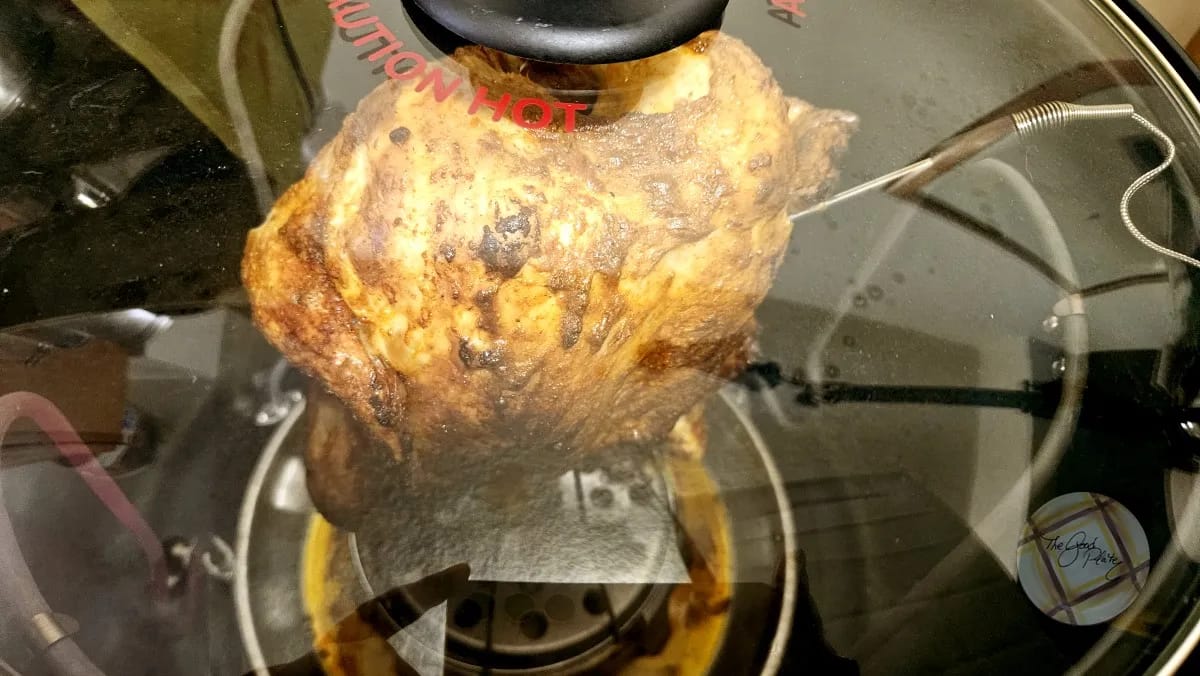
- Put the bird over the top rack, legs first. The top of the heating element should be poking out from the neck area. If you are using the thermometer probe, put the probe in the breast and the thermometer on the outside. Put the glass cover on the unit.
- Set the cooker for 40 minutes on high with the center heating element on.
- The chicken is done when it reaches 165 °F (74 °C). Because you will be testing the breast, it will read a much higher temperature, about 176 °F (80 °C).
- Pull the chicken out of the roaster by using the remover. Lift the whole thing out.
- Let the chicken rest on the rack for 15-30 minutes before removing from the rack or carving it.
- Enjoy!
Video
Nutrition
Nesco Upright Roast Video Transcript
Transcript
Good afternoon and welcome to The Good Plate’s kitchen.
Today we have a new device to try out. This is a Nesco upright infrared roaster.
And today we’re going to be baking a chicken in it
and we’ll see how it goes and how it’s supposed to be wonderful.
We’ll see how it goes. Okay, as you can see there’s the Nesco brand here.
Here is the circle of heat which
means that this part is a circle of heat.
This and here’s the parts that it comes with.
This is a drip pan. Let’s take this apart.
I’ll show you
all the parts.
This is the drip pan and you notice there’s this thing here.
Okay, now that’s where your turkey goes. See this right here?
Okay, this goes on top of here and maneuver it around.
So this one thing comes like this and it goes right under like that.
Okay, probe. This is what gets hot and we have the cover for the probe.
It goes on first.
So like that and let’s see it.
Okay, and then we’re going to take the base.
This is what… That.
It goes over there like this.
It fits right over there.
And then the plate, same. And that.
And then this goes on top of that.
And your turkey or chicken, whichever you’re
going to do, duck, goose, whatever you got.
I don’t know if a quail would fit on here, but you never know.
Anyway, that goes on to here and we’re going
to be showing you that in a little bit.
And we’re back.
And we’re back.
Let’s see.
Our turkey.
It’s reached.
I’m going to show you nothing but the patter here.
It’s like that.
It’s like that.
It’s like that.
Yeah.
You can see it is just absolutely gorgeous.
And we’re going to take this and lift it up.
And take it out.
The whole thing comes out.
And now it’s on the cutting board.
And there is our beautiful chicken.
Recipe for the chicken is on the website.
And I’m giving this contraption an A+.
All right.
See you next time on The Good Plate .
