
Stovetop Smoker Highway Chicken
Apartment dwellers, rejoice! Yes, you, too, can savor the magical taste of smoked food, right from your apartment, no need to go outside. Yup, that’s right, smoking food on top of your stove and not having the smoke alarm blaring. All you need is a stockpot with a pasta insert, some foil, some wood chips, some protein, and a little bit of patience.
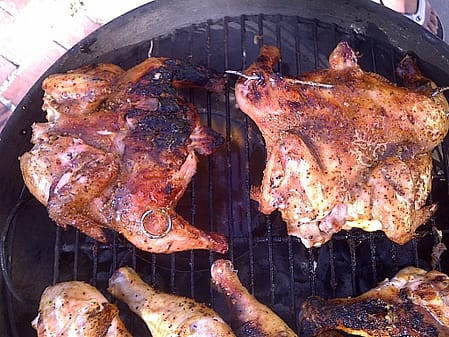
The recipe I am referring to here is one I did a while ago on the Weber grill, indirect method and I was curious if this method would give me similar results. I am happy to say it did. Feel free to use the Weber version of Highway Chicken if you want to go this outdoors.
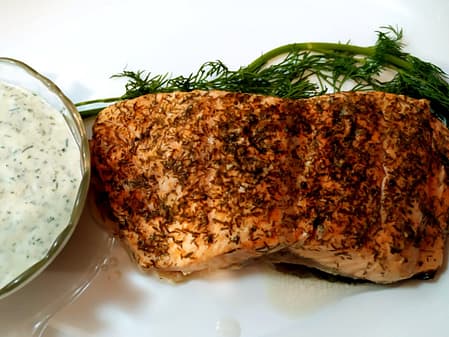
This method can also be used for smoking fish. I smoked some salmon using this same method that was out-of-this-world delicious!
The Pot
Let’s talk about the kind of pot you need. You need a pot that will withstand sitting on the stovetop on high heat for a long time. Stainless steel or cast iron are ideal choices. The one pictured is the one I have at home from Cuisinart, but there are quite a few available on Amazon, including one with a glass top so you can see what the smoke is doing.
If you don’t have a stockpot, you could use a wok, just be sure it can stand the heat and has a high dome lid. You would also need a metal steamer basket to put in the wok – a bamboo or silicone one will not work. You also want to be sure the cover of your pot has no holes, otherwise, you will just have smoke escaping out of the hole.
Speaking of steamers, since I had two hens, I put one on the steamer insert and used a regular metal steamer on top of that for the second hen. They both turned out delicious.
The Stovetop Smoker Method
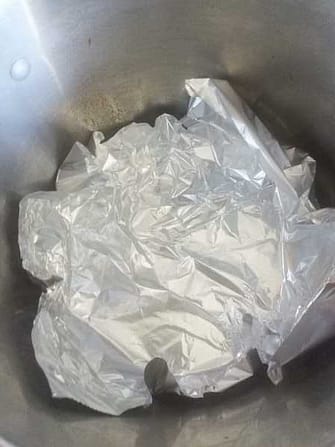
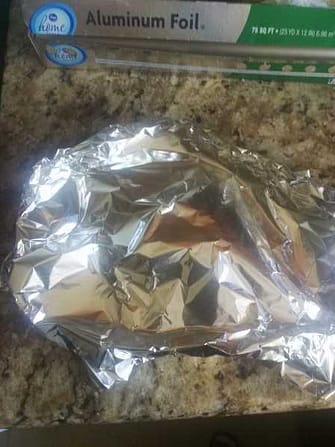
Make sure you have a box of good foil, not the super-thin kind at the dollar store. It doesn’t need to be the heavy-duty kind either, just regular is fine. You will want one sheet crumbled to put on the bottom of the pot, then another to put the wood in, and another to cover the wood, so three rather large sheets of foil should be fine.
The first thing you need to do is soak the wood. You need to soak it so it doesn’t just burn up. Soak the wood the same amount of time you would for a regular barbecue, a minimum of 30 minutes. Use a metal bowl for this, clean up is easy and no chance of plastic absorbing wood flavors.
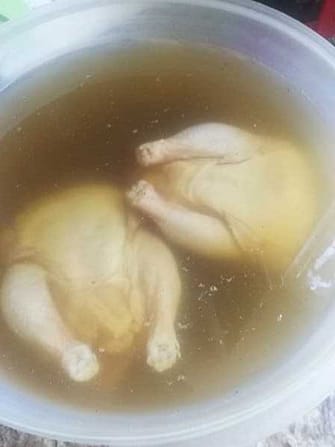
To give an even better flavor, and have moist food, brining is a good idea. You can make a simple solution of brine from water, salt, sugar, and spices. Just leave the protein in there for a while, rinse it, and get going. If you have an extra bottle of beer, add that to the brine, too.
Ready to Get Started? Let’s Cook some Stovetop Smoker Highway Chicken!
Email Me the Recipe
Stovetop Smoker Highway Chicken
Equipment
If you purchase any of the products through these affiliate links, I get a few pennies that help keep The Good Plate open. I use these products myself and want you to be able to easily find them.
Ingredients
- 1 chicken, whole or two Cornish Hens
Brine
- ¼ cup Kosher Salt
- ¼ cup Brown sugar
- 2 tbsp Cider Vinegar
- ¼ teaspoon Whole allspice
- ¼ tablespoon Herbs de Provence
- ¼ teaspoon Ground ginger
- ¼ teaspoon Garlic Powder
- ¼ teaspoon Black pepper, freshly ground
- 2 cups Water
- 1 quart Ice cubes
- 2 cups cold Water
Dry Rub
- 3 Tablespoons Sea Salt
- 4 Tablespoons Black Pepper, freshly ground
- 4 Tablespoons Garlic Powder
- 4 Tablespoons Brown Sugar
- 4 Tablespoons Mustard Seed, ground
The Glaze
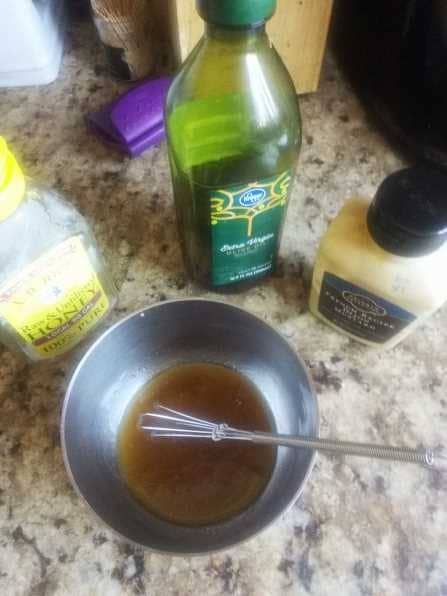
- 2 Tablespoons Honey
- 1 Tablespoon Mustard
- 1 Tablespoon *Olive Oil
Instructions
For the Rub
- Mis en place for rub
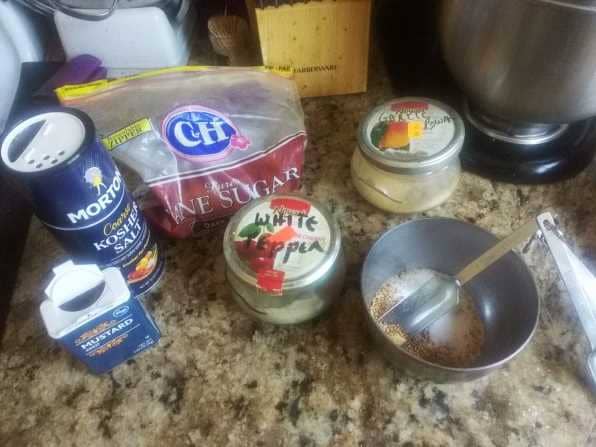
- 3 Tablespoons Sea Salt, 4 Tablespoons Black Pepper, 4 Tablespoons Garlic Powder, 4 Tablespoons Brown Sugar, 4 Tablespoons Mustard SeedMix all the ingredients together in a spice grinder, or use a mortar and pestle. You will have rub left over to use another time. Put in a jar and store in a cool dry place.
For the Glaze
- Mise en place for glaze
- 2 Tablespoons Honey, 1 Tablespoon Mustard, 1 Tablespoon Olive OilMix all the ingredients together and set aside.
For the Brine
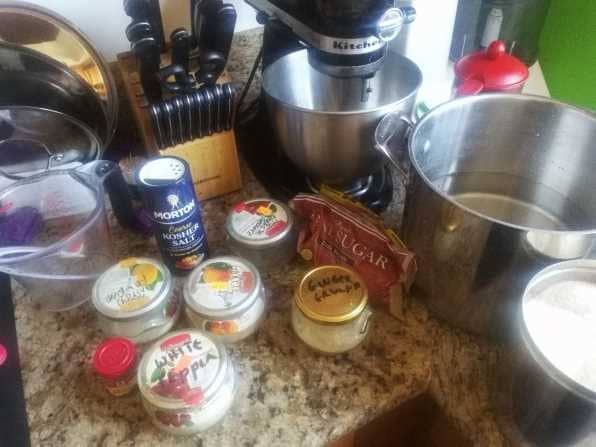
- Mise en place for the brine
- 1/4 cup Kosher Salt, 1/4 cup Brown sugar, 2 tbsp Cider Vinegar, 1/4 teaspoon Whole allspice, 1/4 tablespoon Herbs de Provence, 1/4 teaspoon Ground ginger, 1/4 teaspoon Garlic Powder, 1/4 teaspoon Black pepper, 2 cups WaterCombine all ingredients EXCEPT ice and last 2 cups of water in a very large bowl that will hold a couple of quarts of liquid. Stir well. Transfer to a 4-quart saucepan and bring just to a rolling boil. Immediately turn off heat.
- 1 quart Ice cubes, 2 cups cold WaterReturn to original bowl and add ice and remaining water. Stir to thoroughly chill.
- 1 chickenPlace cleaned bird in the liquid. Cover the bowl and put it in the refrigerator. After 1 hour, turn the birds over and continue to refrigerate until ready to cook. They should not be brined for more than 2 hours.
For the Pot
- Line the bottom of your pan with a large piece of wadded up foil. Is the foil going to protect your pan from staining? No, not really, but if you’re using stainless steel, it’s not going to affect the taste, it just won’t look as new as it did before.
- Then, you want to drain the wood. The best way to do that is in a colander. You don’t want any wood going down the garbage disposal, so be careful.
- Make a little basket of foil to put the wood in. Put the wood in the basket, and have another piece of foil ready to put on top. Don’t completely seal it, just loosely covered.
- Put the packet of wood in the bottom of the pot on top of the foil that is in there. Turn the heat on under the pan. From here you will want to work rather quickly.
- Remove the chicken from the brine and rinse it off.
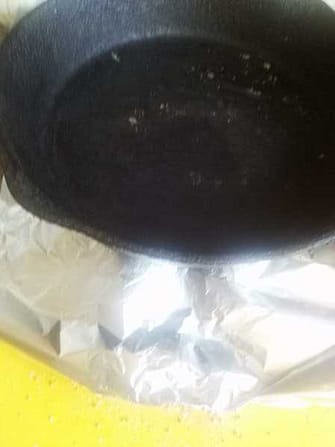
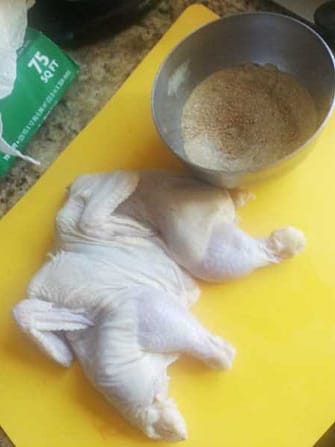
- Take scissors and cut down the back. Use your hands to press down on the breast and flatten the chicken as much as possible. You could also cover it with foil and use a cast iron skillet to do the work for you.
- Get the chicken and put the rub on it, getting into all the little nooks and crannies.
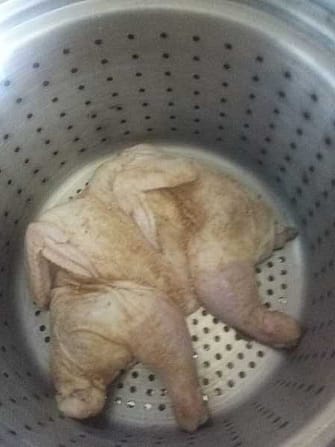
- Put the chicken in the steamer insert. If you have two chickens, layer another steamer, the foldable kind will do fine, on top of the one already in, and put the other chicken on top of that.
- Lower the pasta insert into the pan and cover the pan. The pan will be very hot, so you have to be careful not to burn yourself.
- Leave it at high for about 5 minutes, then reduce it to medium and keep it at medium for about 25 minutes.
- Turn off the heat, and let the pan sit for another 20 minutes.
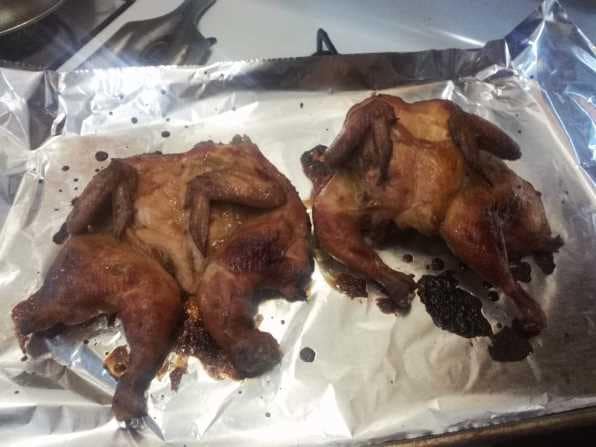
- Preheat the oven to 400 degrees and have ready a sheet pan lined with foil. Take the chickens out of the smoker and put them on the sheet pan. Test their internal temperature, it should be very close to done.
- Paint the glaze on the chickens.
- Put them in the hot oven. Cook them until they have a nice looking glaze and the internal temperature is 165F/73C, about 15 minutes.
- Now your chicken is ready to serve. Enjoy!



2 thoughts on “Stovetop Smoker Highway Chicken”
Comments are closed.