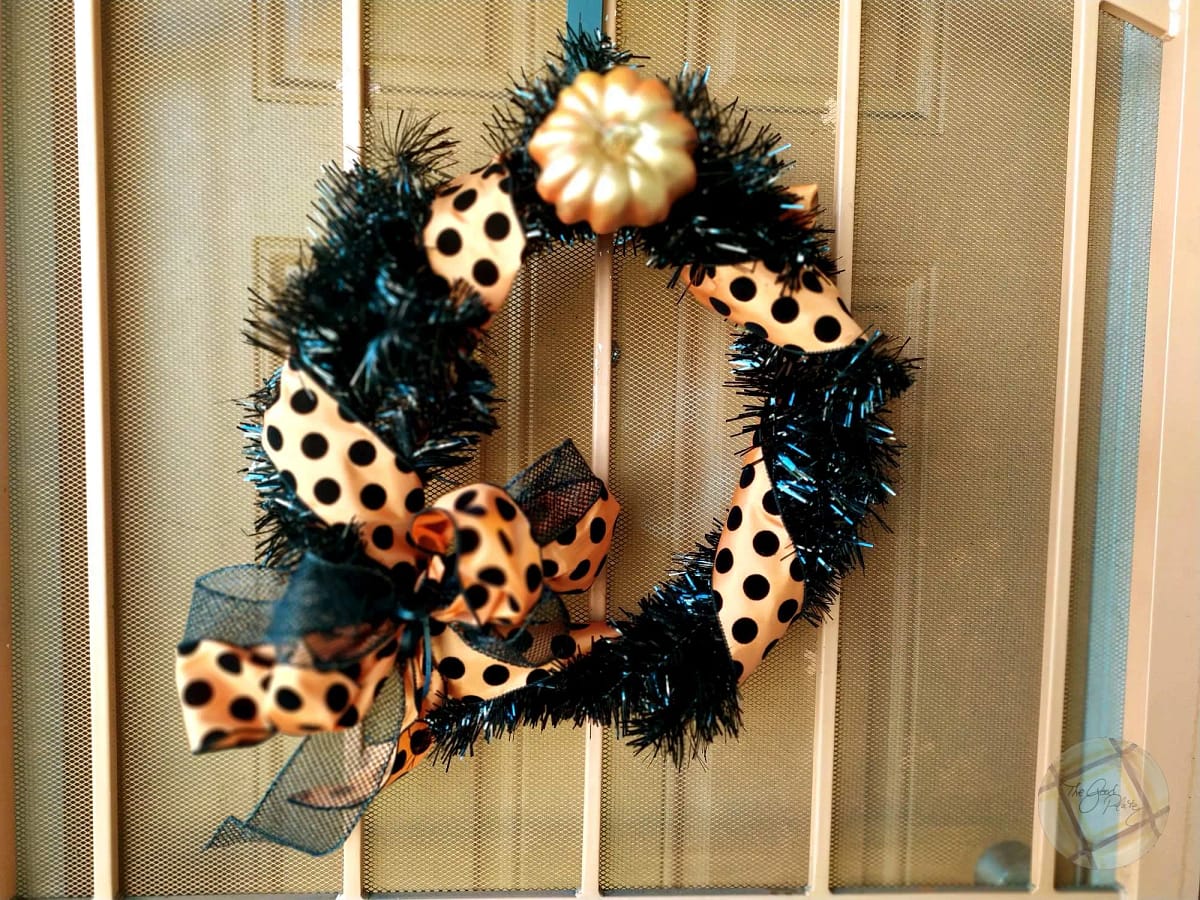
A Halloween wreath looks lovely on your front door and makes a heartfelt welcome to your visitors whether they are ghouls and goblins, or just regular friends and family.
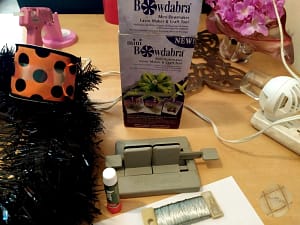
Equipment for the Halloween Wreath
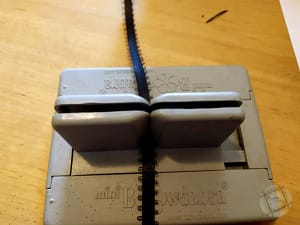
Bowdabra for Bows
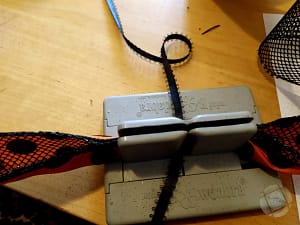
I bought a Bowdabra a few years ago to help me make bows. I think every one of us remembers sitting at the table with our mother helping your mother wrap Christmas presents. Mom would ask you to put your finger on the bow and hold it down while she tied it off. More often than not, she tied it too tightly, and it was a struggle to get your finger loose again.
The Bowdabra prevents all that from happening. They come in large and mini sizes. Besides my instructions, there are instruction videos and even a Facebook page where you can post your creations for everyone to see.
Ribbons
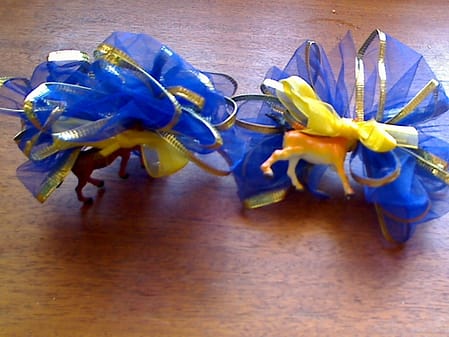
I recommend using a wired ribbon because it keeps its shape better. The black ribbon that I used in this wreath was a flocked ribbon, and although it’s very pretty, I don’t recommend it because the flocking was coming off all over our hands. A nice lacy, black ribbon would be fine here.
Of course, you can use any colors that you like. When I made this, I happened to have a thin black ribbon on hand so I used it to tie off the bow. The pumpkin I bought as a group and happened to have an extra one.
Hot Glue Gun
If you are not going to put a pumpkin on your wreath, you do not need a hot glue gun. However, I recommend getting one anyway because there are multiple jobs a glue gun can be used for. The little ones are relatively inexpensive and glue is easy to find for them in most dollar-type stores. Be aware, if you have never used one that you should be careful. Hot glue does hurt, but after you’ve burned yourself a few times, you’ll be happy with whatever crafting project you had.
The Wreath
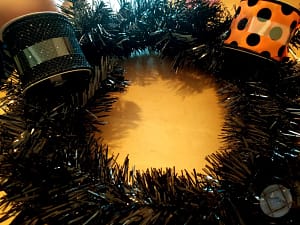
For the wreath itself, I recommend getting a black one. Your local crafting store should have them available as well as, of course, Amazon. Get the size you think is appropriate for the area you want to hang your wreath. There are even wreaths that come with lights already strung in them if you want.
The Pumpkin
When I was shopping for supplies for this Halloween wreath, there was a bag of decorative pumpkins in different sizes. I like getting one extra thing for the Halloween tablescape every year, and that year, it was those pumpkins. Then when I started making the wreath, I thought it would look very nice with a golden pumpkin to evoke the Fall season.
Of course, adding a pumpkin is optional. There are lots of other things you could add if you wanted to. You could add a small, plush bat. A small skeleton might look frightening, or even a ghost. It’s your Halloween wreath, you decide what to put on it.
Wreath Hanger
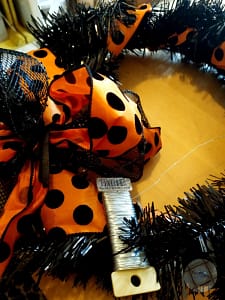
I have two wreath hangers, one in green and one in black. I like using the green one for Advent but I like using the black one for this Halloween wreath. Yes, the picture has the green one and that’s because I had not bought the black one before I took the picture. You can store the wreath hanger in the same box you store your wreath in.
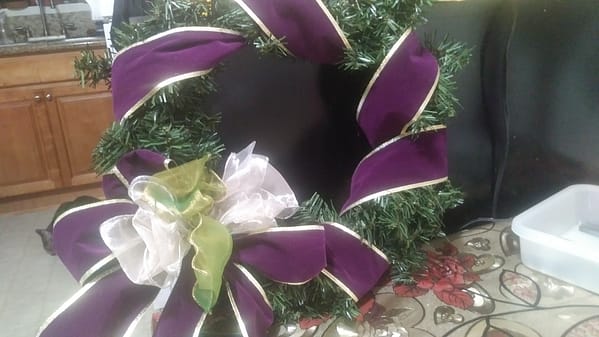
Have fun making your Halloween wreath. I’d love to see what your wreath looks like, so please post it in the comments below.
How to Make a Halloween Wreath
Equipment
Supplies
- 1 Black Wreath At least 10 inches in diameter
- Florist Wire
- Orange Black 1 1/2 inch Wired Ribbon
- Black 1 1/2 inch Wired Ribbon
- Black 1/4 inch ribbon
- 1 small Decorative Pumpkin optional
- 1 Door wreath hanger optional
Video
Instructions
- Gather equipment, plug in your glue gun
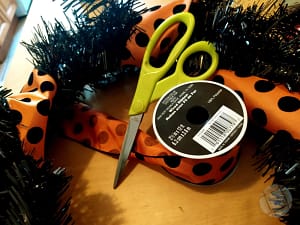
- Gather the ribbons
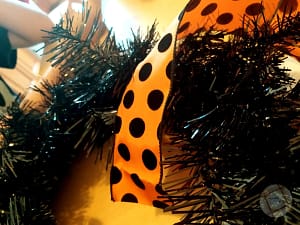
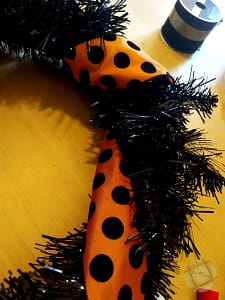
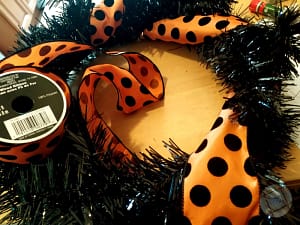
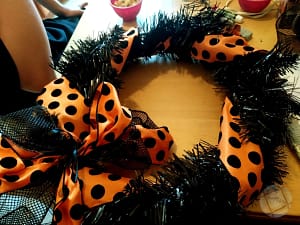
- Take one the end of the orange ribbon and wrap it once around the wreath, starting at the 1 o'clock position.1 Black Wreath, Orange Black 1 1/2 inch Wired Ribbon
- Continue wrapping the ribbon around the wreath, leaving about a two-inch space between each.
- When you get to the 7 o'clock position, make sure to leave a little extra room because this is where the bow is going to go.
- Cut the ribbon and secure the end.
Make the Bow
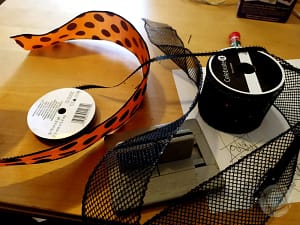
- Gather the thin black ribbon, the thick black ribbon, and the remaining orange ribbon.
- Position the Bowdabra, so the word Bowdabra is facing you. Next, cut 6 inches of the thin black ribbon. Then, Insert the thin black ribbon vertically. This ribbon is the one that will be used to tie off the bow.Black 1/4 inch ribbon
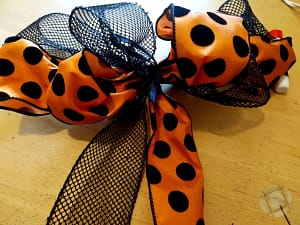
- Cut about 24 inches of the orange ribbon and the wide black ribbon. Lay the orange ribbon in the Bowdabra horizontally and lay the wide ribbon on top of it. Together, fold the ribbons twice to make a bow. Make sure you leave a little ribbon on the bottom.Orange Black 1 1/2 inch Wired Ribbon, Black 1 1/2 inch Wired Ribbon
- Take the thin black ribbon and tie off the bow you made. When the tie is secure, you can remove the bow from the device.
- Use florist wire to secure the bow to the wreath. It should be at the 7 o'clock position.Florist Wire
- Fluff the ribbon so it looks nice on the wreath.
Decorate the Wreath
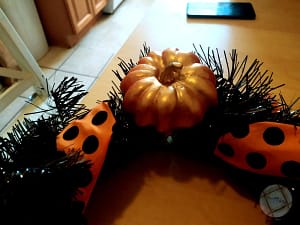
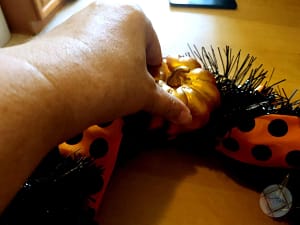
- Adding a small decorative pumpkin is an optional step that looks nice. Put some hot glue on the wreath at the 12 o'clock position.1 small Decorative Pumpkin
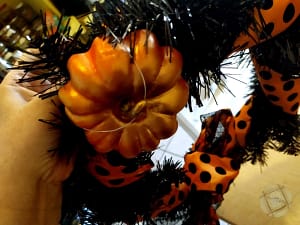
- Hold the pumpkin on the glue for about 20 seconds so it will be very secure.
Make a Hanger
- If you don't already have a wreath hanger, you can easily make one using more florist wire. Take about 12 inches of the florist wire, and at the 10 o'clock position, wrap it around the wreath securely. Then go to the 2 o'clock position and wrap the end tightly. In the middle of the wire, twist it to have a loop that you can use to hang the wreath when not in use.
- Your wreath is finished. It's ready to hang.
- Proudly hang the wreath where it can be enjoyed. Happy Halloween!1 Door wreath hanger



Thanks for the tips you are giving on this post. Halloween is over, but this gave me some great ideas for a Thanksgiving wreath.
Just wanted to say how pretty this is.
I got the ribbons you suggested and the wreath looks great on my front door. I’m making the Advent Wreath soon, too. Great tutorials.
Thanks for the pictures and great instructions. I hung my wreath up and got tons of compliments on it. Why can’t I share a picture?
I got my kids to help me with this. Your instructions were very clear, even to my eight-year-old. We had a blast making our wreath and hanging it up. Happy Halloween to you and yours!