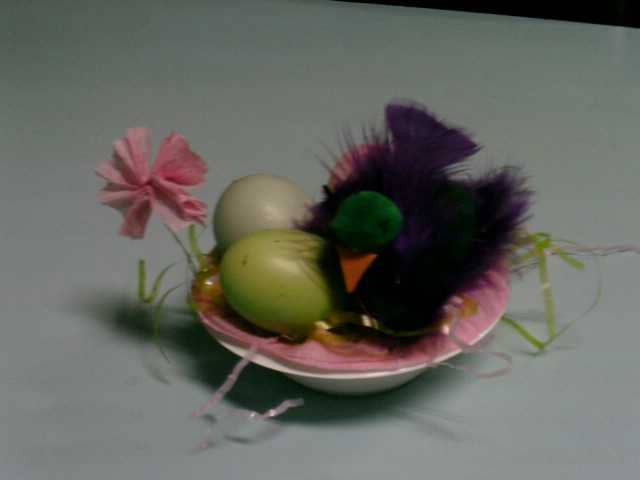
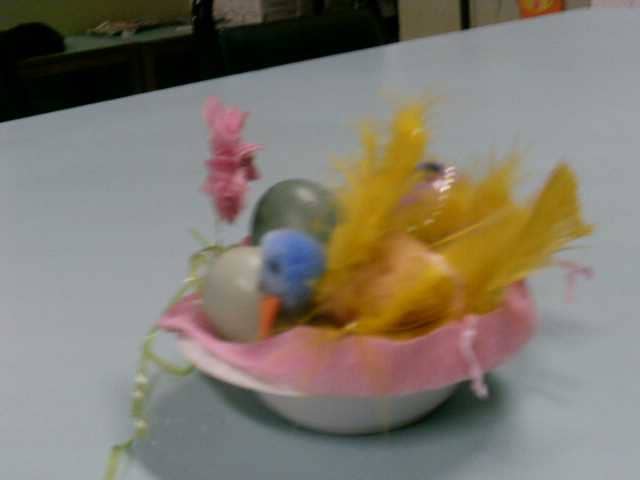
I think the best part about Easter is kids, and how much fun they can have. As some of you may know, I have been involved with a wonderful organization called Ascencia. I wanted to make them special centerpieces for their Easter breakfast, and I cooked breakfast as well.
We had a lot of fun making these little “nests”, as I got the children, including my dear Spane, to decorate plastic eggs in whatever fashion they desired. I had plenty of glitter glue, paint, sticky gems, and all we really needed to make Fabergé jealous.
It’s important to have a few craft boxes, with different things in them. I have one box for ribbon since I like to make bows, another for glue, paint, paintbrushes and the like, and another with miscellaneous pieces. I tend to keep little bits of stuff because I know that I can use it for something. Okay, please know that I am not a hoarder. I lived with one of those once, and learned my lesson but good! In this case, I had saved some little fluffy balls from a planet project Spane had made that had fallen apart, some feathers that I had saved from a Mardi Gras project, some pink ribbon that had come with a birthday present in February, and some orange foam that Spane had not used in his California Mission project.
Recommendations for Easter Centerpieces
Your only limitation in making Easter centerpieces is your imagination. Have a look at Pinterest, magazines, or Google images to get some ideas. It’s best to draw what you want to do before you do it so you will have an idea of just how much decorating material you will need. If you are going to be working with glitter, it’s a good idea to put a newspaper or some other kind of paper under the table to catch any loose glitter. So have lots of fun, and make it an Easter tradition!
Equipment
Supplies
For the Eggs
- 12 Plastic Eggs
- 1 Glitter Glue
- 1 Sticky Gems various colors
- 1 Craft Paint various colors
- 1 White All Purpose Glue
- 1 Ribbons various colors
For the Baskets
- 1 Crepe Paper Streamer color of your choice
- 1 Florist Wire
- 6 Plastic Bowls or Small Baskets
- 1 Easter Grass in various colors
For the Birds
- 1 Pom Pom Balls various sizes
- 6 Large Feathers
- 1 Craft Foam Yellow or Orange
Instructions
Eggs
- It's important to decide if you want to stuff the eggs before you begin. If you want to keep these for future holidays, don't stuff them. Otherwise, stuff them before you decorate them. Once they are decorated, they probably won't be able to be open for stuffing. You can get creative as you want when making the eggs. Put out the eggs with paint, glitter glue, sticky gems, and ribbon. If the children want to put ribbon, and they are too young to use a glue gun, glue the ribbon on for them. Make sure the eggs are completely dry before continuing with the project.
Baskets
- Make a flower for the edge of the basket with crepe paper. Using about 6 inches of crepe paper, fold the paper into folds, then tie it in the center with florist wire, leaving a long tail of wire. Then spread out the petals of the paper, and you should have something that looks a little like a carnation. Play with a few to get it right. Make enough flowers for however many centerpieces you want to make. Set those flowers with wire tails aside. Take a bowl and using the wire on the flower, attach the flower to the bowl. You will want to bend the wire so the flower sticks out and up. Do this for each bowl you have. Take the hot glue gun and glue the edge of each bowl, then put crepe paper all around the edges of the bowls, about six inches should do it. Leave that to set a few minutes before you go on. Put some Easter "grass" in each bowl, and then some of the decorated eggs. Leave room for the bird. Set aside
Birds
- This is so simple! Get a pom pom, about 1 inch round, and using the hot glue gun, glue one large feather on each side for the wings. Glue a smaller pom on the top for the head. Cut a small triangle out of craft foam, and carefully glue that to the head, making sure the pointed side is facing out. Make a bird for each completed basket.
Finishing Up
- Put a bird in each basket, trying to coordinate the colors are much as possible. Put the centerpieces away in a safe place before use
Notes
