I don’t usually do things that are complicated, and when I started making this bread, I thought it would be complicated, but in truth, it wasn’t. If this is your first time making bread, you might be intimidated by this, but trust me, it’s going to be okay.
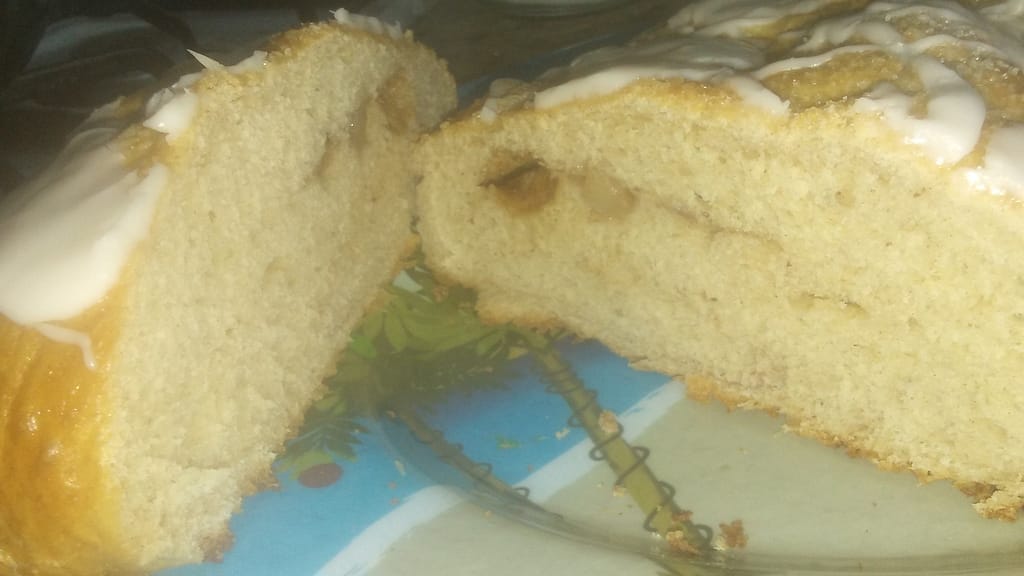
Here’s what the bread looks like when you cut into it. As you get farther along, you will find more filling.
I used to make bread every week for my roommate who didn’t think a meal was complete without bread. I haven’t been making bread lately, but I have been making pizza dough and Calzone. Now that I have a working Kitchen Aid Classic stand mixer, I can make as much bread as I like.
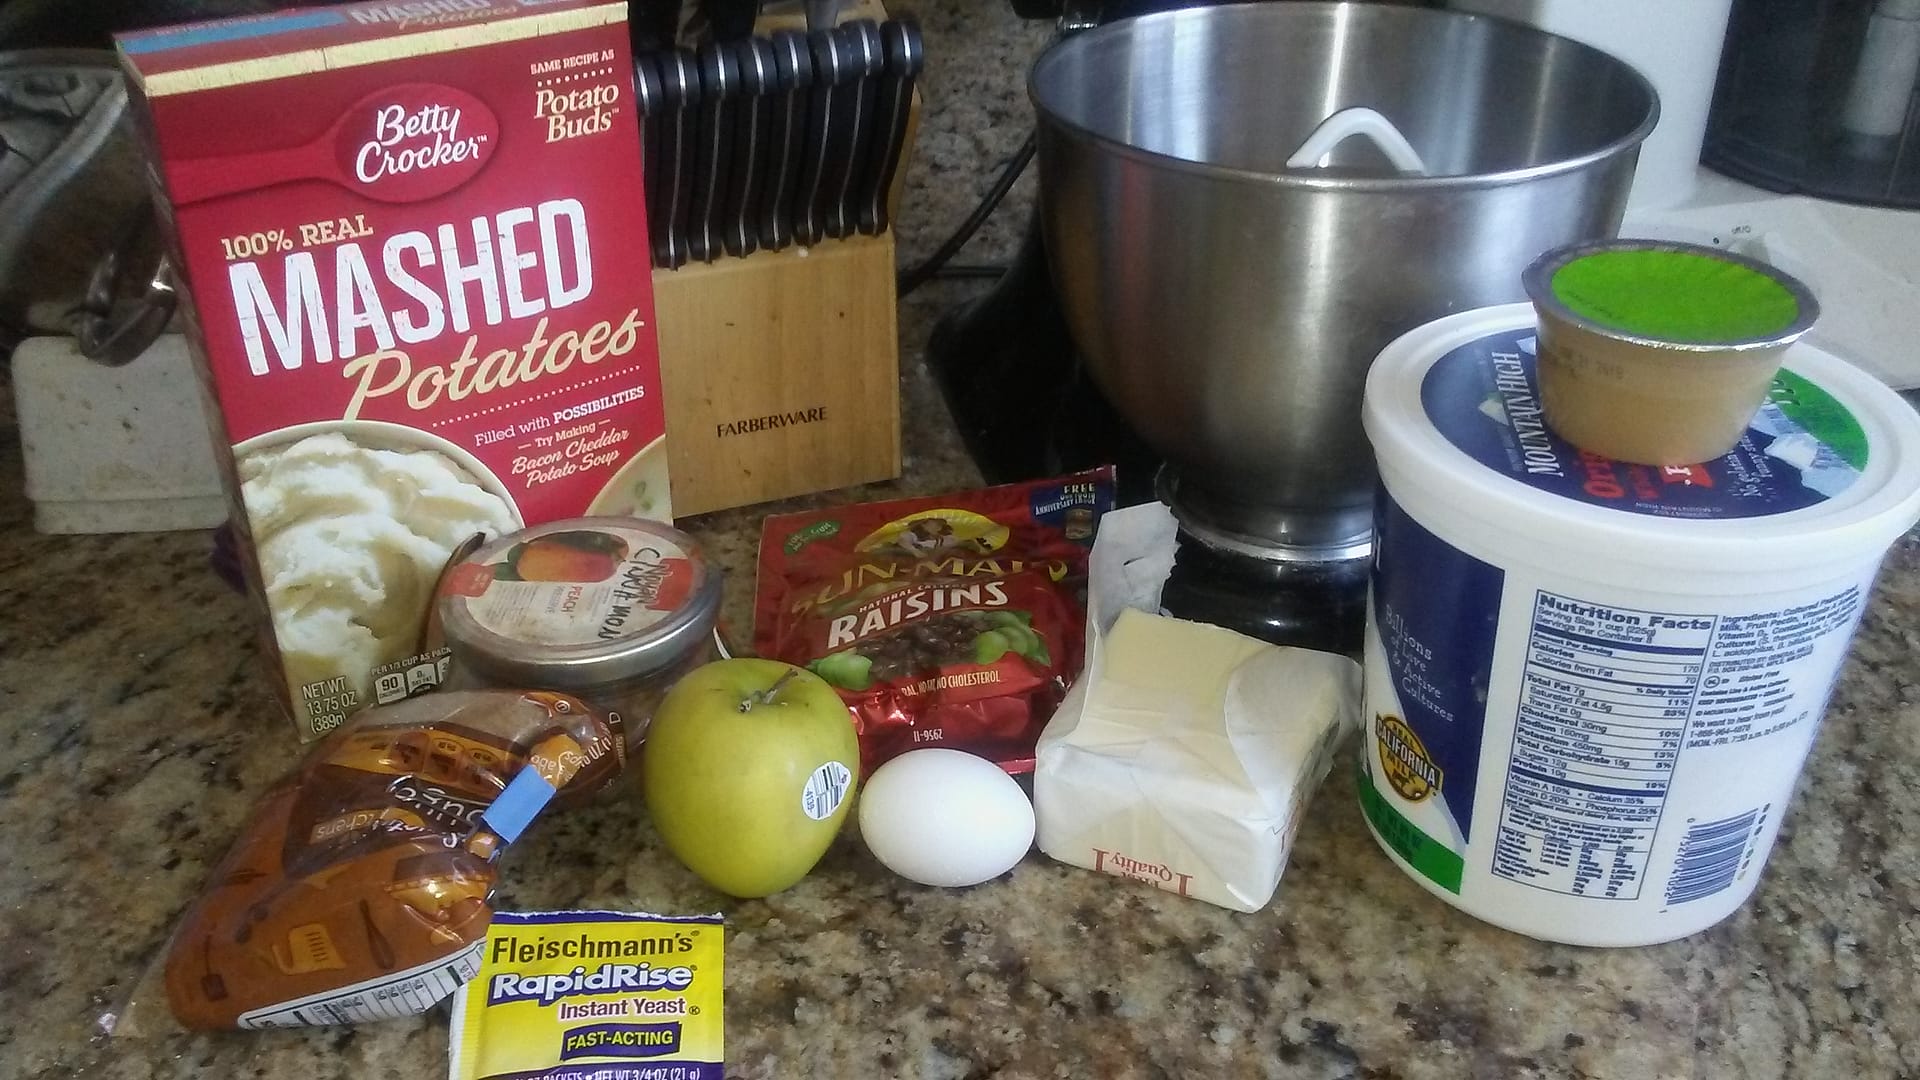
When I was taking the Mise en Place picture, I forgot to include the walnuts, and they were in the filling. If you are allergic to nuts, please, by all means, omit them.
I like the skins left on apples. If you don’t like the skins, please feel free to remove them. If you have a lot of apples to peel and core, you can use a Norpro Apple Machine to do all the hard work for you. I love mine when I’m making Apple Brown Betty.
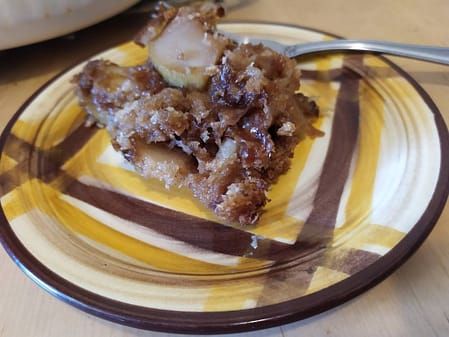
Kneading the Apple Raisin Yogurt Bread
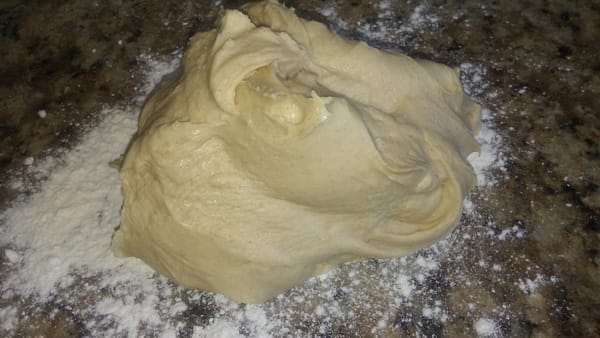
Okay, let’s talk about kneading. The picture you see above is what the dough looked like after my stand mixer had kneaded it for eight minutes. I wanted to knead it for a total of 10 minutes or so. When I took the dough out of the bowl, it was moist and sticky, so I kneaded more flour into it. That’s a perfectly acceptable thing to do. You work the dough with your hands until it isn’t sticky and wet but is nice and smooth. Don’t add too much flour, you don’t want the dough to be dry. You can squeeze a piece of dough off, stretch it, and see how it responds. If it stretches easily, then you can stop kneading.
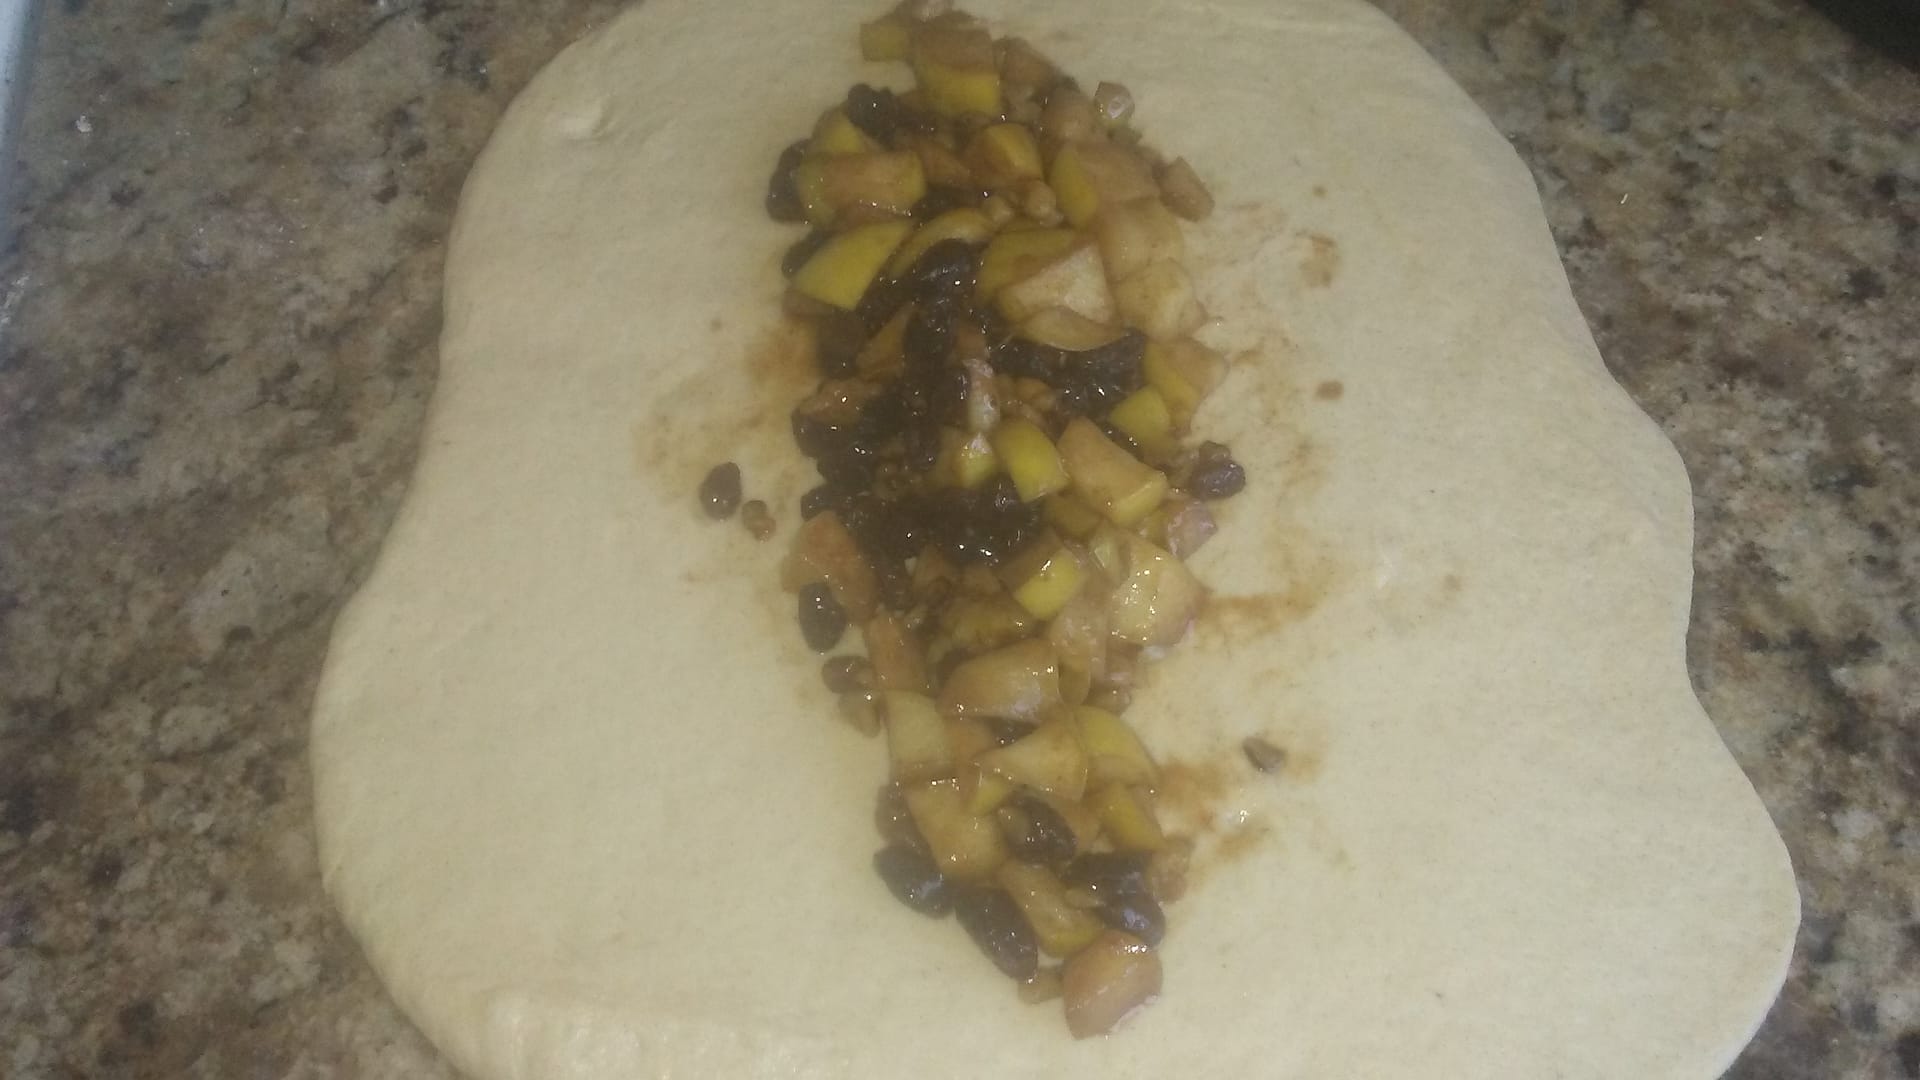
After the dough has risen, you’re going to want to divide it into two pieces. Roll one out and put the filling on it. Roll the other one out and sprinkle cinnamon on it. If you like things extra sweet, you can sprinkle sugar as well.
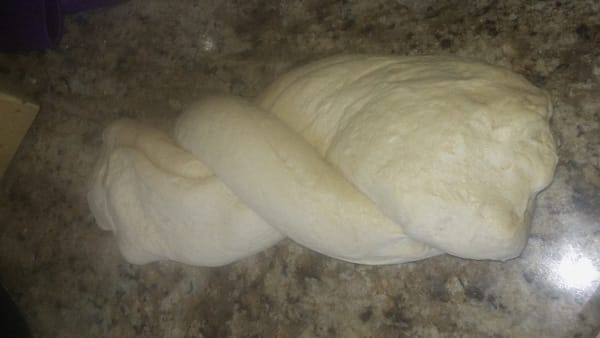
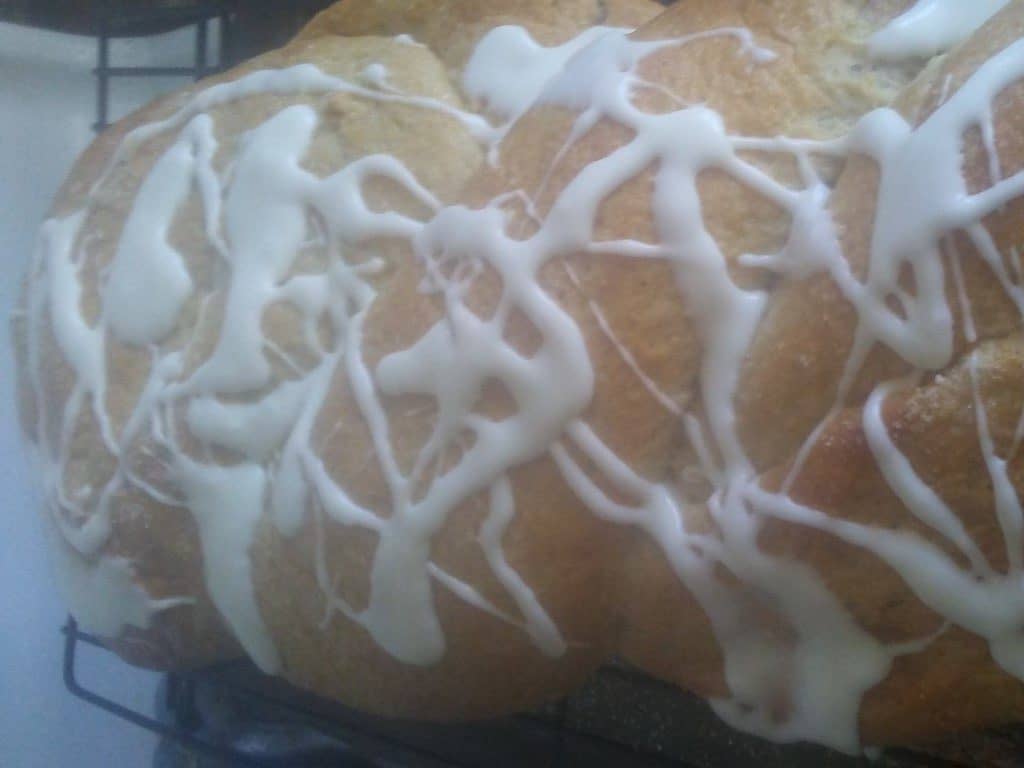
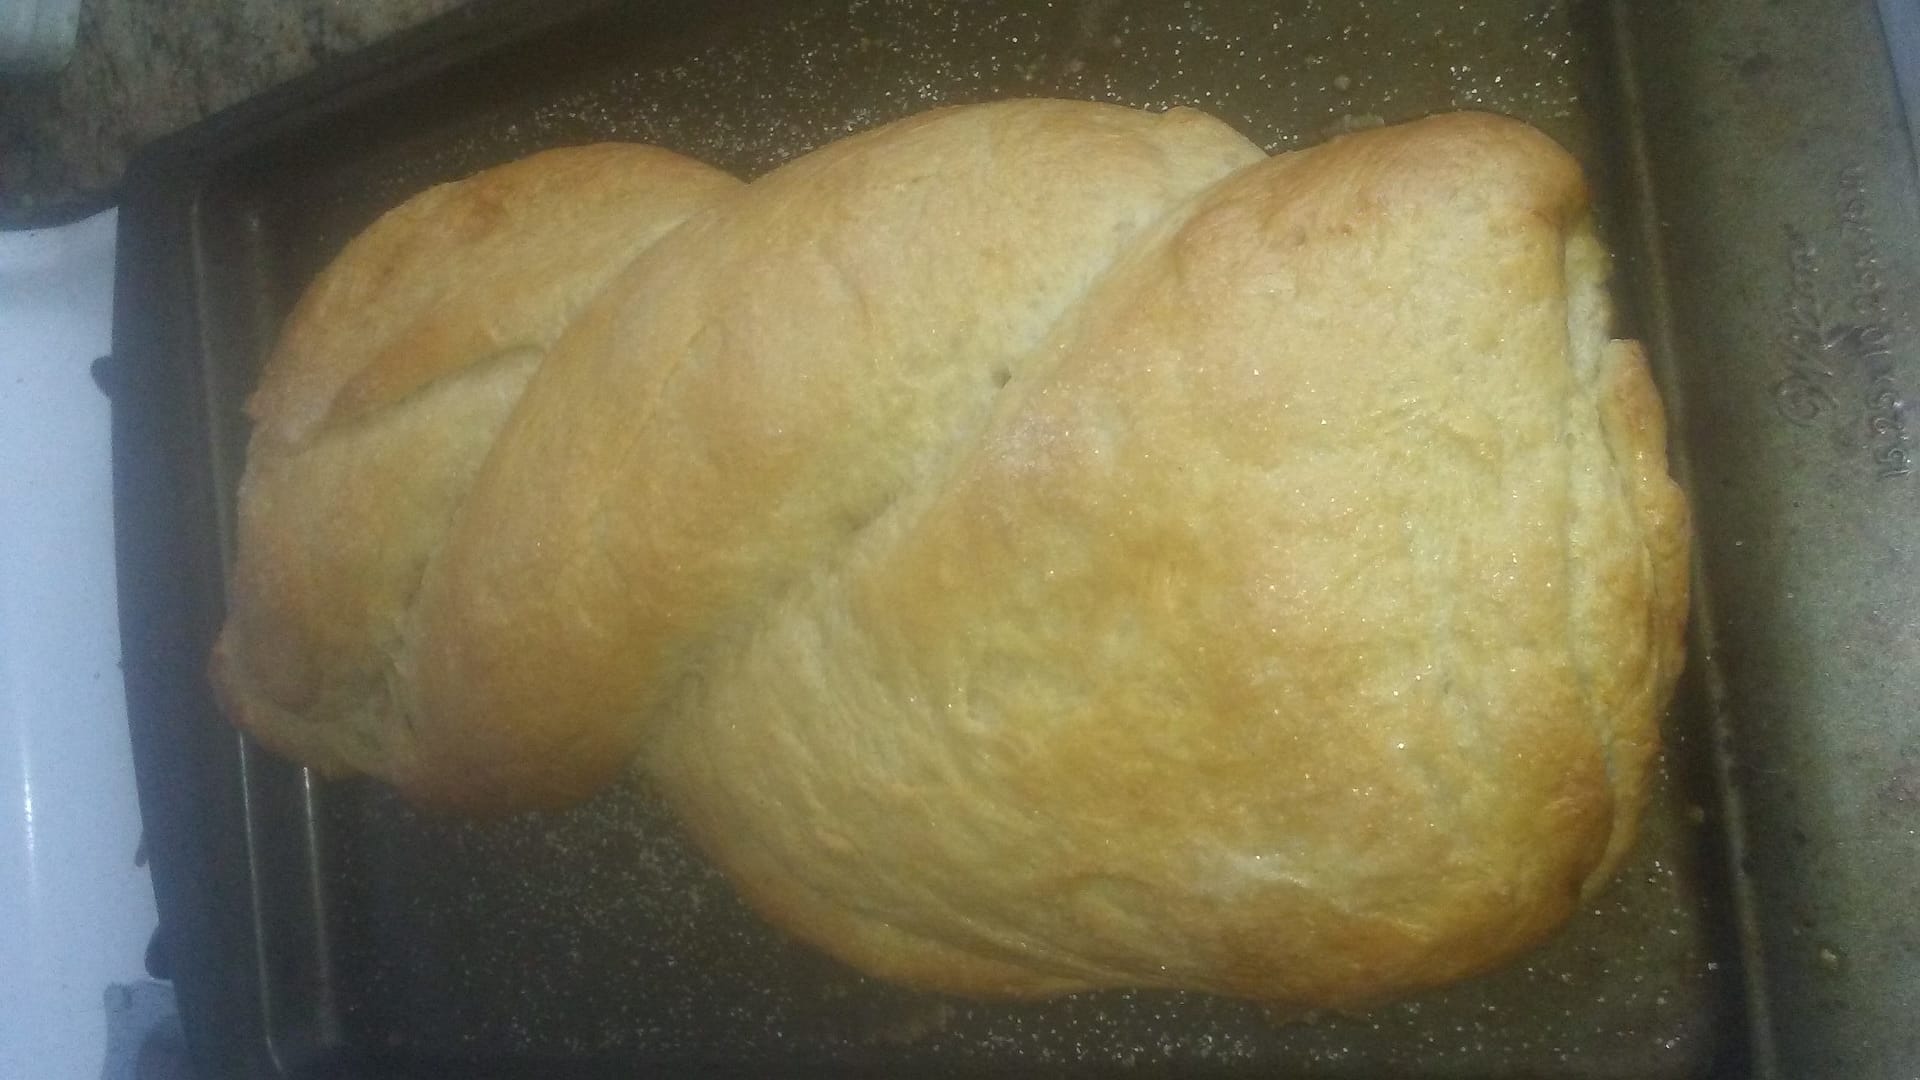
Twist the two pieces together like a braid, put it on a pan that you have sprinkled cornmeal, or better yet, on parchment paper. Then you want to let it rise for another hour, and it should turn out looking like the picture above.
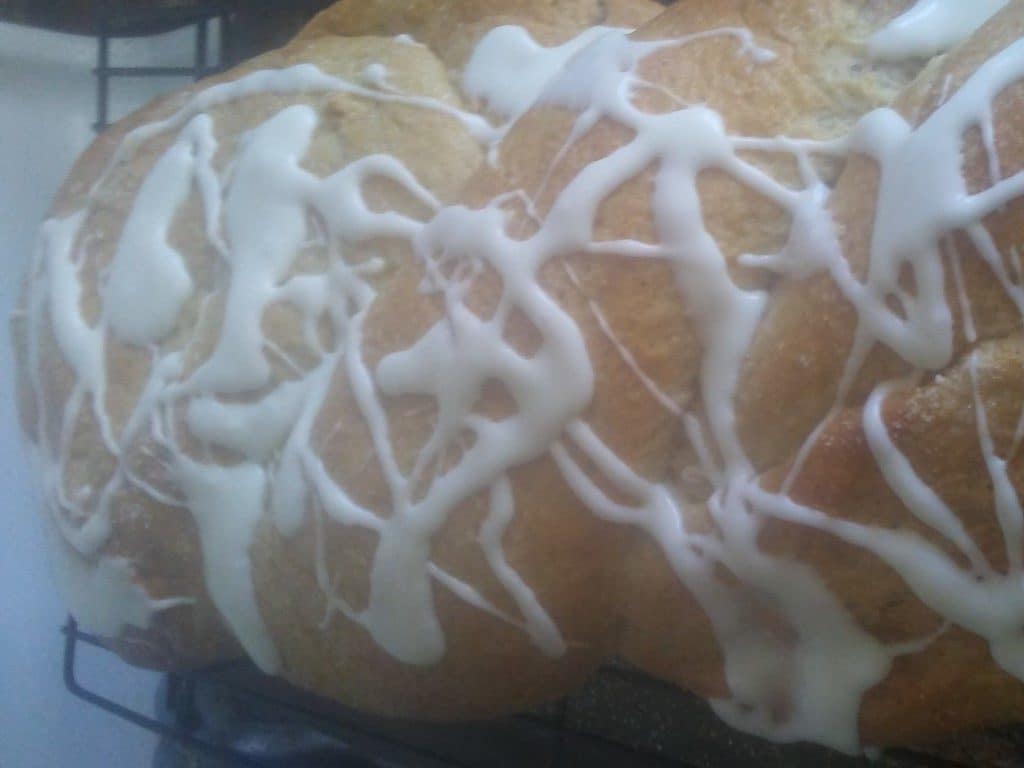
When the bread comes out of the oven, it should be nice and browned. You can tap on it, and if it sounds hollow, then it’s done. Or, you can use an instant-read thermometer, as it did, and it should read about 200 degrees. Let the bread cool before glazing.
Choose The Correct Yogurt
The yogurt used for this recipe is plain yogurt. Please don’t be fooled into buying “Greek” yogurt. The biggest difference between regular plain yogurt and Greek yogurt is the Greek is drained longer so it’s thicker and does not yield as much as the plain yogurt. To production costs, manufacturers put gelatin and other thickeners in “Greek Style” yogurt. Read the ingredients. There are some that are truly Greek, but they are more expensive. Plain yogurt is fine, just make sure it doesn’t have any sweeteners or other flavoring. If you would like to make your own yogurt, you can follow my recipe for Sous Vide Yogurt.
Apple Yogurt Raisin Bread Recipe
Email Me the Recipe
Apple Yogurt Raisin Bread
Equipment
If you purchase any of the products through these affiliate links, I get a few pennies that help keep The Good Plate open. I use these products myself and want you to be able to easily find them.
Ingredients
DOUGH
- 3 ¼ cups *Flour
- ¼ cup potato flour, OR 1/2 cup dried potato flakes
- 3 tablespoons granulated sugar
- 1 ½ teaspoons instant yeast
- 1 ¼ teaspoons salt
- 1 teaspoon cinnamon
- 3 tablespoons unsalted butter
- 1 teaspoon vanilla extract
- 1 large egg
- 1 cup yogurt, room-temperature or lukewarm
- ½ cup apple sauce
FILLING
- 1 tablespoon unsalted butter
- 1 tablespoon brown sugar
- 1 teaspoon cinnamon
- 1 cup apple, chopped
- 1 tablespoon walnuts, chopped
- 2 tablespoons raisins
GLAZE
- 1 cup confectioners' sugar, or glazing sugar
- 1 teaspoon vanilla extract
- 1 to 2 tablespoons milk
Instructions
For the Dough
- 3 1/4 cups Flour, 1/4 cup potato flour, 3 tablespoons granulated sugar, 1 1/2 teaspoons instant yeast, 1 1/4 teaspoons saltWhisk or sift together all of the dry ingredients.
- 1 teaspoon cinnamon, 3 tablespoons unsalted butter, 1 teaspoon vanilla extract, 1 large egg, 1 cup yogurt, 1/2 cup apple sauceAdd the butter, vanilla, cinnamon, egg, yogurt and applesauce, mixing until a shaggy dough forms.
- Let the dough rest for 30 minutes; this resting period allows the flour to absorb the liquid fully, making it easier to knead.
- Knead the dough for about 10 minutes; it should feel slightly sticky and soft. Add a couple of tablespoons of water if the dough feels firm or dry. Place the dough in a greased bowl, turning to coat.
- Cover the bowl, and let the dough rise until it's almost doubled in bulk, about 1 1/2 to 2 hours. The amount of time this takes will depend on the temperature of your kitchen.
Make the Filling
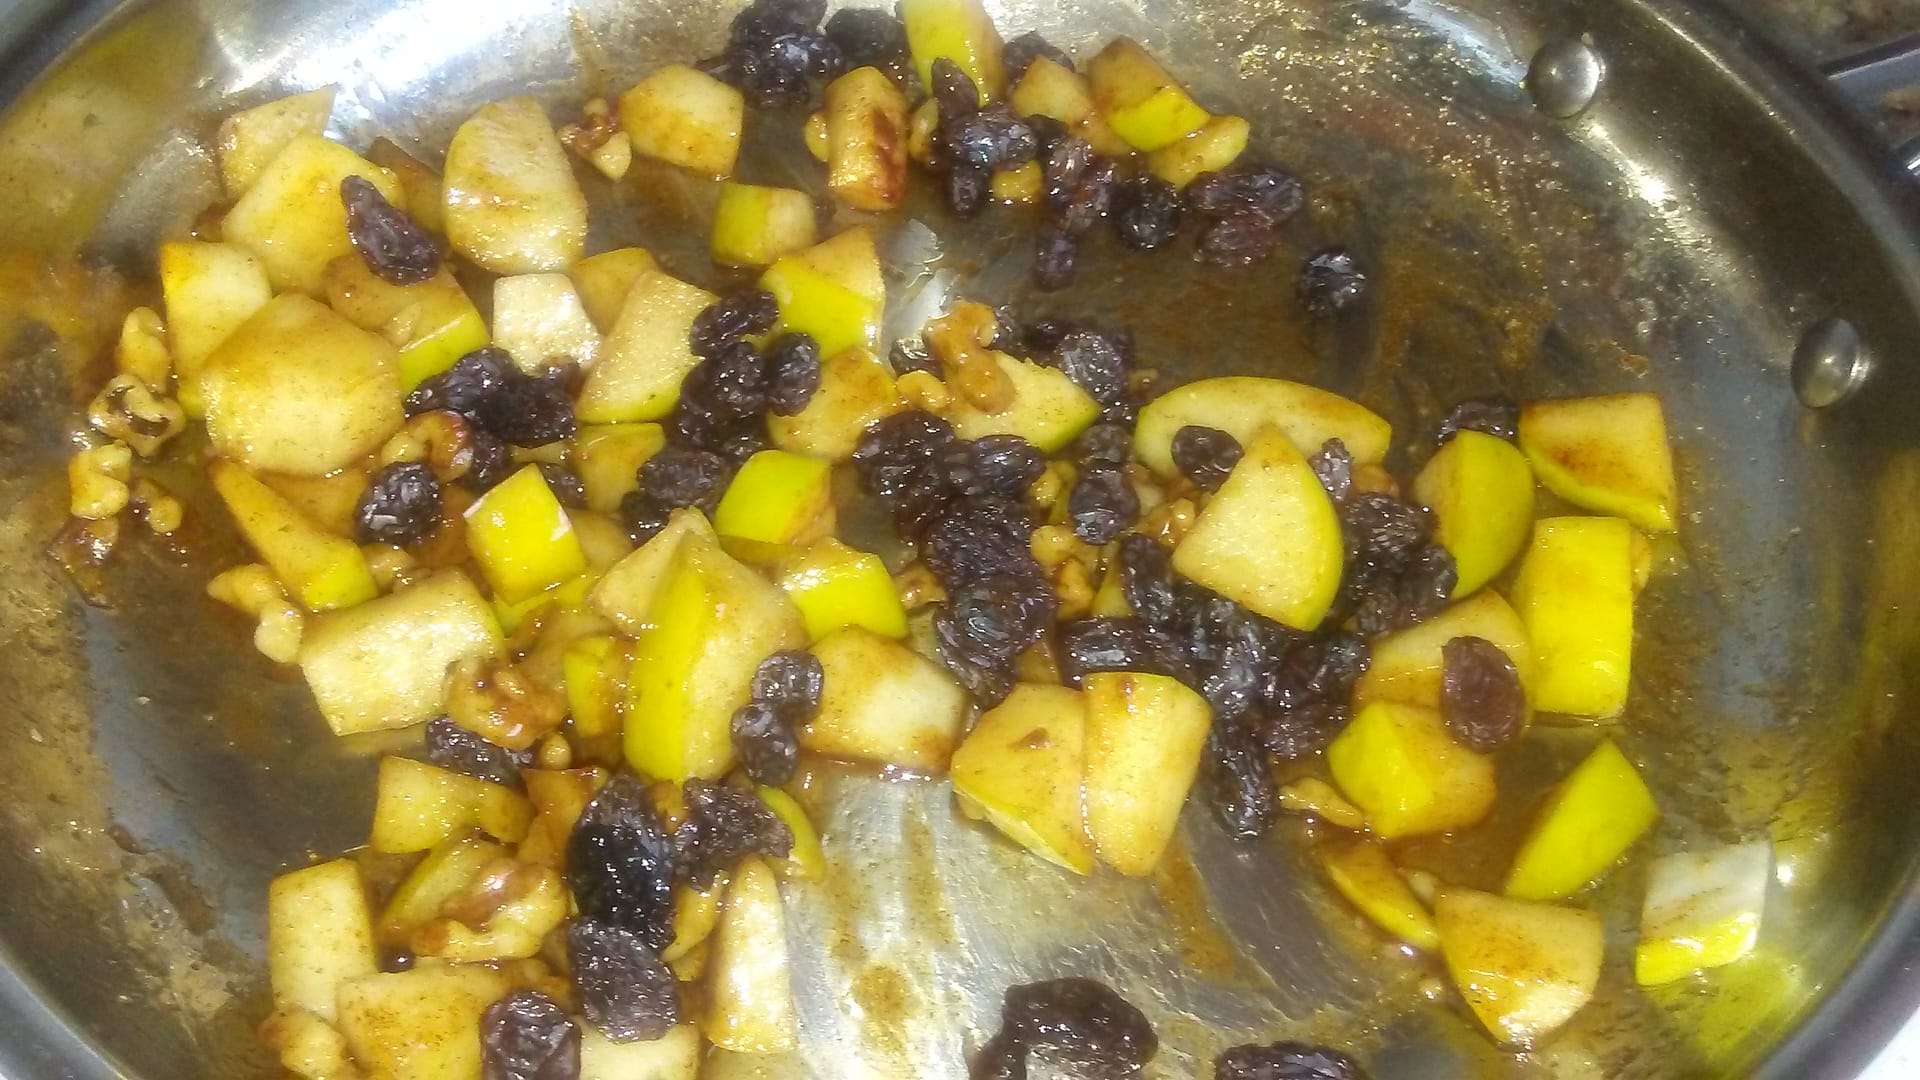
- 1 tablespoon unsalted butter, 1 tablespoon brown sugar, 1 cup apple, 1 tablespoon walnuts, 1 teaspoon cinnamonWhile the dough is rising, make the filling. Melt the butter in a pan, add the apple, cinnamon, brown sugar and walnuts. Saute until the apple is soft,
- 2 tablespoons raisinsAdd the raisins. Saute a few minutes, then cover and set aside.
Assemble the Loaf
- Gently deflate the risen dough and turn it out onto a lightly floured or greased work surface. Fold it over once or twice to remove the excess gas. Divide the dough in half. Roll the first half into a 10" x 12" rectangle. Spread the filling over the rolled-out dough, leaving a 1/2" margin clear of filling along all sides.
- Starting with a long side, roll the dough into a log, sealing the edge. Place the log, filled side up, on a well-greased or parchment-lined baking sheet. Roll out the second dough, sprinkle it with cinnamon, then roll up as the first. Keeping the filling side up, twist or "braid" the two logs together, working from the center to each end. Pinch the ends together. Cover the twist lightly, and set aside to rise for 1 to 2 hours.
- Bake the loaf in a preheated 350 °F (177 °C) oven for 30 to 35 minutes, until it is lightly browned. Check the loaf after 20 minutes and tent with aluminum foil if it's browning too quickly around the edges. Remove the bread from the oven and allow it to cool for about 1 hour before glazing and serving.
Video
Notes
Nutrition




Wow, that looks really good. I think when it gets a little cooler, like fall, I’ll make it maybe. Thanks for the posting! Cheers!