What’s on Your Plate
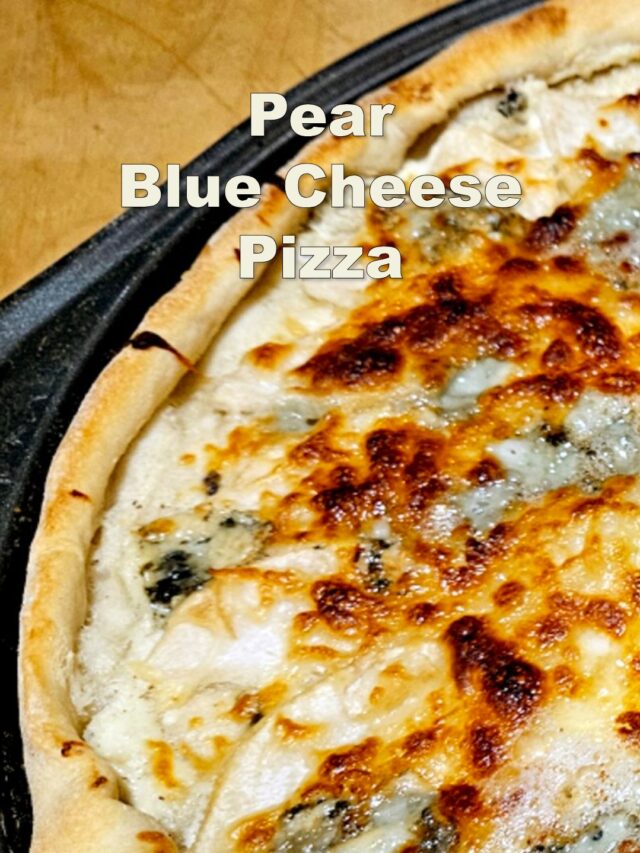
Sweet pears and salty blue cheese work because they balance each other. It’s thinly sliced pears, roasted whole head of garlic for mellow flavor, an Alfredo-style white sauce, and topped with a pizza blend. This is not an everyday pizza, it’s meant to savor and share.

This Pear and Blue Cheese Pizza came from curiosity. Someone in one of my food groups shared a photo of a white pizza topped with pears and blue cheese, and I couldn’t stop thinking about it. Sweet fruit, bold cheese, and a creamy base sounded like a combination that should be handled carefully, but when it’s done right, it’s wonderful.
When I made my version, I leaned into balance. I added roasted garlic for depth, used an Alfredo-style white sauce as the base, and built the pizza on the same sourdough dough I use for my clam pizza with red sauce. I also made a deliberate choice about how I baked it, because this is not a pizza that wants a hard, cracker-crisp crust.
This is a sophisticated pizza. It’s not for picky eaters, and it’s not trying to be. If you enjoy sweet and salty together, and you like flavors that are layered rather than loud, this pizza is worth your time.
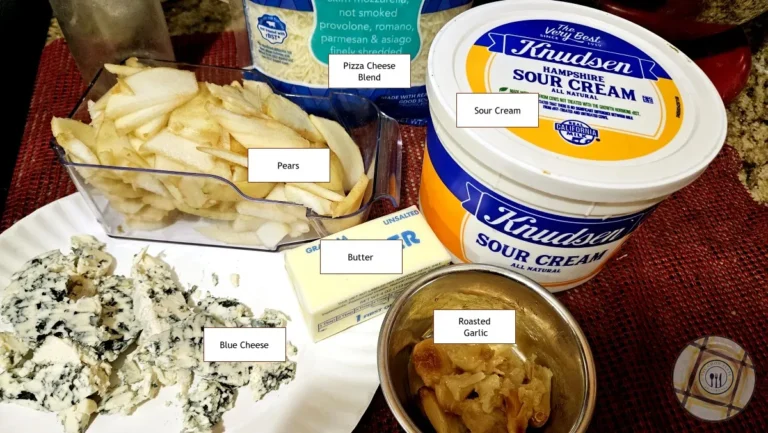
Ingredient Choices That Matter
Fresh pears, sliced thin
Use fresh, in-season pears. I peel them and slice them thin so they soften quickly and evenly without releasing excess moisture. I used my upright mandoline, the *Nutrislicer, which makes fast, consistent slices and keeps your hands well away from the blade. Read the review: https://the-good-plate.com/review/nutrislicer-upright-mandoline/
Danish blue cheese
This pizza needs a blue cheese with character. Danish blue is assertive enough to stand up to the pears without overwhelming them.
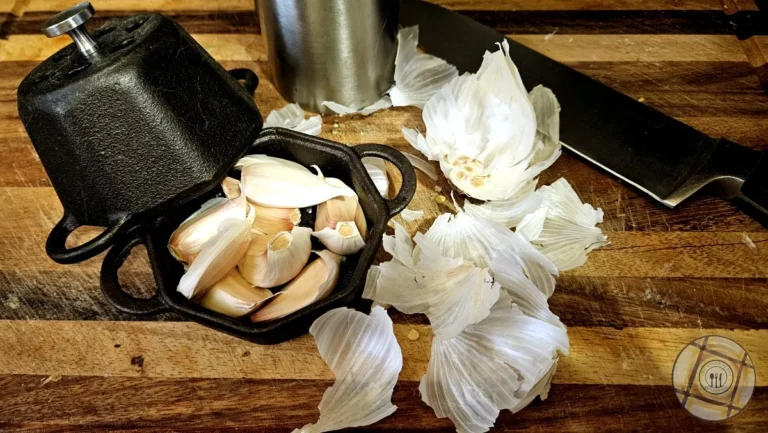
Roasted garlic, twice over
This is a garlic-forward pizza, and that’s intentional. I use roasted garlic in two forms: a whole head of freshly roasted garlic and a *roasted garlic base in the sauce.
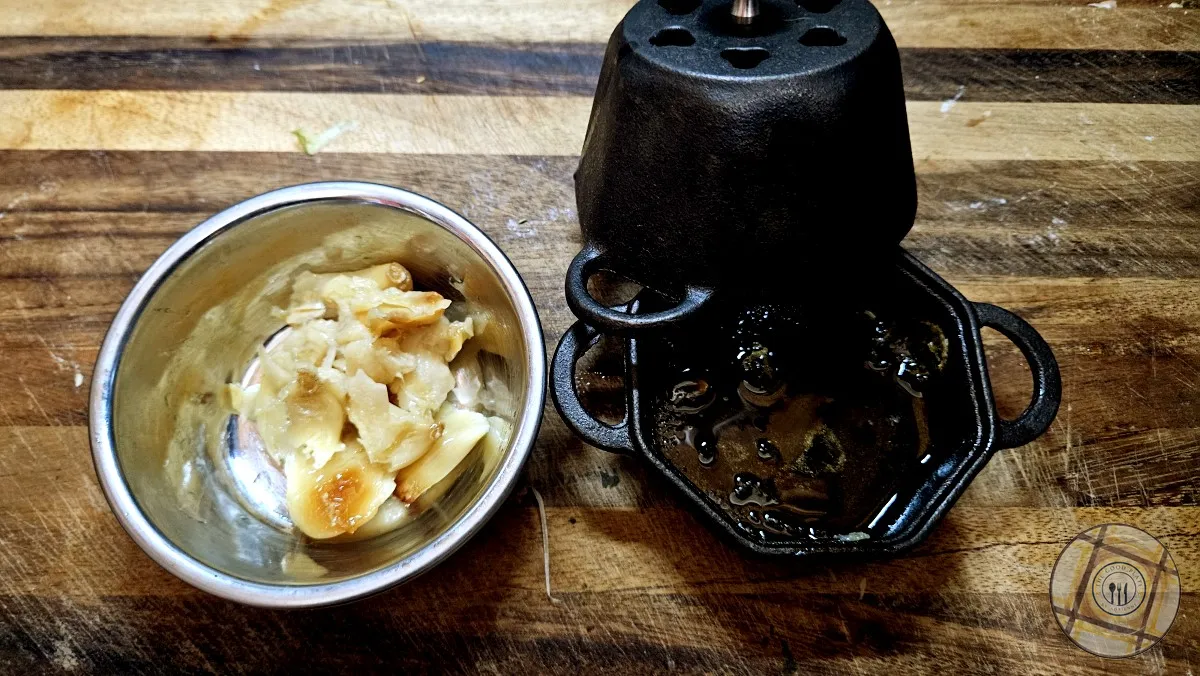
I roast a full head of garlic in nice little *cast iron garlic roaster at 350 F (176 C) for about 20 minutes, just until the cloves are soft and fragrant. Roasting removes the harsh edge and brings out sweetness, which matters when garlic is paired with fruit. As soon as the garlic is done, I squeeze it directly into the sauce and add a small amount of roasted garlic base to reinforce the flavor evenly without sharpness.
Pears can handle it. Blue cheese can too.
I roasted the garlic using my cast iron garlic roaster, which makes the process simple and reliable. Find out about garlic roaster: https://the-good-plate.com/review/bolvoud-cast-iron-garlic-roaster/
Pizza blend cheese
After adding the pears and blue cheese, I finish with a pizza blend. This is a practical choice. It melts evenly, ties the toppings together, and saves you from shredding multiple cheeses when you just want dinner to happen.
Baking Method: Stone, Pan, and Temperature Control
My pizza stone lives in my oven all the time. Ovens cycle their heat on and off, and when the heat is off, the temperature can dip more than most people realize. A pizza stone acts like a thermal battery. It retains heat and helps smooth out those temperature swings, keeping the oven environment more stable.
I roast the garlic at 350 F (176 C), then immediately increase the oven temperature to 500 F (260 C) for baking the pizza. The garlic gets gentle heat to soften and sweeten, while the pizza needs high heat to set the crust and melt the cheese properly.
For this pizza, I place a *Wilton pizza pan on top of the preheated stone. That choice is deliberate. Pears and blue cheese don’t need an aggressively crisp crust. The pan buffers the direct heat, keeping the bottom tender while the stone underneath stabilizes the bake.
Why Pear and Blue Cheese Pizza works
Fruit and cheese pair well because they correct each other. Fruit brings sweetness and brightness. Cheese brings salt, fat, and intensity. When you put them together thoughtfully, neither one dominates.
On this pizza, fresh pears provide gentle sweetness without turning syrupy. Danish blue cheese adds bite and complexity, but it’s used with intention so it doesn’t overpower the fruit. Roasted garlic fills in the savory middle, which keeps the pizza from drifting into dessert territory.
The white sauce supports everything without stealing the spotlight. You already know what an Alfredo-style sauce tastes like. What matters here is that it’s creamy and slightly tangy, so it carries the garlic and cheese while letting the pears stay recognizable.
The sourdough crust ties it all together. Its natural tang bridges the gap between sweet fruit and salty cheese, keeping the pizza balanced instead of heavy.
Nutritional Perspective
This is not an everyday pizza. It’s rich, dairy-forward, and made with gluten. I treat it as a special-occasion meal, not a weeknight staple. That said, it does provide protein and calcium from the cheese and fiber from the pears. If you are gluten-intolerant or dairy-intolerant, this is not the pizza for you.
Serving and Storing Pear and Blue Cheese Pizza
Serving
This pizza pairs well with a crisp white wine that has good acidity. Choose something that cuts through richness rather than adding more weight. A steakhouse-style salad with a light vinaigrette on the side works beautifully.
Storing
Store leftovers in the refrigerator. Reheat in the air fryer or oven to restore the crust and warm the toppings evenly. Skip the microwave if texture matters to you.
For general food safety guidance on leftovers, the USDA has a helpful overview here:
https://www.usda.gov/media/blog/2020/11/24/leftovers-and-food-safety
Common Mistakes and Gotchas
- Use fresh pears. Canned pears will be obliterated by a 500-degree oven.
- Choose firm pears. Very ripe or canned pears will collapse and release too much moisture in a 500-degree oven.
- Slice with intention. Pears that are too thick stay raw, while paper-thin slices dry out before the crust finishes.
- Go easy on the blue cheese. It is meant to accent the pears, not overpower them.
- Watch moisture at high heat. If the toppings are wet, the center of the pizza can stay soft even when the crust is done.
FAQ
What kind of pears work best?
Use firm, fresh pears that slice cleanly. Very ripe pears can release too much moisture.
Do I need to peel the pears?
I do. Peeled pears bake more evenly and give a smoother texture.
Is blue cheese too strong for pizza?
For some people, yes. This is a pizza for curious eaters. Start with less if you’re unsure. Gorgonzola is slightly milder than blue cheese, so you would use that instead. Roquefort, although more expensive and stronger, would also make an excellent choice.
Why use both roasted garlic and garlic base?
Roasted garlic adds sweetness and depth. Roasted *garlic base reinforces the flavor evenly throughout the sauce without sharpness.
Why use a pizza pan if I have a stone?
The stone stabilizes oven temperature. The pan prevents the crust from becoming too hard. Together, they give better texture control.
How should I reheat leftovers?
Use an air fryer or oven. Avoid the microwave if you want to keep the pears from going soggy.
Step by Step Photos


Pear and Blue Cheese Pizza Recipe
Email Me the Recipe
Enter your email address and we will send it straight to your inbox.
Pear and Blue Cheese Pizza
Equipment


If you purchase any of the products through these affiliate links, I get a few pennies that help keep The Good Plate open. I use these products myself and want you to be able to easily find them.
Ingredients
Pizza Crust
- 1 cup sourdough starter
- 1 cup 00 flour
- ½ cup bread flour
- ¼ cup *flour
- ¼ cup milk
- 1 teaspoon Frozen Pizza spice
- 1 teaspoon basil
- 1 teaspoon salt
Roasting Garlic
- 1 head garlic, roasted
- 1 tsp *olive oil
Sauce
- 1 cup sour cream
- 1 teaspoon *garlic base
- ½ teaspoon black pepper, freshly ground
Topping
- 1 pear, peeled and thinly sliced
- ¼ cup *blue cheese, crumbled
- ¼ cup pizza cheese
Instructions
- Mise en Place
Pizza Crust
- 1 cup sourdough starter, 1 cup 00 flour, 1/2 cup bread flour, 1/4 cup flour, 1/4 cup milk, 1 teaspoon Frozen Pizza spice, 1 teaspoon basil, 1 teaspoon saltPut the sourdough starter, flours and seasonings for the pizza dough into the bowl of a stand mixer or large bowl. Mix the ingredients together then knead for 4 minutes (mixer) or 10 minutes (by hand). Put a little oil in a bowl and let the dough rise for about an hour.
Roasted Garlic
- 1 head garlic, 1 tsp olive oilSeparate the garlic cloves but do not peel them. Put them in a cast iron garlic roaster and pour oil on them.
- Roast them at 350 °F (177 °C) until they have softened inside.
- Let the garlic cool on the counter until they are cool enough to touch.
- Squeeze the garlic into a bowl from the bottom of the clove.


Sauce
- 1 cup sour cream, 1 teaspoon garlic base, 1/2 teaspoon black pepperIn a small pan, mix the sour cream, roasted garlic, garlic base and black pepper.
Assembly
- Increase the oven temperature to 500 °F (260 °C)
- Roll the pizza dough out to the desired size.
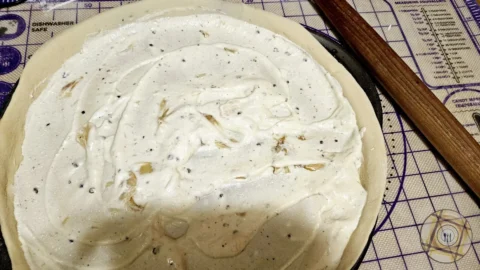
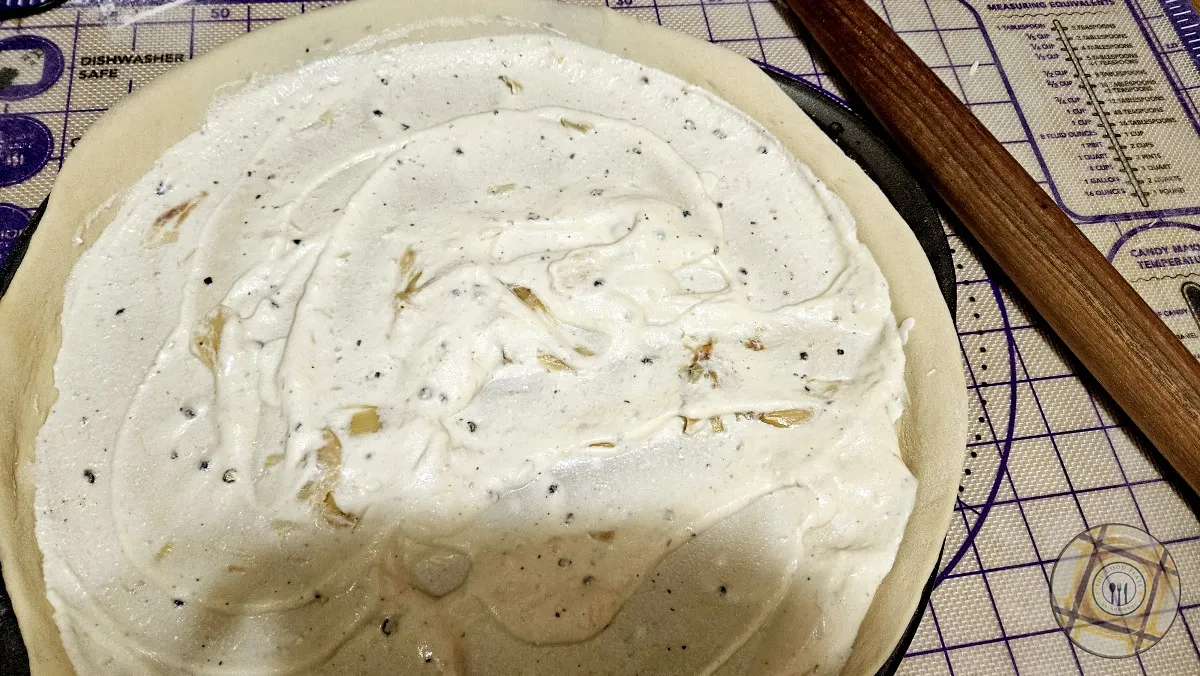
- Put the sauce on the pizza and spread it out. Leave the last inch uncovered.

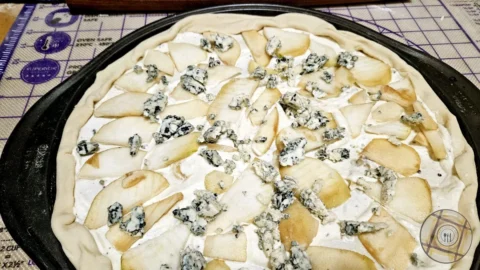
- 1 pearPut the pear slices artfully all over the pizza sauce.
- 1/4 cup blue cheeseSprinkle the blue cheese crumbles over the pears.

- Roll up the sides of the crust.
- 1/4 cup pizza cheeseSprinkle the pizza cheese over the blue cheese.
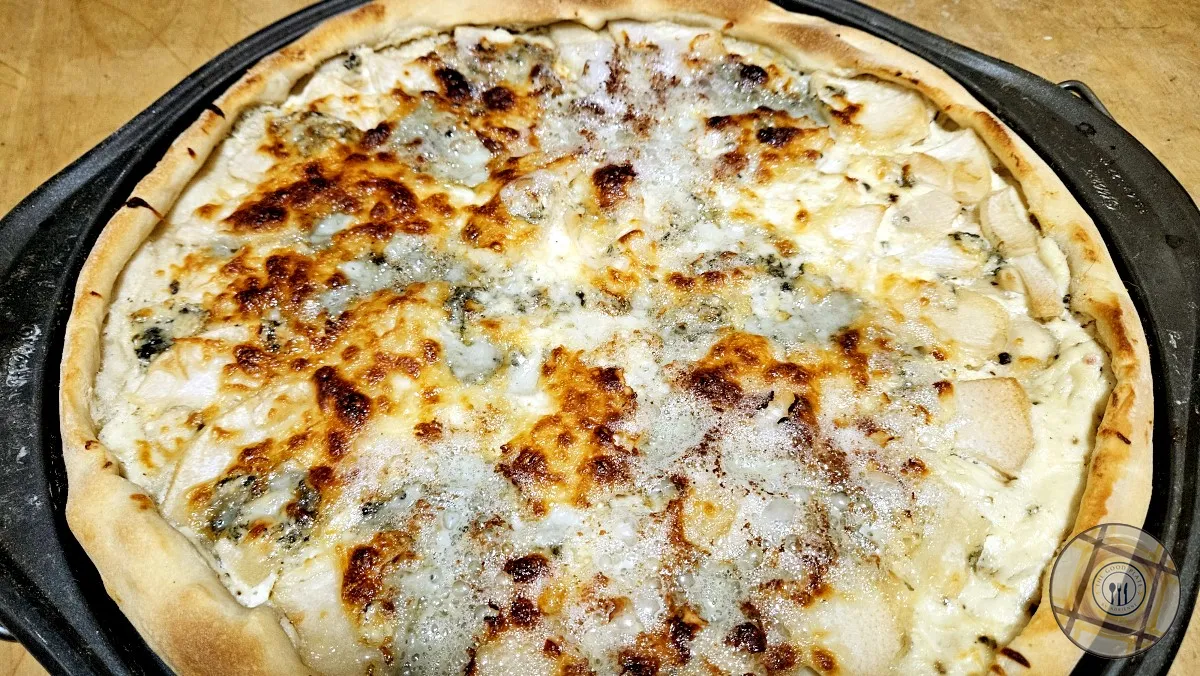
- Bake the pizza at 500 °F (260 °C) until the edges of the crust have browned, about 15-20 minutes,.
- Let the pizza cool for about 10 minutes before slicing.


Nutrition